Wanna check out ESP-IDF which is Espressif’s official IoT Development Framework. Have to decide if I will use Linux, Mac, or Windows, and whether I will use VSCode or Eclipse.
I found a bunch of handy information about JST connectors over on Wikipedia: JST connector. There are a bunch of different JST series, it’s worth knowing about these.
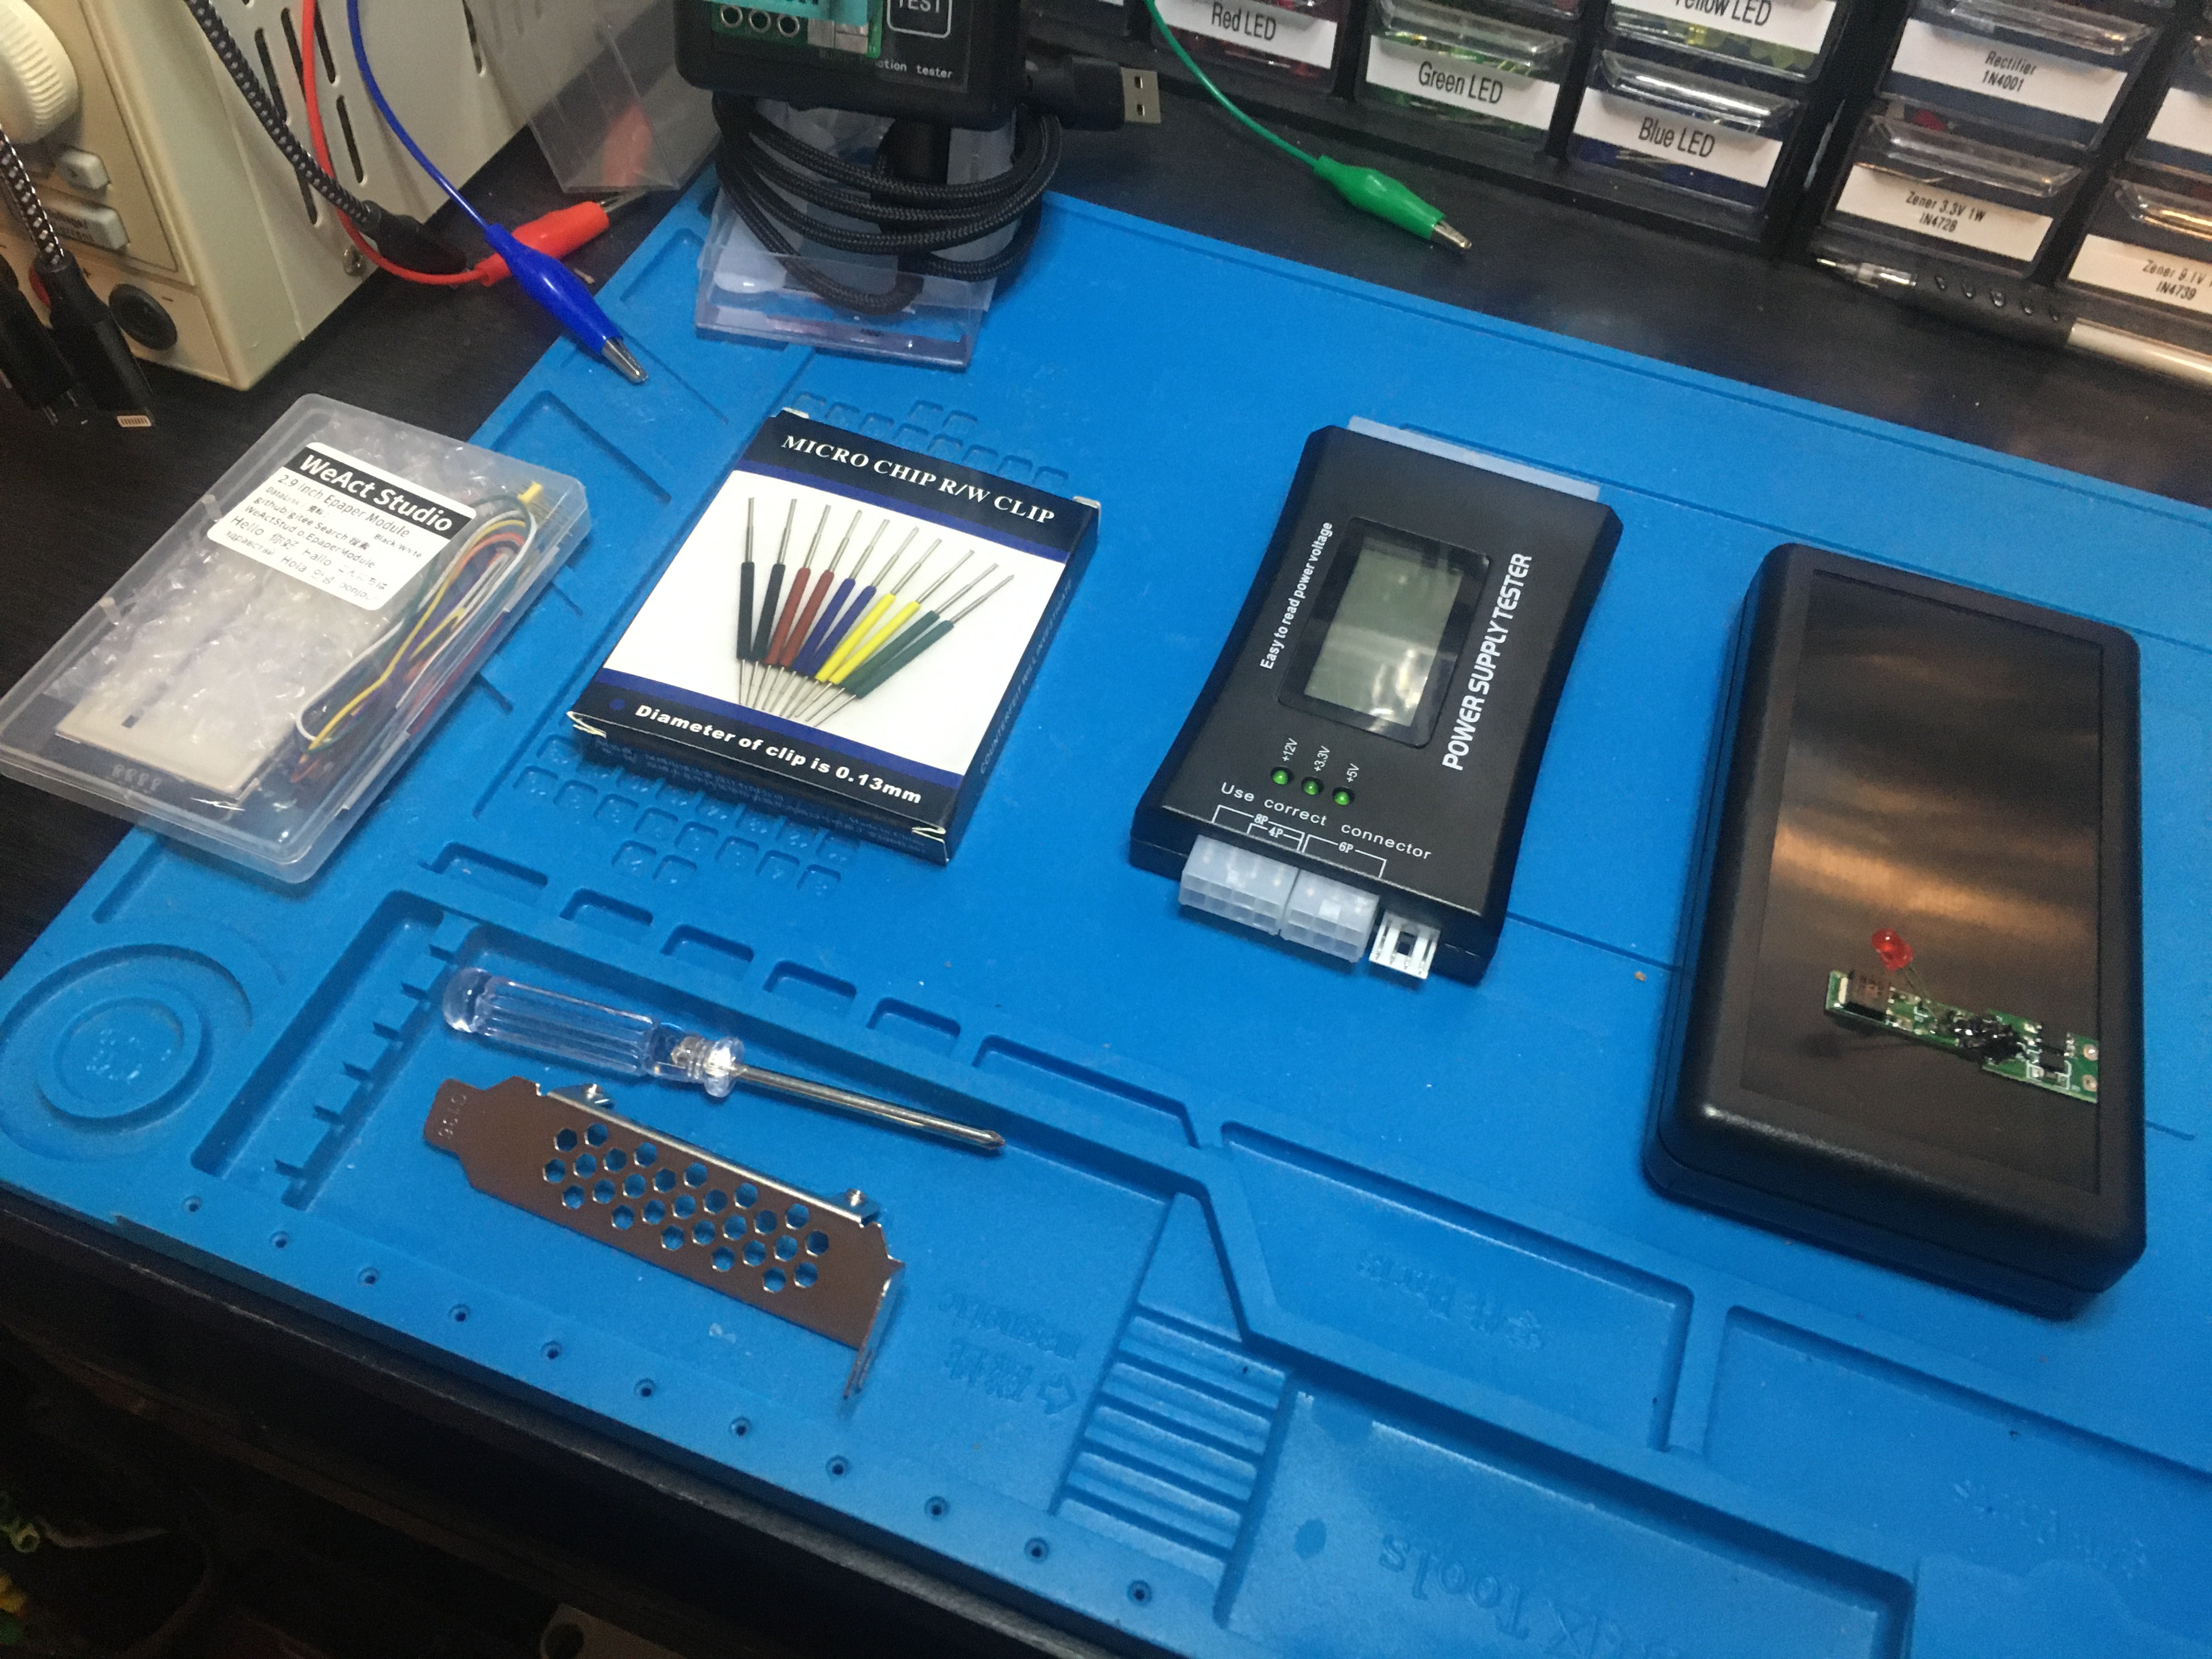
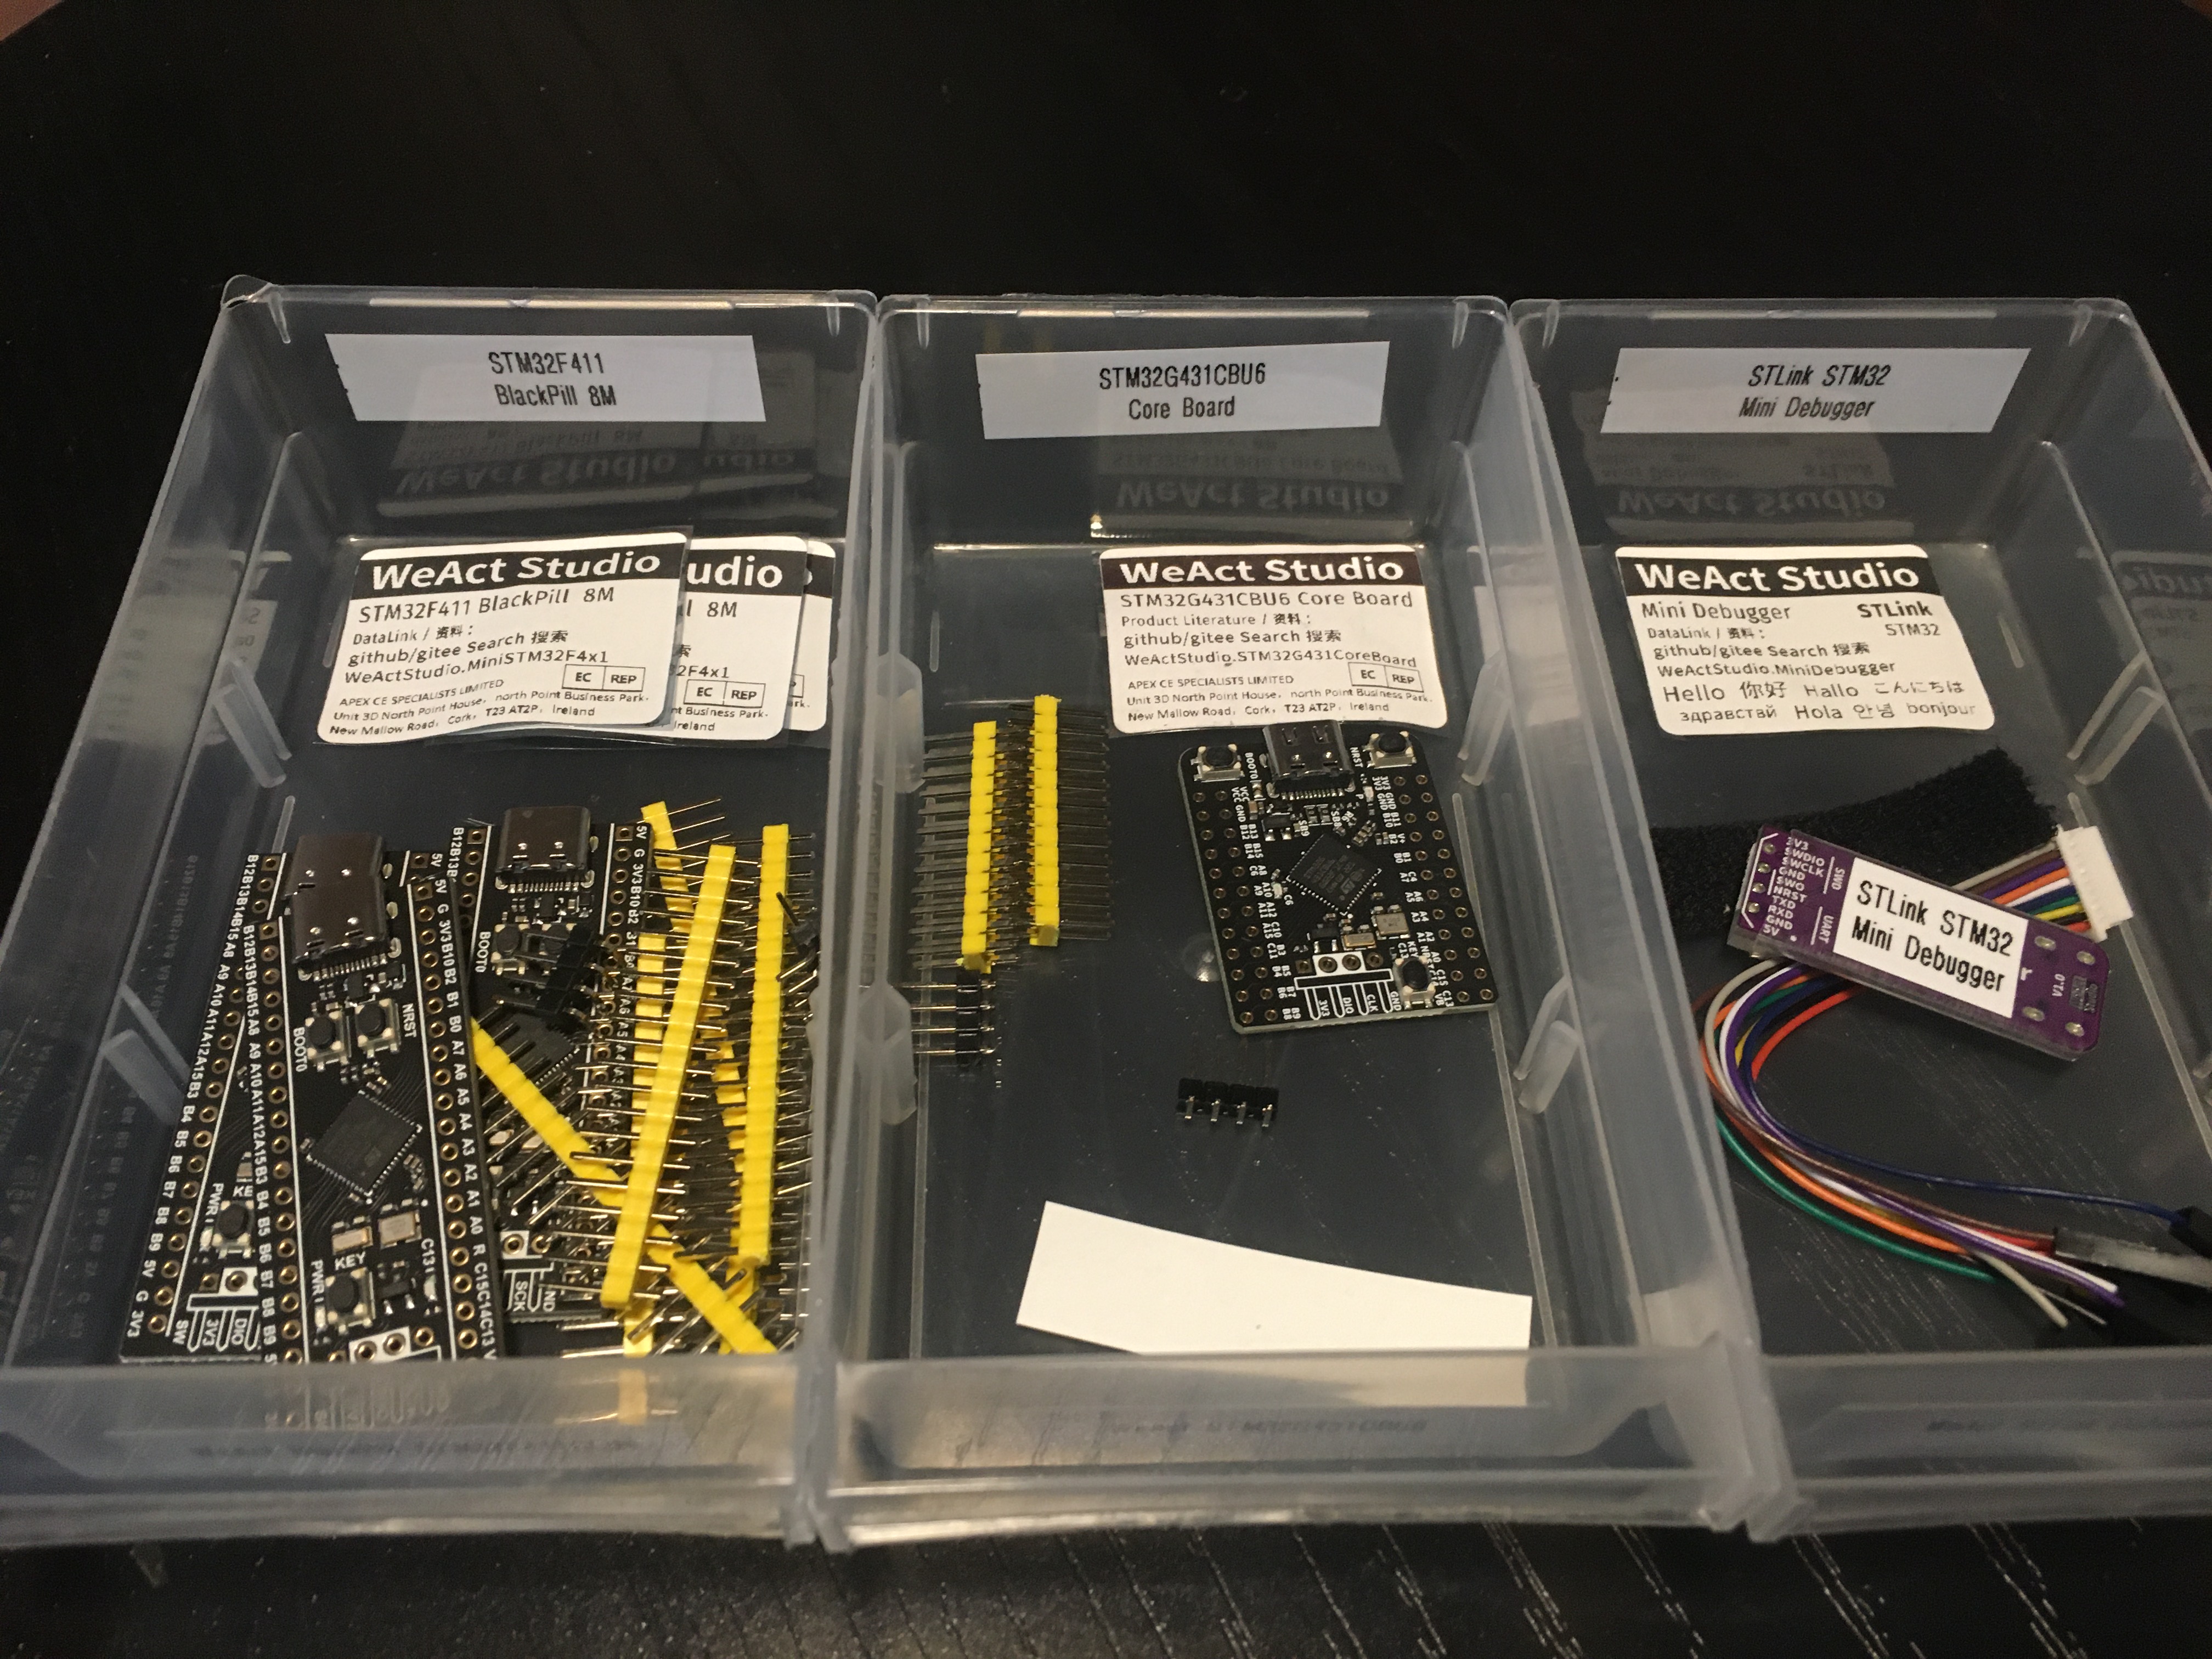
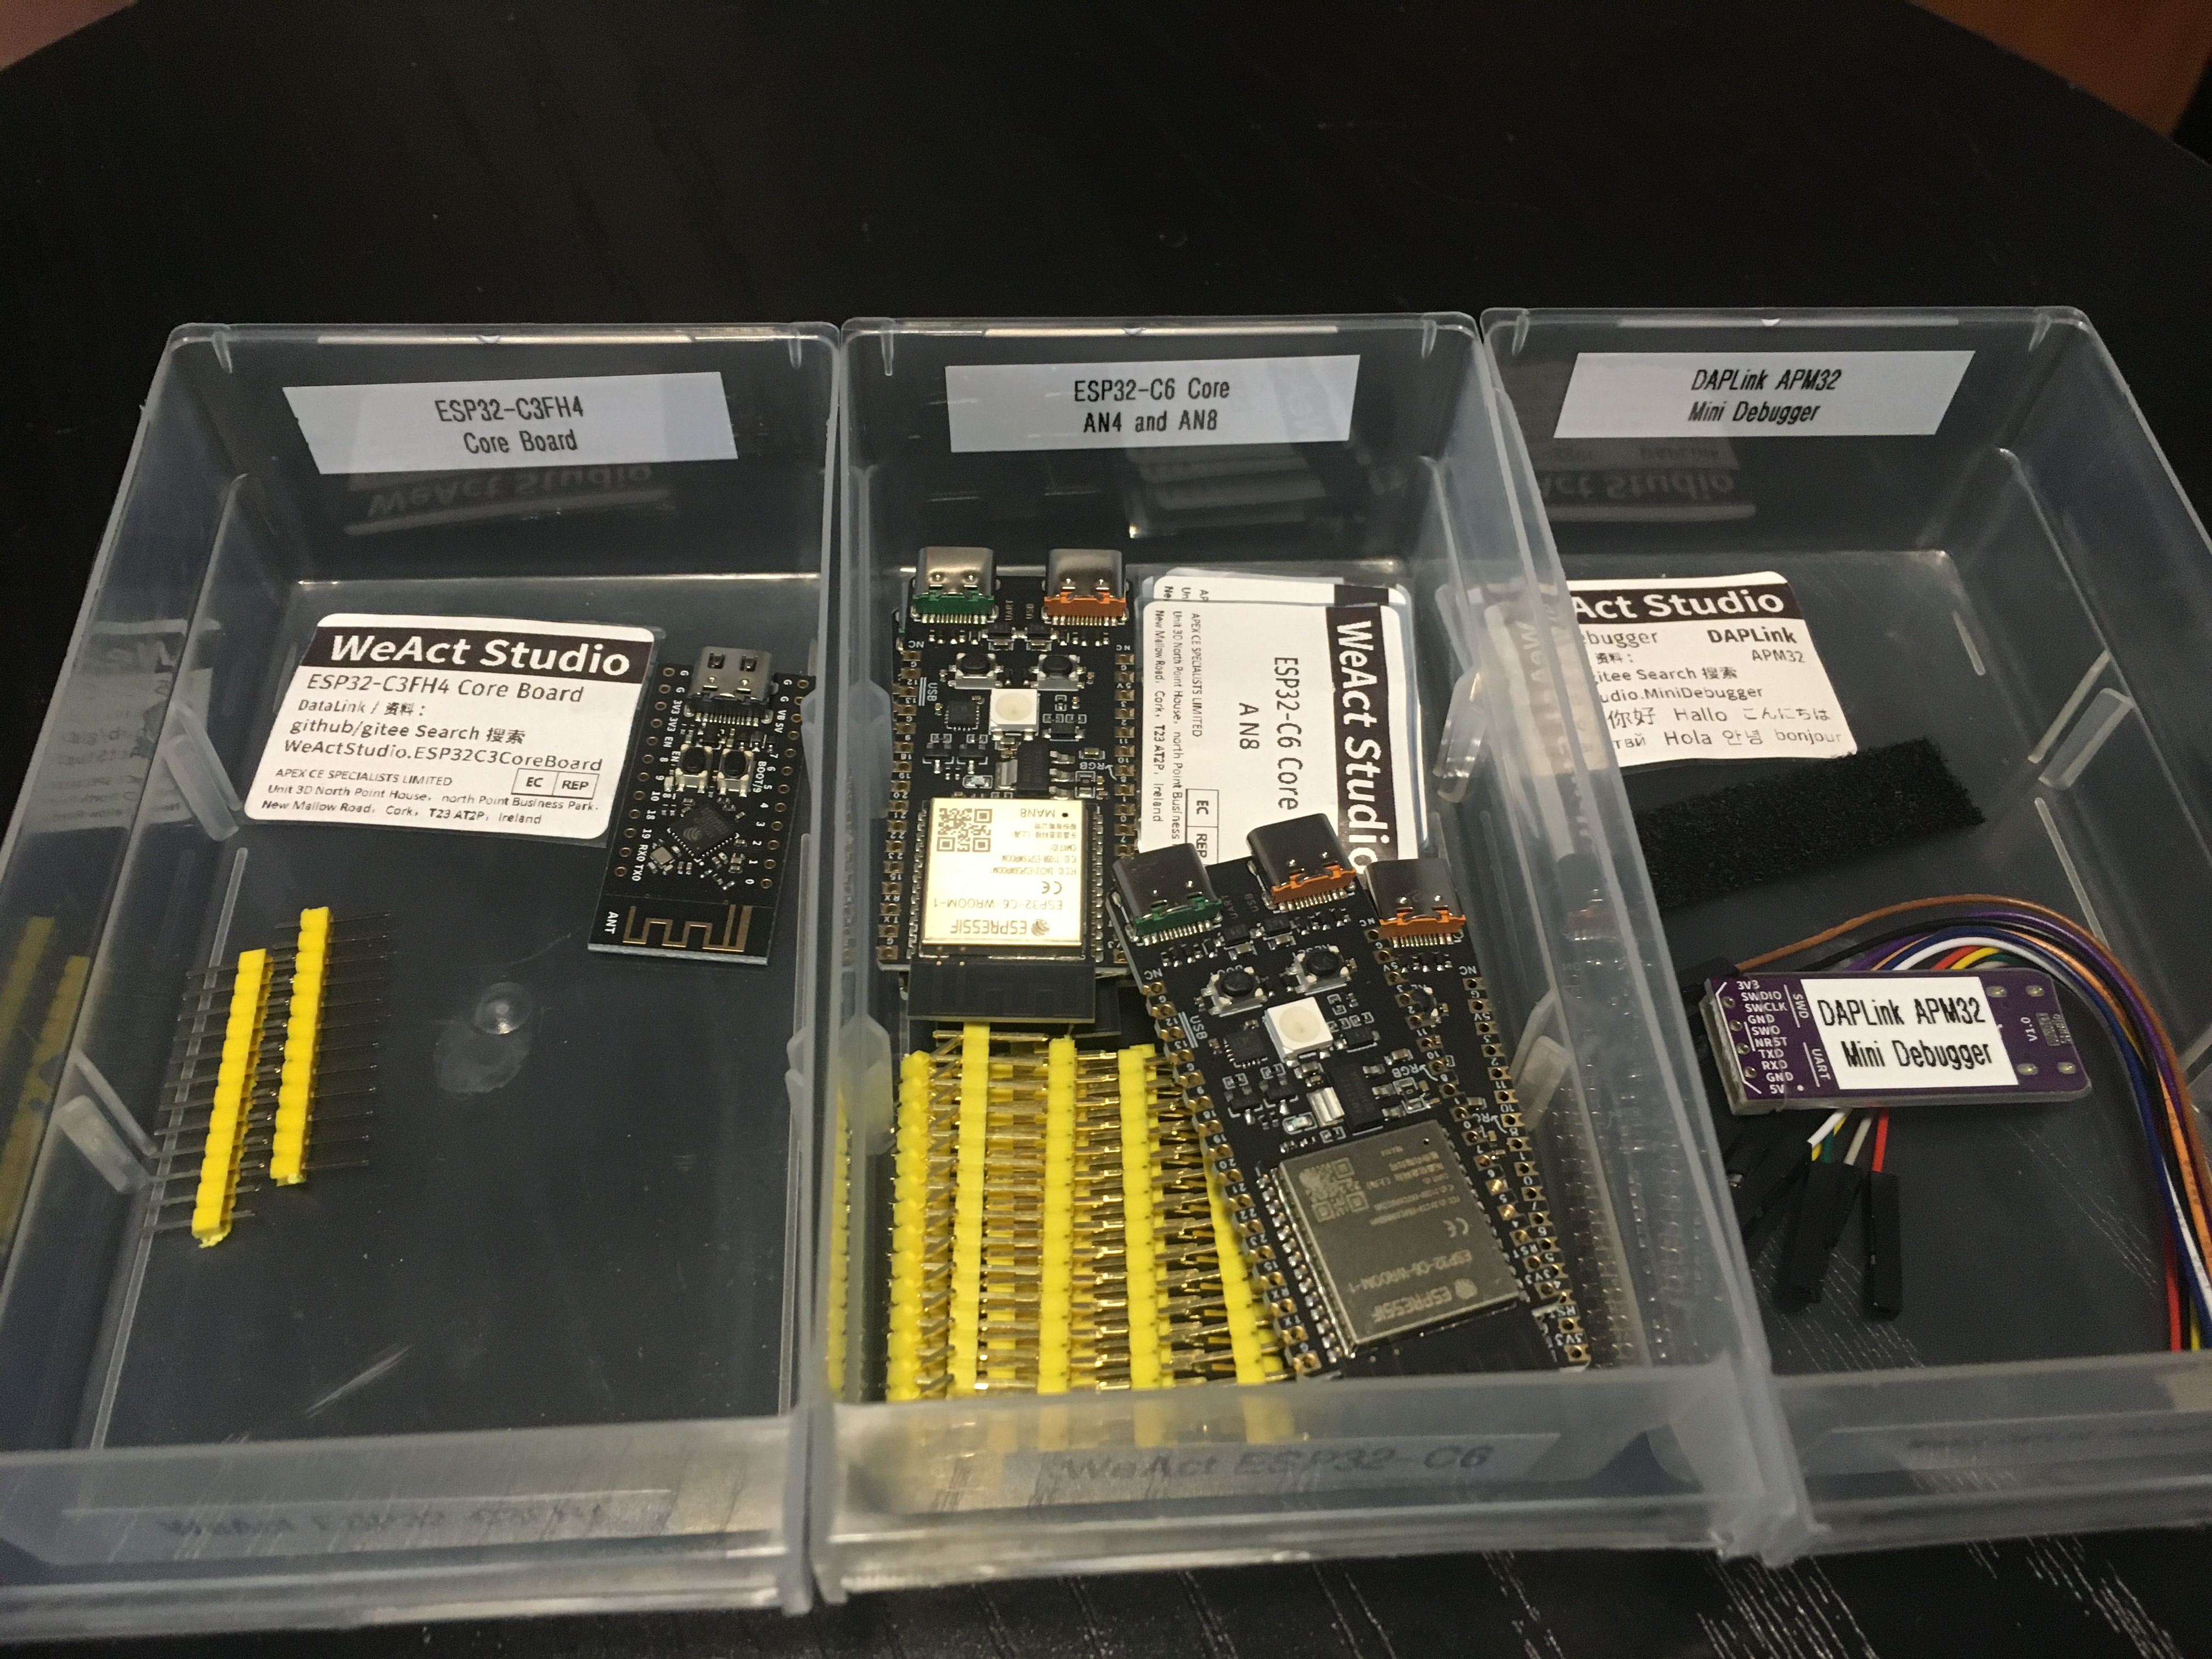
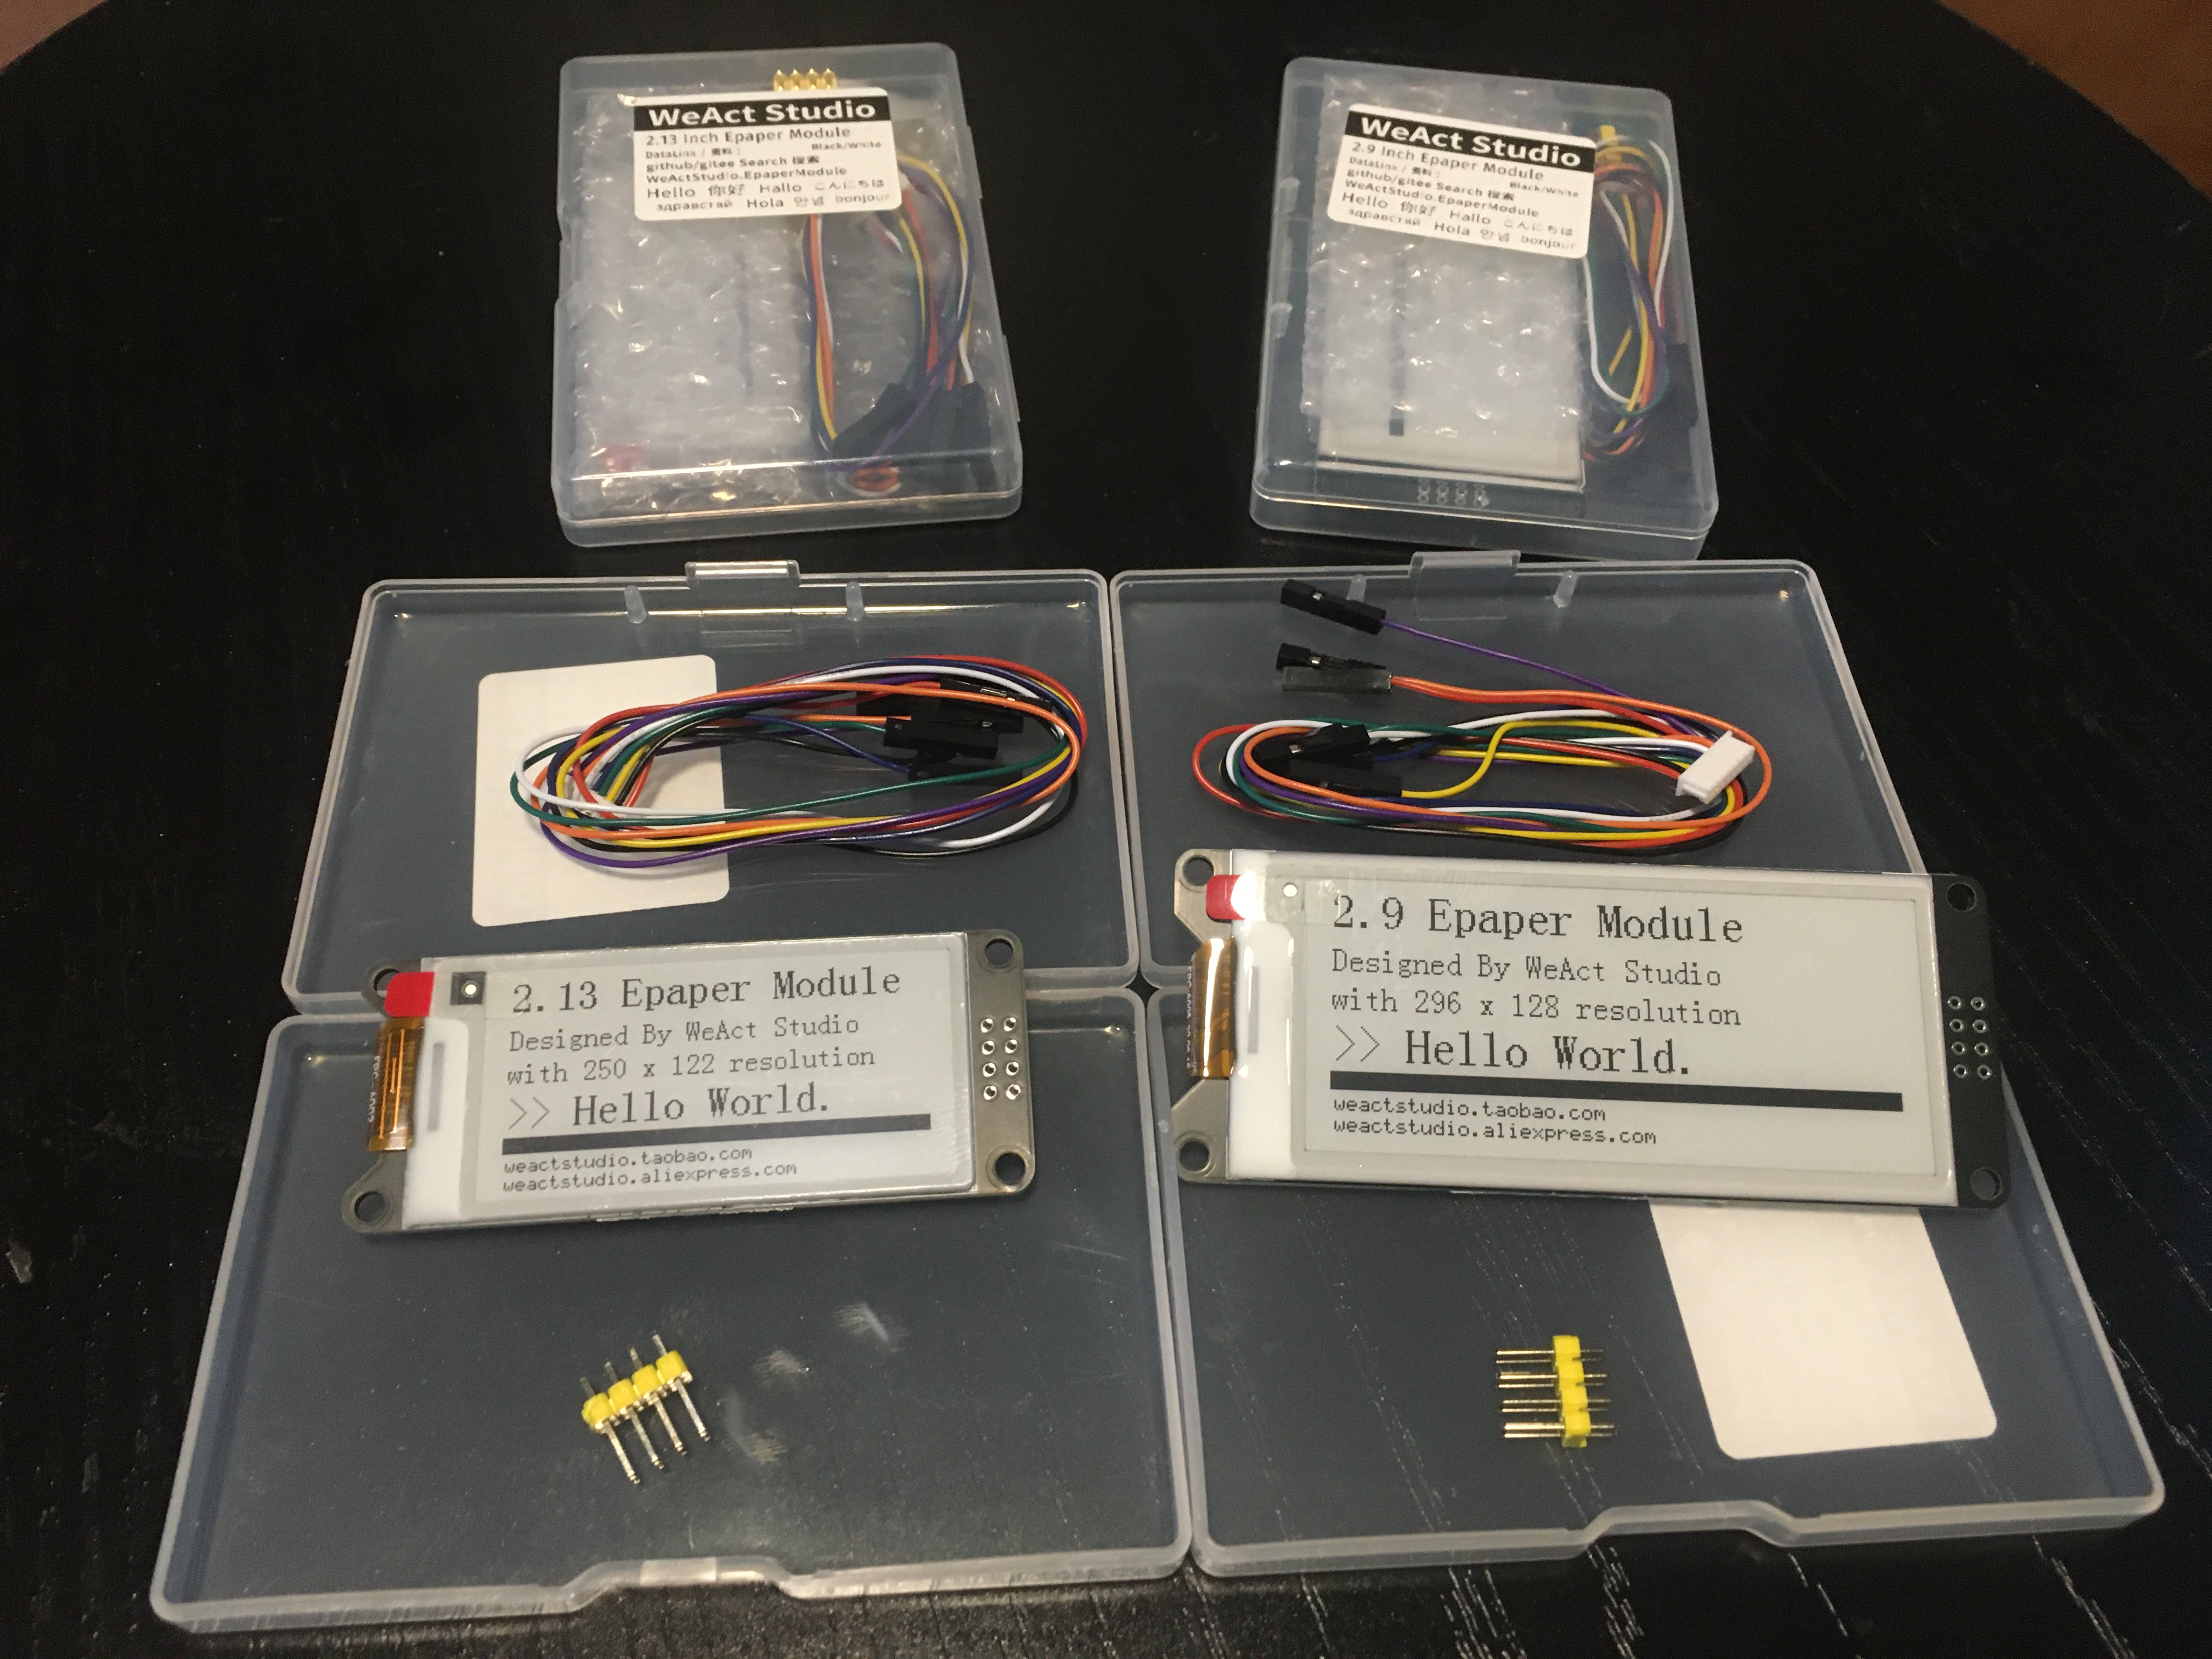
You might remember that last month AliExpress had a sale and I ordered a bunch of stuff. That stuff has started to arrive and I wanted to show you the things I picked up from WeAct Studio.
I don’t know anything about WeAct Studio, I have never heard of them before. But I like what I see so far!
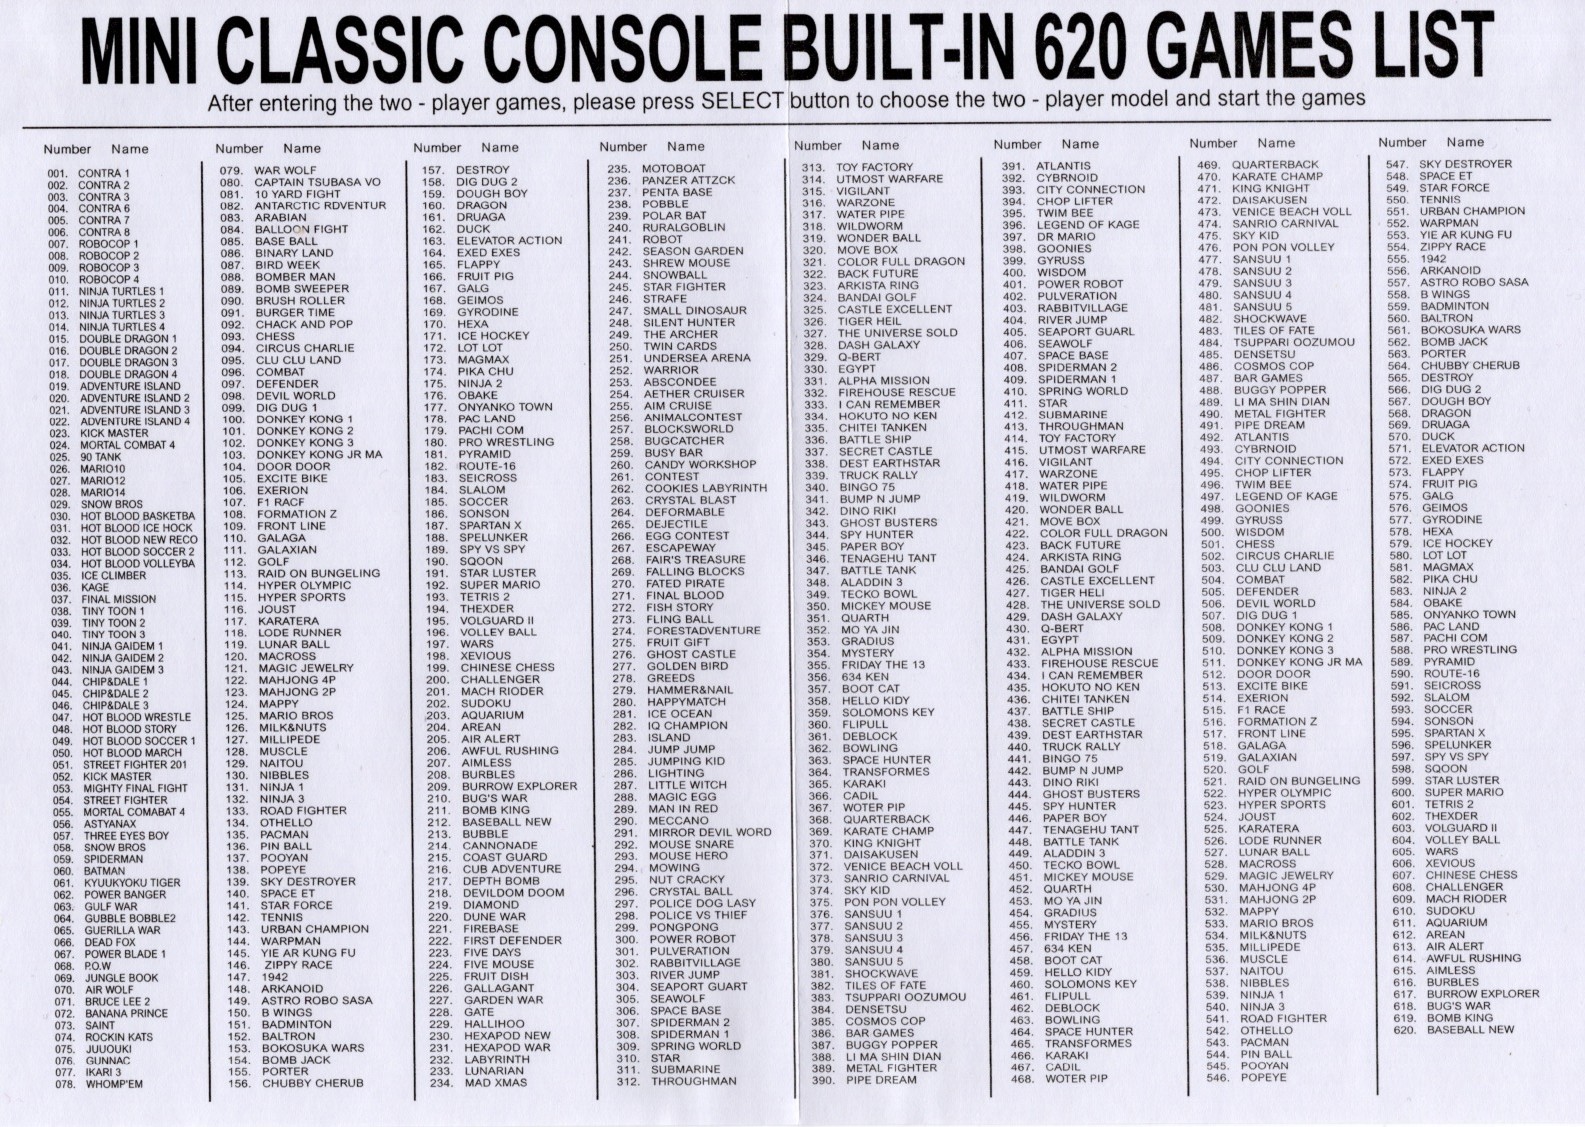
It’s the In The Lab With Jay Jay Halloween Special! This evening: another unboxing video! This time we’re taking a look at my retro gaming console: The Mini Classic Game Console. Complete with 620 odd games!
I picked this thing up at Vinnies (the thrift store) for fifteen Aussie buckaroos.
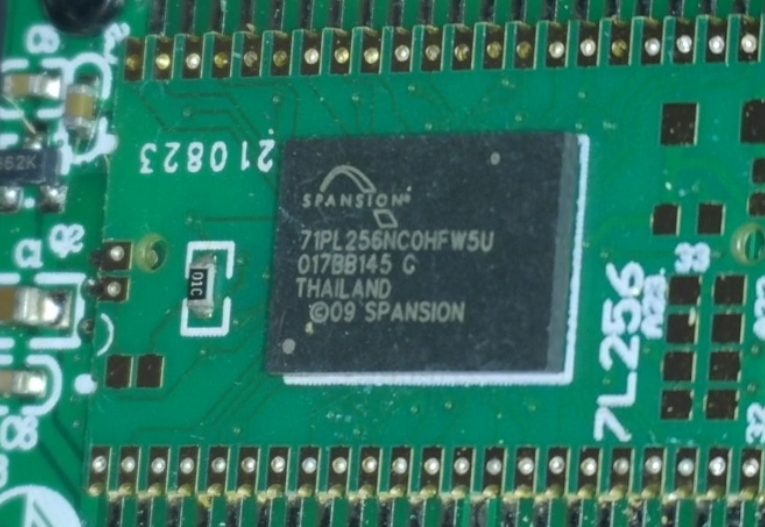
The main circuit board looks like this:
I found the S71PL256NC0HFW5U2 which is a 64Mb flash memory. The details of the other circuitry was obscured.
Here is the list of games on this thing:
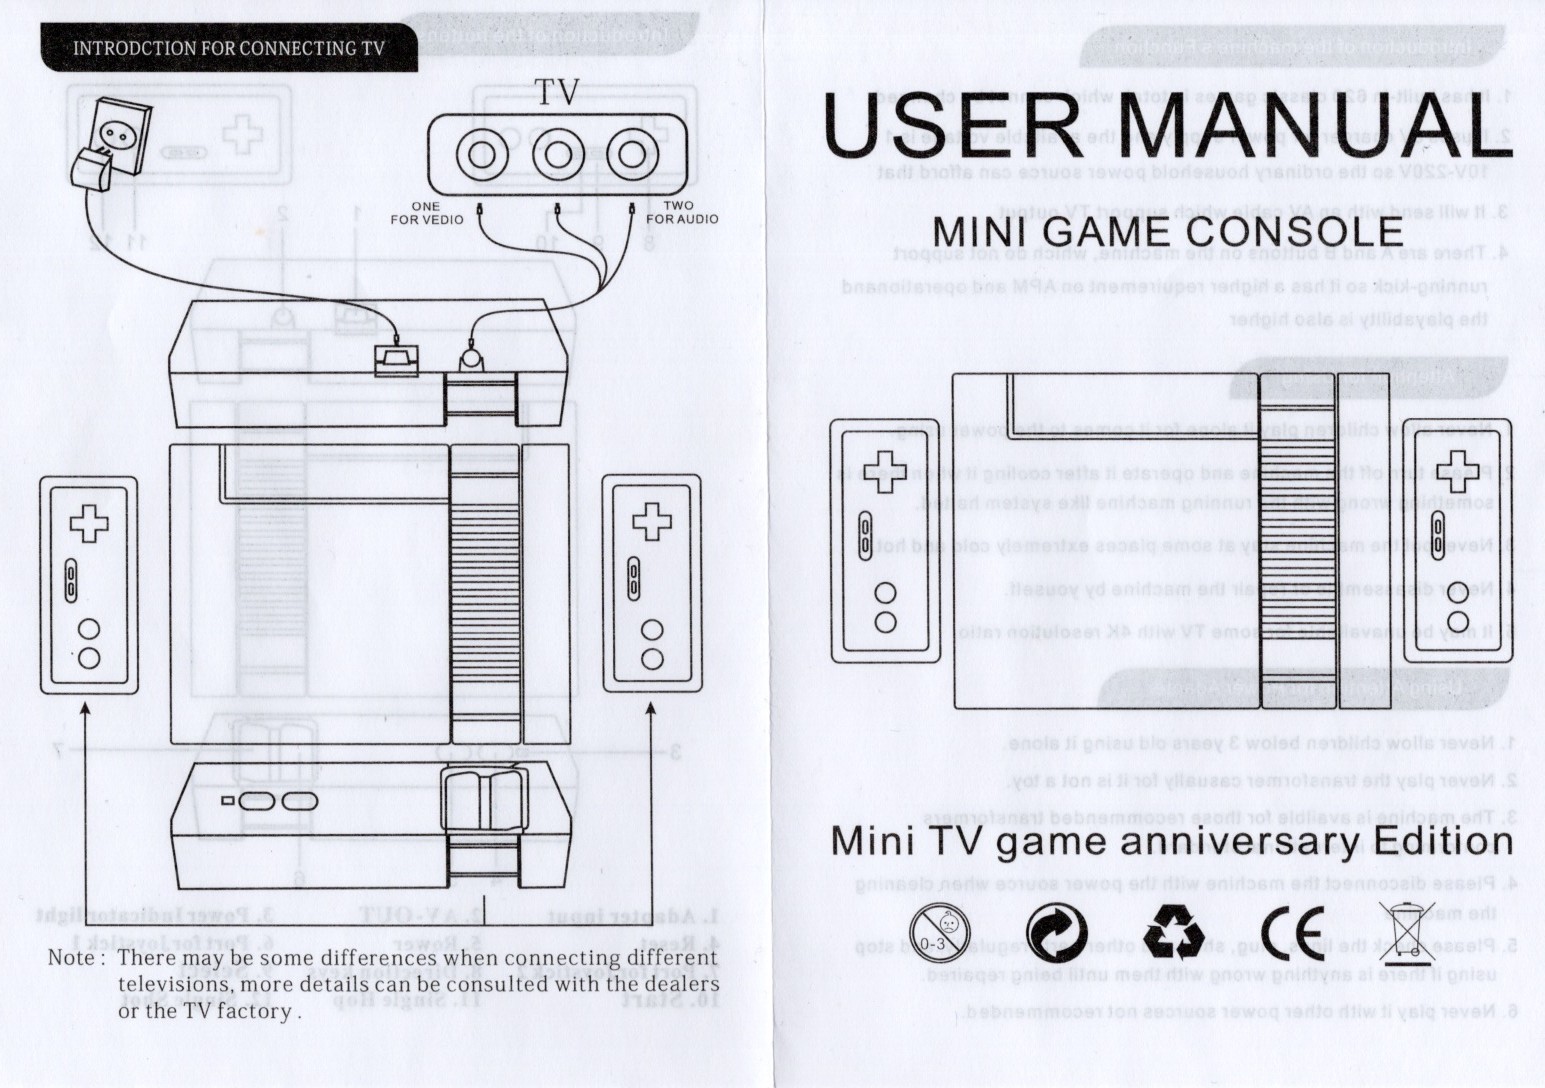
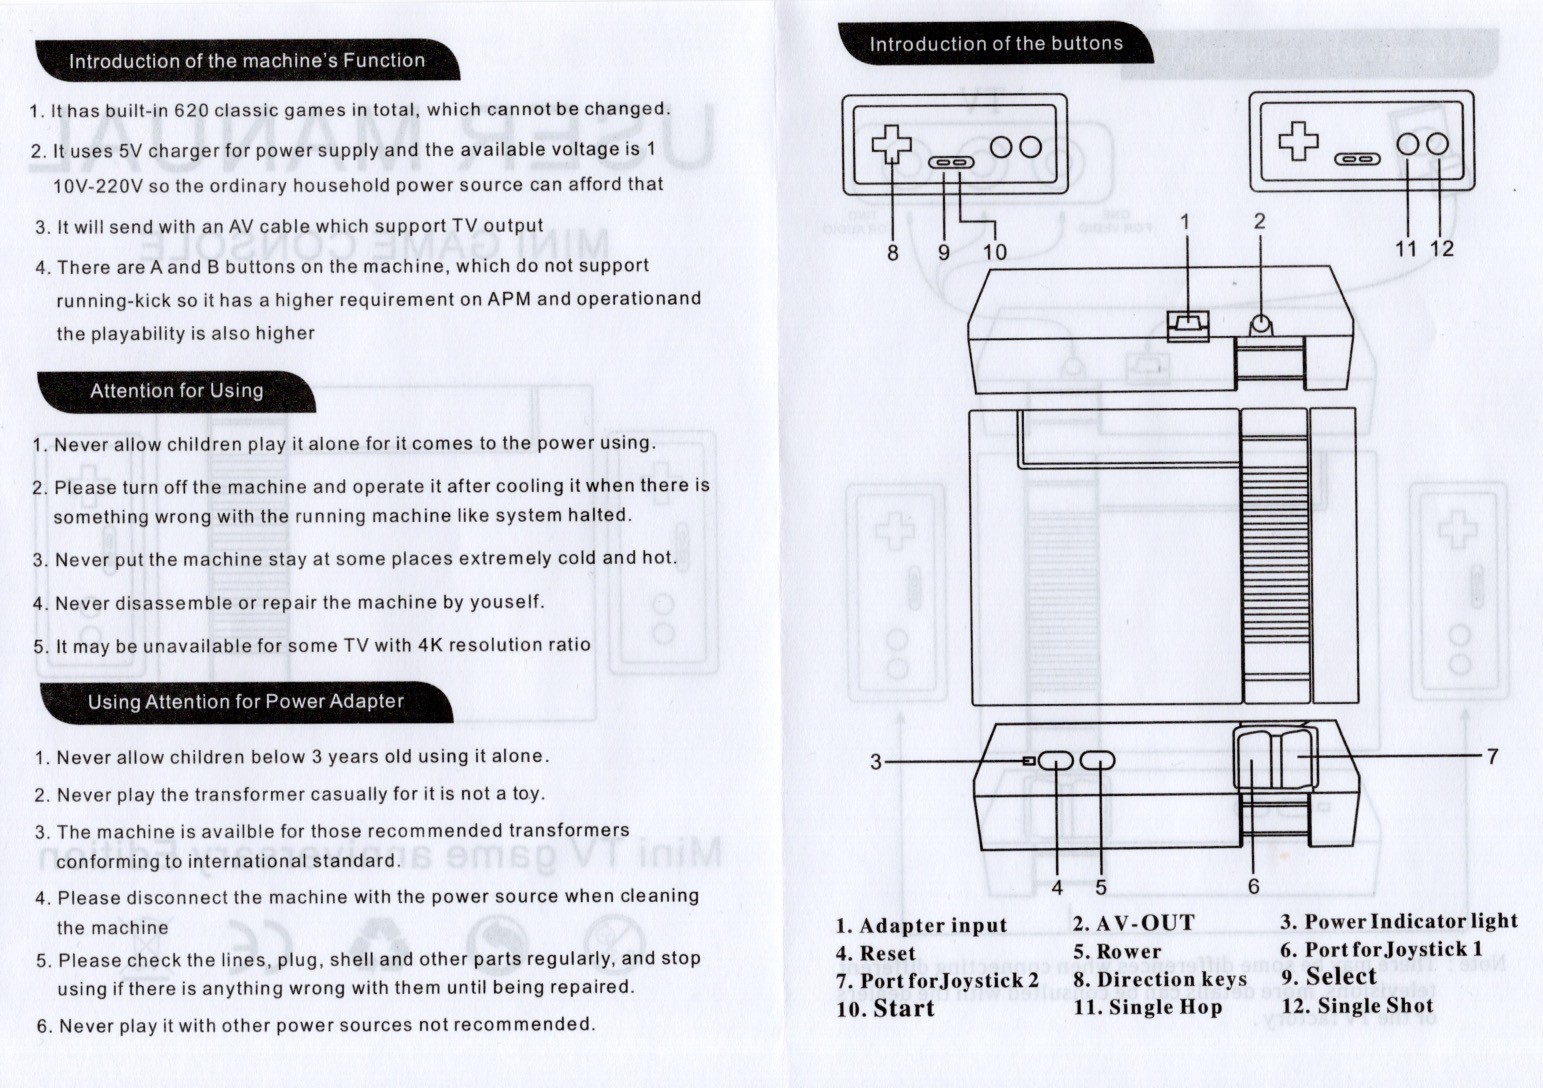
And this is the manual:
I managed to get this thing wired through an AV to HDMI adapter, then a HDMI to USB adapter, so in the last half of the video you can see me demoing a few of the games and scrolling through the full list of games.
Oh, and in this video I read “NTSL” on the manual and say “they got that wrong, it’s NTSA”, but *I* got that wrong, and it’s “NTSC”. The American video standard. In Australia almost everything is PAL.
Thanks very much for watching! And please remember to hit like and subscribe! :)
Following is a product I use picked at random from my collection which may appear in my videos. Clicking through on this to find and click on the green affiliate links before purchasing from eBay or AliExpress is a great way to support the channel at no cost to you. Thanks!
Today: another unboxing video! I do these, not because I think that my regular viewers are going to be particularly interested, but because you really only get the opportunity to do these on the day that new equipment arrives, and I figure it might be helpful for people who search for unboxing videos for a particular product, so they can see what’s in the box before they make a purchasing decision.
This video is an unboxing of two different 4-port HDMI KVM switches. I would give you affiliate links but these don’t seem to be available in the USA, so here are the non-affiliated Amazon Australia links:
For the record I paid AU$64.56 for the AM-KVM401-K (US$40) and AU$84.14 for the KC-KVM401A (US$55). I don’t know what algorithm is in charge of pricing at Amazon but the prices seem to have gone way up since I purchased these things two days ago, now the AM-KVM401-K is AU$75.96 and the KC-KVM401A is AU$98.99, so not sure what’s up with that (but I do NOT like the idea that Amazon has a pricing system that isn’t offering all shoppers the same price all the time, which this smells like).
I reckon the K-CEVE marketing department is going to bit pretty upset with engineering or manufacturing about this, but when I was unboxing the AM-KVM401-K the front panel push button switch just dead set fell out! That’s gotta be embarrassing for someone.
Having done the unboxing I’ve decided I’m gonna try the larger KC-KVM401A unit first. Its larger size is a disadvantage but I like the fact that it has USB-A instead of USB-C inputs and I’m also happy that it has a dedicated 5V power rail, the AM-KVM401-K is powered off the USB bus which is less desirable.
I will post another article later to let you know how I went when I actually plug these things in, which I haven’t actually done yet.
Thanks very much for watching! And please remember to hit like and subscribe!
Following is a product I use picked at random from my collection which may appear in my videos. Clicking through on this to find and click on the green affiliate links before purchasing from eBay or AliExpress is a great way to support the channel at no cost to you. Thanks!
In the video you can watch me break this thing open. I didn’t exactly know how to do it, and I permanently damaged the device while opening it. In the end I wasn’t 100% sure what the safe and proper way to open these things really is. Giving it a mighty pull might work, otherwise you will need to leverage off some friction locks.
Before I broke the device open I tried to measure the resistance across its probes, but all three measurement devices reported open circuit. The device doesn’t seem to engage the resistor until it detects a voltage.
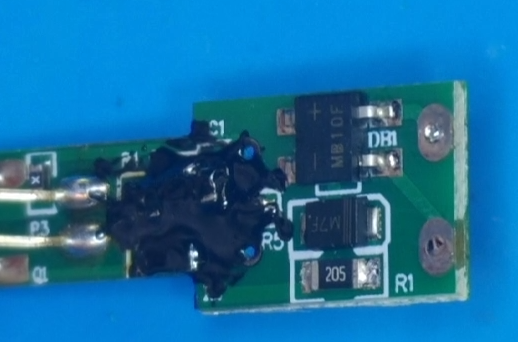
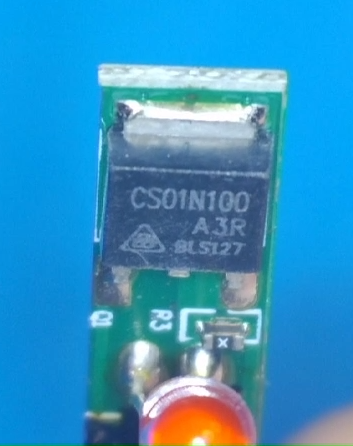
Eventually I got the device open, you can see some photos of the circuit board below, and I make some attempt to identify the components.
The MB10F on the top is a bridge rectifier, the M7F in the middle is a rectifying diode, and the resistor at the bottom is 2MΩ. In the video I say that the resistor is a “two ohm resistor”, but it is actually a “two MEGA ohm resistor” (I knew that, I just misspoke).
I’m not 100% sure what the CS01N100 A3R is, but it seems than an CS01N100 A4R is a silicon N-Channel Power MOSFET, so I think that’s probably what that is.
As I broke this device during the teardown I have purchased myself a replacement device for AU$23.02.
In the video I use the following equipment (affiliate links where possible):
In the video I have trouble with the connections into the DSO-TC3, the connections are documented here: FNIRSI DSO-TC3.
Thanks very much for watching! And please remember to hit like and subscribe!
Following is a product I use picked at random from my collection which may appear in my videos. Clicking through on this to find and click on the green affiliate links before purchasing from eBay or AliExpress is a great way to support the channel at no cost to you. Thanks!