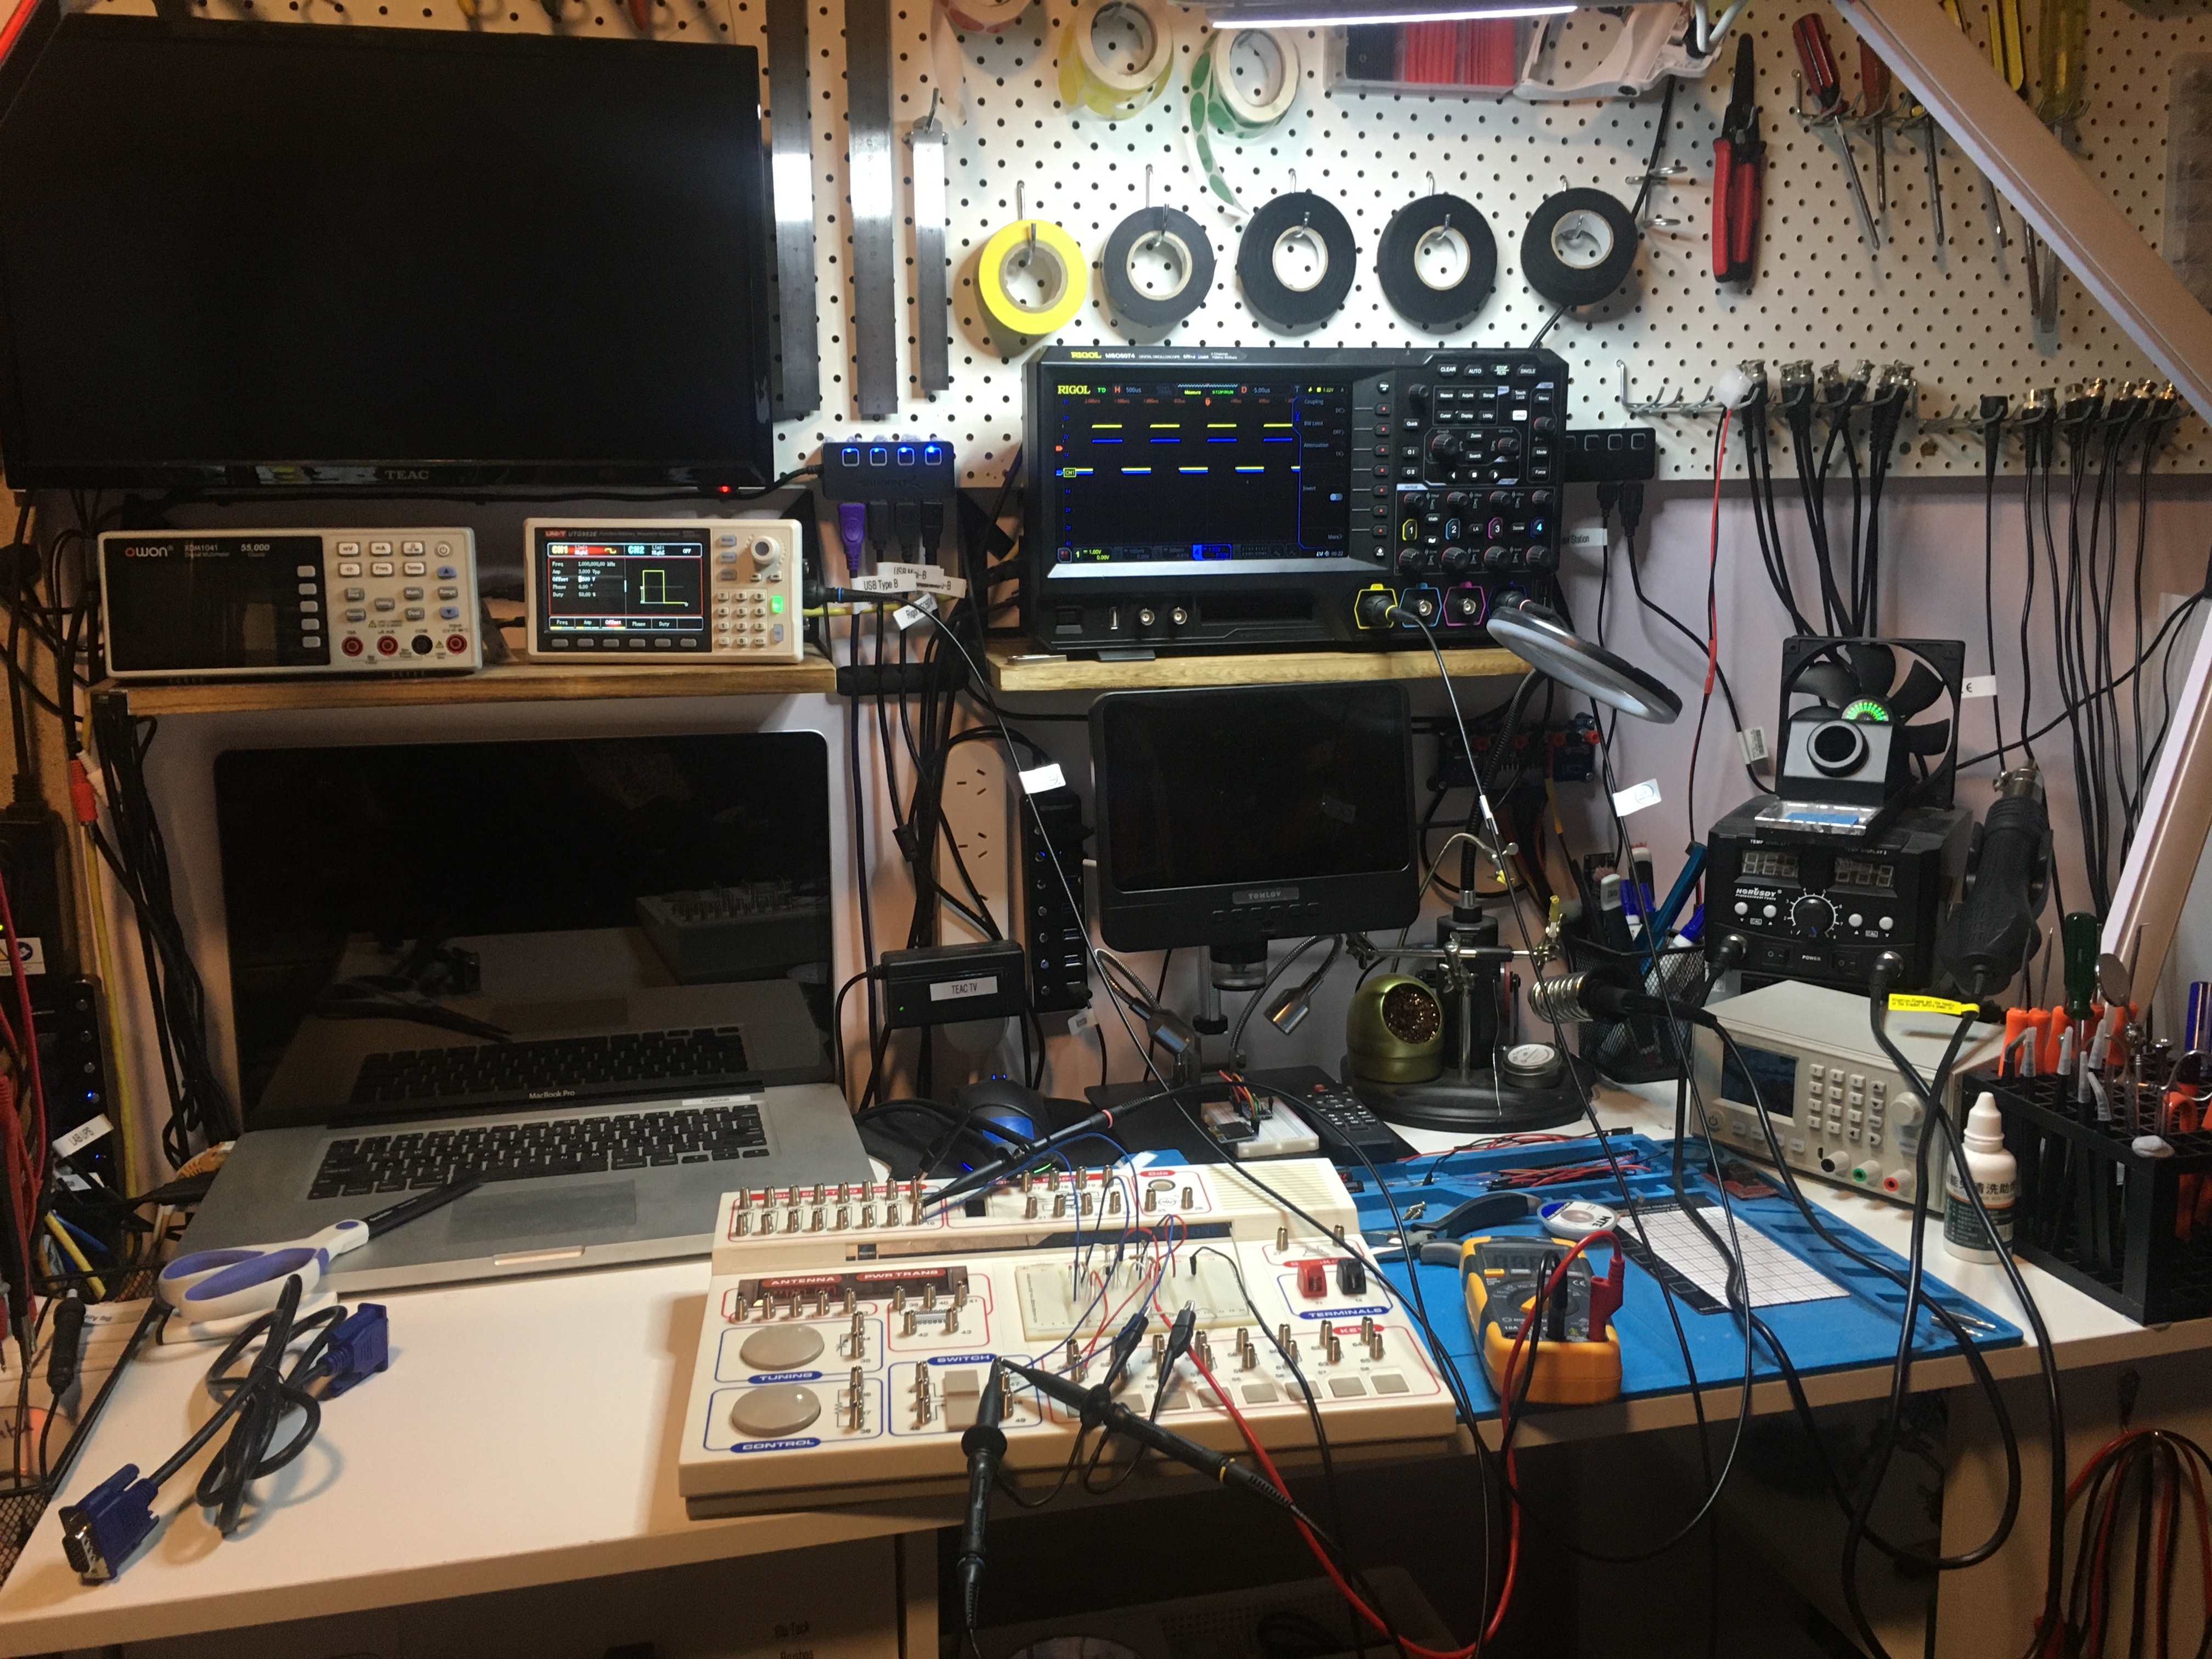
Electronics Project #12: Making an LED Heart | Learning Electronics In The Lab With Jay Jay

This post is part of my video blog and you can find more information about this video over here.

You can support this channel on Patreon: patreon.com/JohnElliotV

Silly Job Title: Bit Distinguisher.

In this video we build an LED heart. It is beautiful and green.

The schematic and instructions are these:

Instructions in Chinese

Schematic in Chinese

As we discover in the video this circuit is an astable multivibrator made with two op-amps provided by an LM358.

I mention that my copy of Learning the Art of Electronics: A Hands-On Lab Course 2nd Edition has arrived. Very happy about that! I will be getting on with the notes for these very soon.

I mention about the two Logitech BRIOs that I have installed as my “maths cam”. This will enable me to record my maths videos, which I am planning to start soon. I will be working through my old high school mathematics textbooks starting with Signpost 7.

I mentioned my Spivak calculus book, and my Stewart calculus book too, but I can’t seem to find my copy of that at Amazon. If you’re interested in such things check out Calculus by Spivak from Learning as a hobby.

We use the METCAL PS-900 Soldering Station for soldering.

We use the Peak Electronic Design Atlas DCA75 Pro Semiconductor Analyzer to check our NPN transistor.

We use the Peak Electronic Design Atlas LCR45 LCR Meter to check our resistors and capacitor.

We use the Riden RD6006 Bench Power Supply to provide 5V for testing.

We use the Yizhan Digital Microscope to have a closer look at a few things.

We use the Hakko CHP 3C-SA Precision Tweezers for working with small parts.

I mention about these bins which I have purchased recently. They are cheap and a good size but my experience is that the material is very brittle and prone to breaking.

And love to Nirvana for Heart-Shaped Box. 💕

Also, here’s the full list of my ESP32 boards:

Thanks very much for watching! And please remember to hit like and subscribe! :)


Following is a product I use picked at random from my collection which may appear in my videos. Clicking through on this to find and click on the green affiliate links before purchasing from eBay or AliExpress is a great way to support the channel at no cost to you. Thanks!

Wozniak Solder LugsThis is an image of the product.notes

Let’s go shopping!

Electronics Project #11: TJ-56-428 4-Digit Digital DIY Clock Take 2 | In The Lab With Jay Jay

This post is part of my video blog and you can find more information about this video over here.

You can support this channel on Patreon: patreon.com/JohnElliotV

Silly Job Title: Wattage Warlock.

In this video we build the TJ-56-428 4-Digit Digital Clock just like we did last time.

You read that right. We made one of these before and I liked it so much that we are making one again! I get better at it this time round, I don’t make any of the mistakes I did last time.

In the introduction to this video I mention about my new Blu-ray player which I got so I could watch Colossus: The Forbin Project. Both my Blu-ray disc and my Blu-ray player are for Region B.

As I mention I have been writing for Hackaday! So that’s been keeping me busy.

The instructions for this clock are over here: TJ-56-428 4-Digit Digital DIY Clock (same as last time).

I mention about the new Learning the Art of Electronics project which we’re just about to get started with.

The microcontroller in this clock is the STC15W404AS. It comes in the kit pre-programmed and I’ve not been able to find the software anywhere. Bummer. If you know where to get the software please do let me know!

The temperature controlled resistor is a 10K NTC thermistor which seems to be used for the room temperature function (which I don’t use and didn’t calibrate).

The crystal oscillator is spec’ed as 32768 which is obviously a reference to the clock frequency. See Why do we use 32.768 kHz crystals in most circuits? We check the impedance of this device in the video using the Peak Atlas LCR45.

In the video I mention my mate Joe who helped me out last time I did this project. Thanks Joe!

We use the METCAL PS-900 Soldering Station to do our soldering.

We use the Fluke 17B+ Digital Multimeter to test the voltage on our USB power adapters.

We use the EEVblog BM2257 Digital Multimeter to check our resistors.

We use the Peak Electronic Design Atlas DCA75 Pro Semiconductor Analyzer to test the crystal (we don’t get a reading, which was expected).

We use the Peak Electronic Design Atlas LCR45 LCR Meter to test our crystal. It gives us an impedance reading at 200kHz with both real and imaginary components.

We use the Hakko CHP 3C-SA Precision Tweezers to hold our solder and poke about. At one point I drop a component lead offcut into the board and it shorted two resistors, so lucky I found it and pulled it out!

And that’s everything to know about this project!

Here’s a photo of the completed project installed next to the symbol keyboard on my desk:

Here's a photo of my clock installed on my desk next to my symbol keyboard.

Thanks very much for watching! And please remember to hit like and subscribe! :)


Following is a product I use picked at random from my collection which may appear in my videos. Clicking through on this to find and click on the green affiliate links before purchasing from eBay or AliExpress is a great way to support the channel at no cost to you. Thanks!

Yum Cha DT830B Digital MultimeterThis is an image of the product.notes

Let’s go shopping!

Concluding Maxitronix 20in1 | Maxitronix 20in1 | Learning Electronics In The Lab With Jay Jay

This post is part of my video blog and you can find more information about this video over here.

You can support this channel on Patreon: patreon.com/JohnElliotV

In this video we conclude our Maxitronix 20in1.

The videos we made for this feature of the show:

Thanks very much for watching! And please remember to hit like and subscribe! :)


Following is a product I use picked at random from my collection which may appear in my videos. Clicking through on this to find and click on the green affiliate links before purchasing from eBay or AliExpress is a great way to support the channel at no cost to you. Thanks!

Yum Cha Double-ended Cotton SwabsThis is an image of the product.

Let’s go shopping!

Weather Indicator | Project 20/20 | Maxitronix 20in1 | Learning Electronics In The Lab With Jay Jay

This post is part of my video blog and you can find more information about this video over here.

You can support this channel on Patreon: patreon.com/JohnElliotV

In this video we do the 20th project from the Maxitronix Sensor Robot 20 (20in1) Electronics Project Lab Kit: Weather Indicator.

We use the Rigol MSO5074 Mixed Signal Oscilloscope to have a look at the two square waves from the astable multivibrators.

We use the UNI-T UTi260B Thermal Imager to investigate the circuit’s heat profile.

We use the Riden RD6006 Bench Power Supply to deliver 9V to power the circuit and to report on its current draw.

Thanks very much for watching! And please remember to hit like and subscribe! :)


Following is a product I use picked at random from my collection which may appear in my videos. Clicking through on this to find and click on the green affiliate links before purchasing from eBay or AliExpress is a great way to support the channel at no cost to you. Thanks!

Yum Cha Macro Programmable 8-Key Mechanical KeyboardThis is an image of the product.

Let’s go shopping!

Touch Buzzer | Project 19/20 | Maxitronix 20in1 | Learning Electronics In The Lab With Jay Jay

This post is part of my video blog and you can find more information about this video over here.

You can support this channel on Patreon: patreon.com/JohnElliotV

In this video we do the 19th project from the Maxitronix Sensor Robot 20 (20in1) Electronics Project Lab Kit: Touch Buzzer.

This circuit uses a Darlington pair to amplify the very weak signal from the touch sensor.

We use the Rigol MSO5074 Mixed Signal Oscilloscope to look at the square wave from the astable multivibrator.

We use the UNI-T UTi260B Thermal Imager to examine the thermal characteristics of the circuit, particularly the 1K resistors getting warm.

We use the Riden RD6006 Bench Power Supply to provide 9V for our circuit and also to measure the current drawn by the circuit in its inactive (11mA) and active (12mA) states.

Thanks very much for watching! And please remember to hit like and subscribe! :)


Following is a product I use picked at random from my collection which may appear in my videos. Clicking through on this to find and click on the green affiliate links before purchasing from eBay or AliExpress is a great way to support the channel at no cost to you. Thanks!

Maxitronix 500in1 Electronics Project Lab KitThis is an image of the product.notes

Let’s go shopping!

Rain Detector | Project 18/20 | Maxitronix 20in1 | Learning Electronics In The Lab With Jay Jay

This post is part of my video blog and you can find more information about this video over here.

You can support this channel on Patreon: patreon.com/JohnElliotV

In this video we do the 18th project from the Maxitronix Sensor Robot 20 (20in1) Electronics Project Lab Kit: Rain Detector.

We use the Rigol MSO5074 Mixed Signal Oscilloscope to see the 1.6 kHz square wave from our astable multivibrator.

We use the UNI-T UTi260B Thermal Imager to watch the thermal effects of the circuit. We see both the 1K resistors in the astable multivibrator get warm, but only the activated side of the bistable multivibrator gets warm.

We use the Fluke 17B+ Digital Multimeter to buzz out the circuit looking for mistakes.

We use the Riden RD6006 Bench Power Supply to provide 9V for our circuit. I make a mistake and connect it the wrong way around to begin with!

Thanks very much for watching! And please remember to hit like and subscribe! :)


Following is a product I use picked at random from my collection which may appear in my videos. Clicking through on this to find and click on the green affiliate links before purchasing from eBay or AliExpress is a great way to support the channel at no cost to you. Thanks!

TOOKKS HZY ABS Wire FixtureThis is an image of the product.notes

Let’s go shopping!

Low-Water Indicator | Project 17/20 | Maxitronix 20in1 | In The Lab With Jay Jay

This post is part of my video blog and you can find more information about this video over here.

You can support this channel on Patreon: patreon.com/JohnElliotV

In this video we do the 17th project from the Maxitronix Sensor Robot 20 (20in1) Electronics Project Lab Kit: Low-Water Indicator.

We use the Rigol MSO5074 Mixed Signal Oscilloscope to see the output of the astable multivibrator. In the video I make a mistake and attach the probe to the wrong pins.

We use the METCAL PS-900 Soldering Station to solder the wires I use for the banana plugs I attach to the touch sensor an voice sensor (microphone).

We use the UNI-T UTi260B Thermal Imager to look at the heat profile of the circuit. We see that the low resistances (470Ω and 1KΩ) get the warmest, but the higher resistances (e.g. 10KΩ) are also slightly visible.

We use the Fluke 17B+ Digital Multimeter to check the resistance of the touch sensor.

We use the Peak Electronic Design Atlas LCR45 LCR Meter to measure the resistance of the resistor we use in the LED attachment circuit. This extra circuit allows us to switch out the buzzer for an LED, which makes a lot less racket. The resistor it uses turned out to be 470Ω.

We use the Riden RD6006 Bench Power Supply to provide 9V for our test circuit. Usually I take a current reading to see how much power the circuit draws in its various states, but I forgot!

We use the Horusdy Soldering Station with Hot Air Gun for its hot air gun in order to shrink the heat shrink which we added to the banana plug cables we attached to our sensors.

Thanks very much for watching! And please remember to hit like and subscribe! :)


Following is a product I use picked at random from my collection which may appear in my videos. Clicking through on this to find and click on the green affiliate links before purchasing from eBay or AliExpress is a great way to support the channel at no cost to you. Thanks!

Yum Cha 9-Inch Needle Nose PliersThis is an image of the product.notes

Let’s go shopping!

High-Water Indicator | Project 16/20 | Maxitronix 20in1 | In The Lab With Jay Jay

This post is part of my video blog and you can find more information about this video over here.

You can support this channel on Patreon: patreon.com/JohnElliotV

In this video we do the 16th project from the Maxitronix Sensor Robot 20 (20in1) Electronics Project Lab Kit: High-Water Indicator.

After we build the circuit we dump the sensor in a glass of water which causes the alarm to trigger. To avoid the obnoxious noise we put an LED in place of the buzzer.

Please be aware: while talking about this circuit I said that the astable multivibrator “flip flops” between states. And that’s kind of true in one sense, but I should be clear than an astable multivibrator is not a “flip flop” circuit. A flip flop circuit is a different type of circuit known as a bistable multivibrator, which is a different kind of thing. In this experiment we use an astable multivibrator to generate a 1.62 kHz square wave which provides our tone, we do not use a flip flop or bistable multivibrator circuit.

We use the Rigol MSO5074 Mixed Signal Oscilloscope to measure and visualize the 1.62 kHz square wave which generates our tone.

We use the UNI-T UTi260B Thermal Imager to investigate the circuit thermals. We see that the 1K resistors in the astable multivibrator generate the most heat.

We use the Fluke 17B+ Digital Multimeter to measure the voltage across Q5. Between about 500 mV and 750 mV is enough voltage to enable the output.

We use the Riden RD6006 Bench Power Supply to deliver the 9V DC required for the project. We use the current measurement from the power supply to see that when the LED is active the circuit draws about 23 mA compared to about 11 mA when the LED is not active.

We use the Horusdy Soldering Station with Hot Air Gun to dry the sensor after it got wet.

Thanks very much for watching! And please remember to hit like and subscribe! :)


Following is a product I use picked at random from my collection which may appear in my videos. Clicking through on this to find and click on the green affiliate links before purchasing from eBay or AliExpress is a great way to support the channel at no cost to you. Thanks!

Ausum 25 In 1 Precision Screwdriver SetThis is an image of the product.notes

Let’s go shopping!