This post is part of my video blog and you can find more information about this video.
You can support this channel on Patreon: patreon.com/JohnElliotV
Silly Job Title: Cable Connector. I am the Cable Connector!
In this video we unbox the TEKERA 10-Port Powered USB 3.2/USB C Hub 60W with 10Gbps USB-A 3.2, 2 USB-C 3.2, 4 USB 3.0 Data Ports, 1 USB-C PD and 2 USB-A Fast Charging Ports, Aluminum USB Splitter for Laptop/PC, RSH-A10QPD.
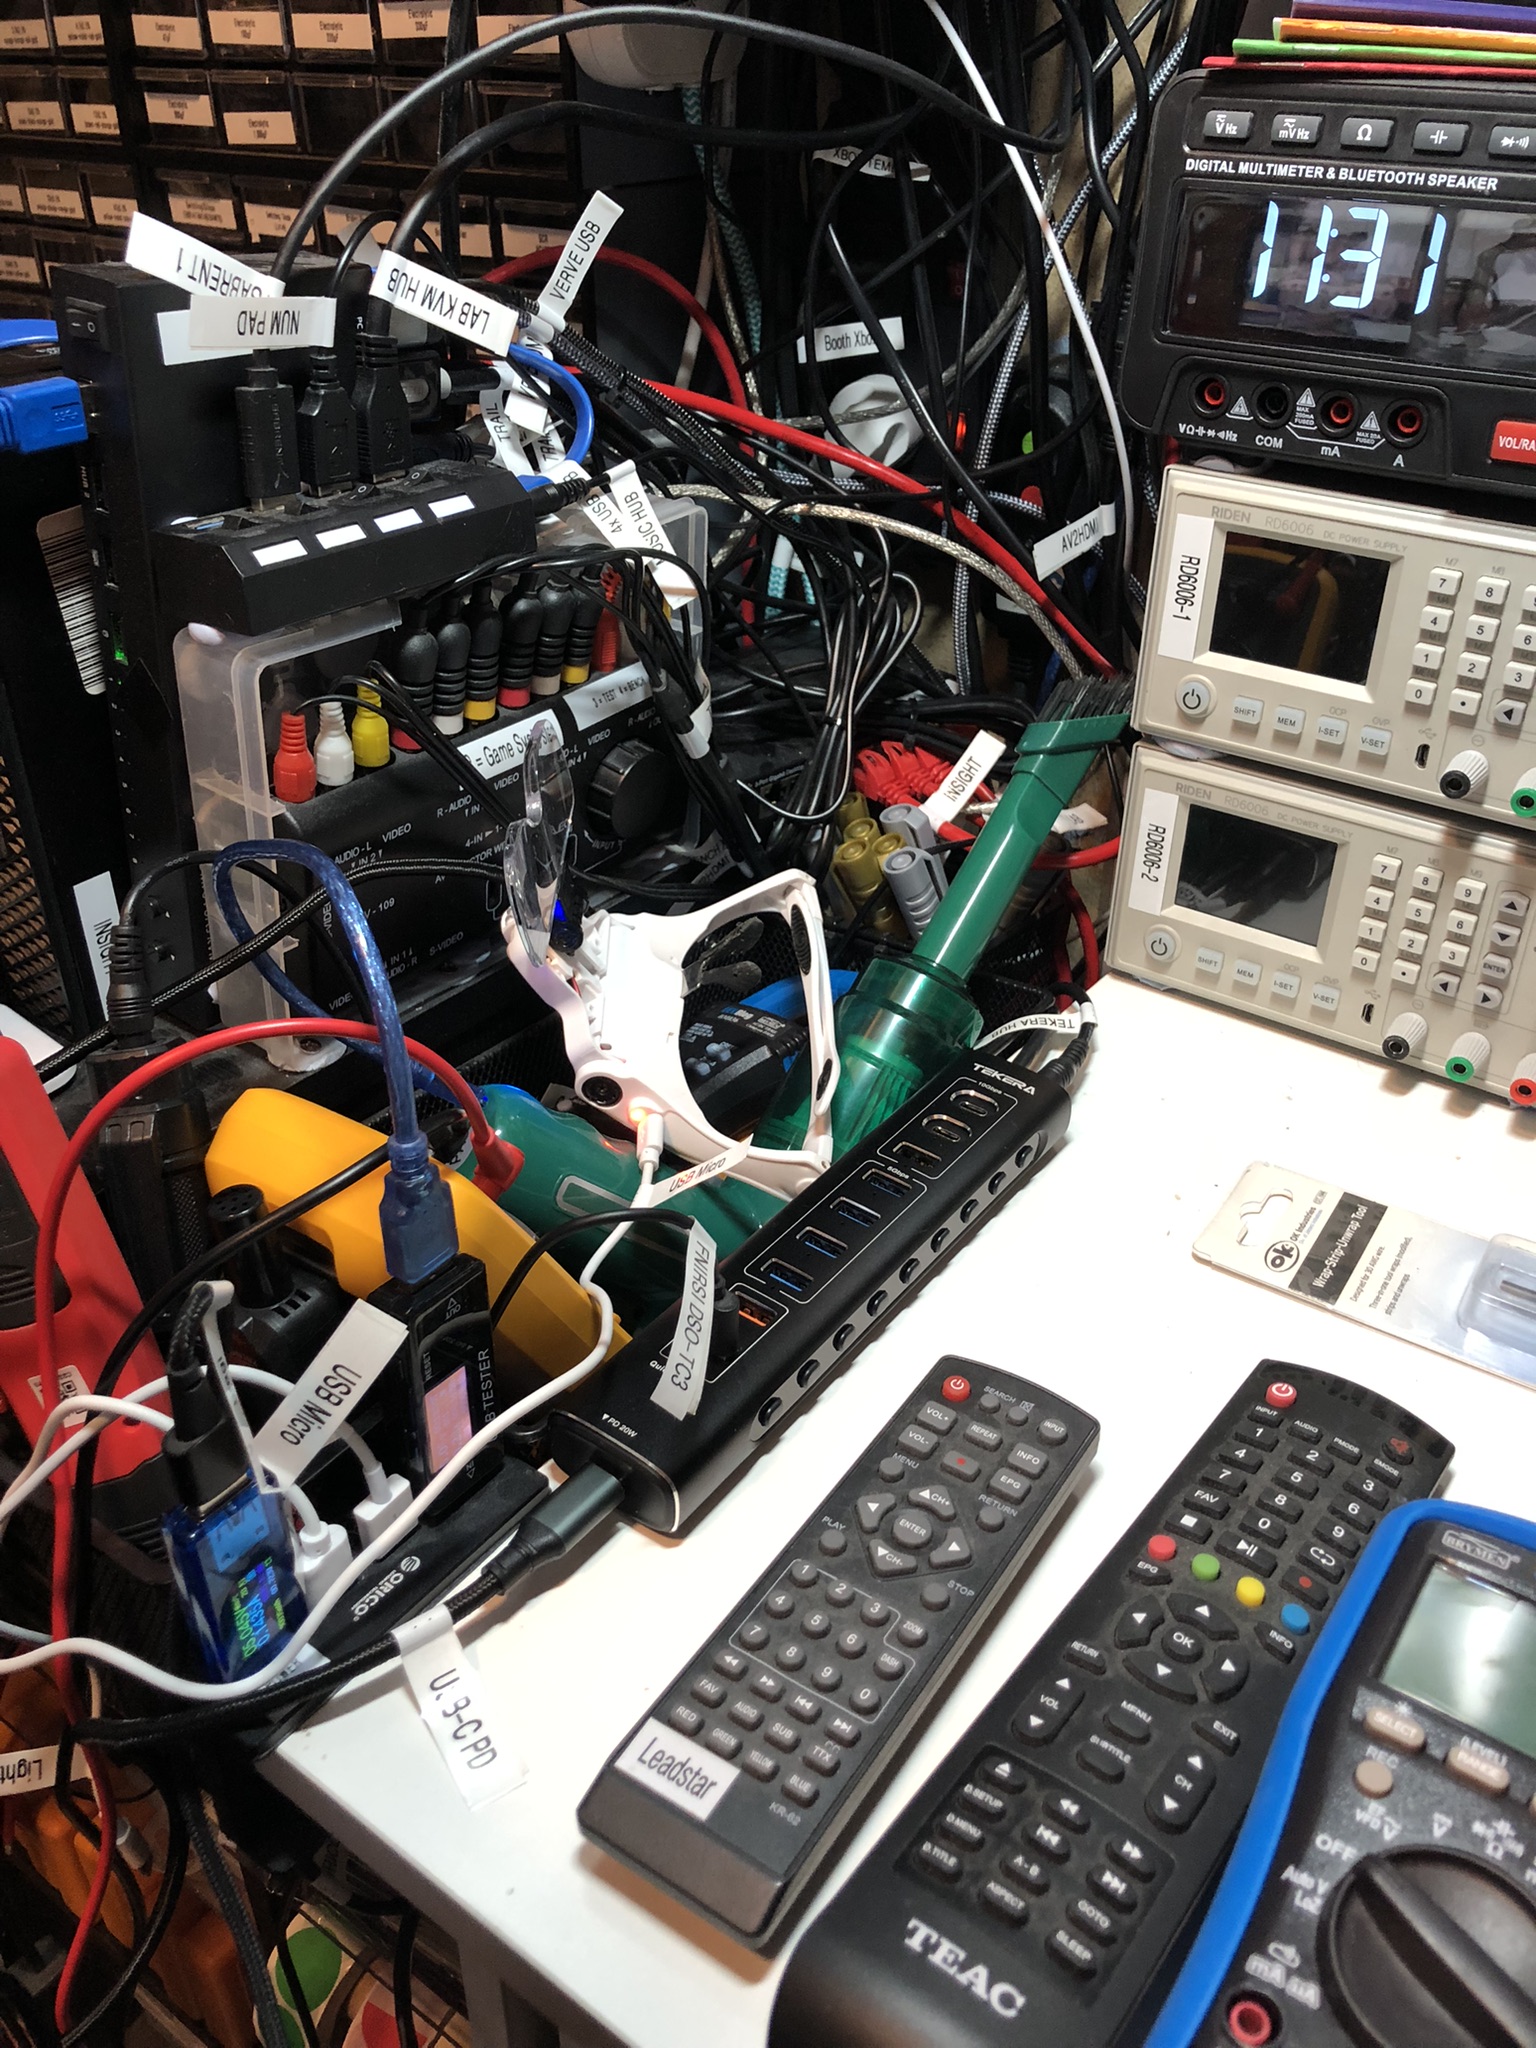
Here is a photo of this USB hub installed on my bench, ready to provide power and data connectivity to my various equipment and projects:
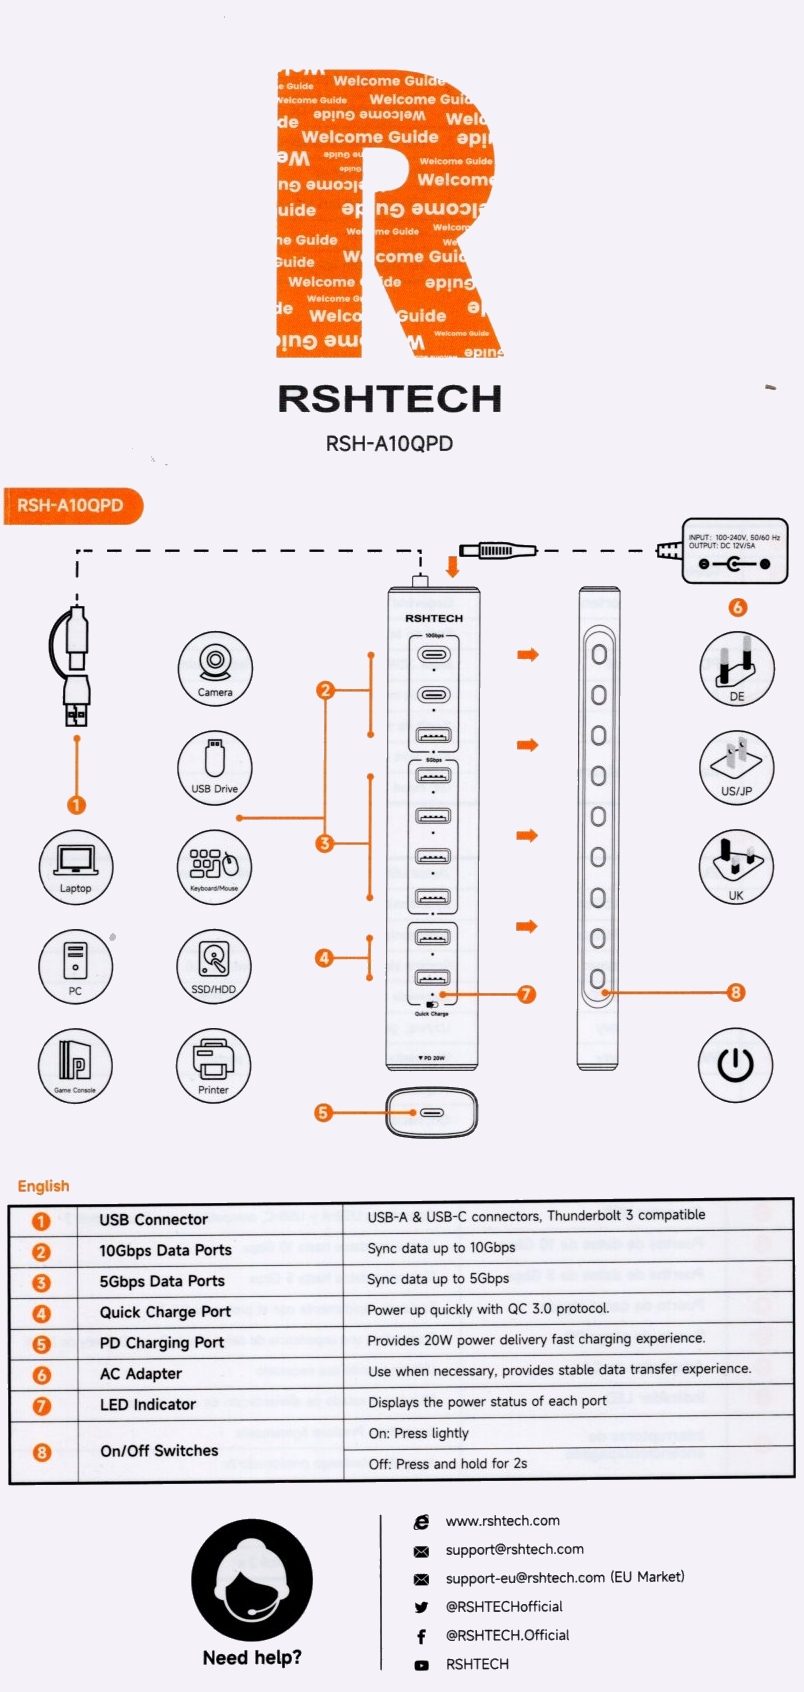
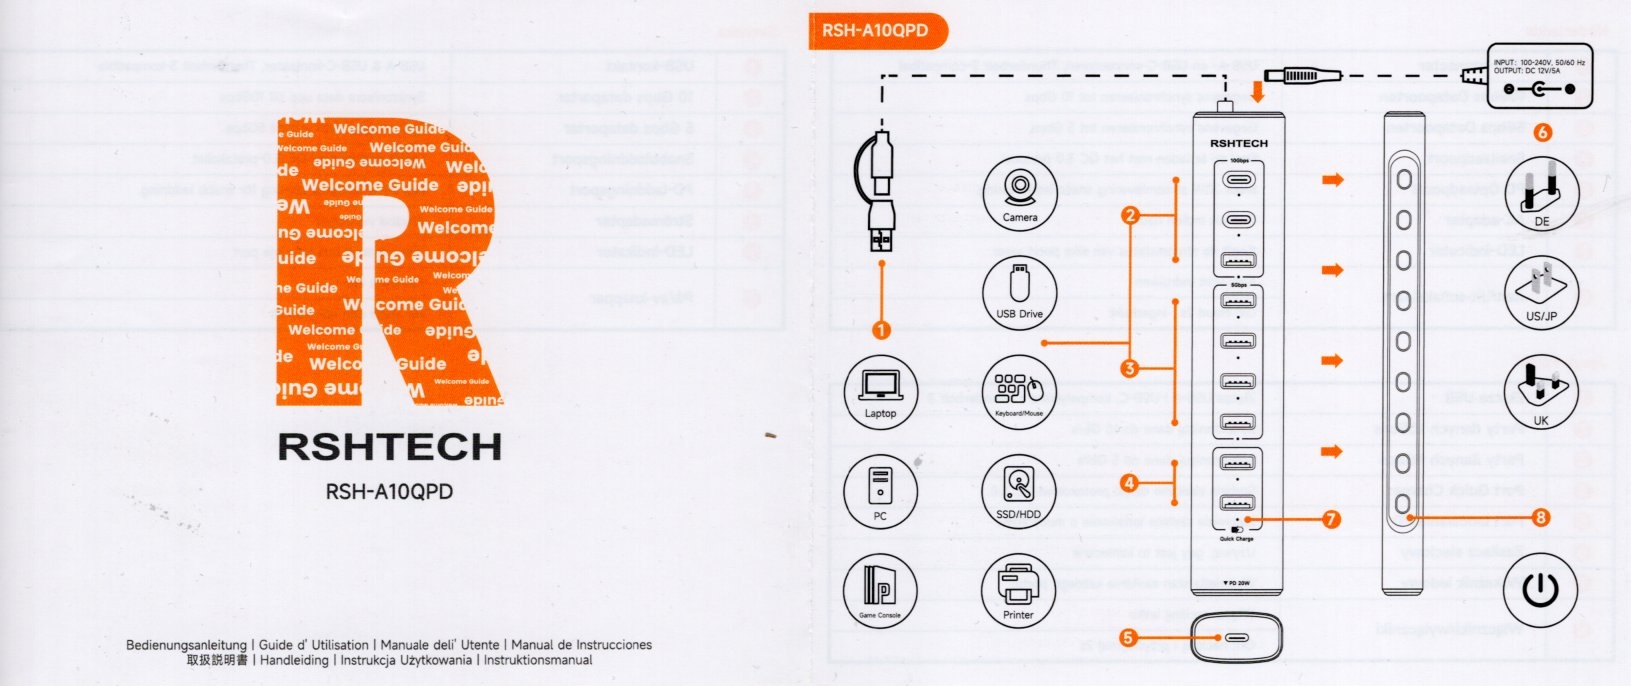
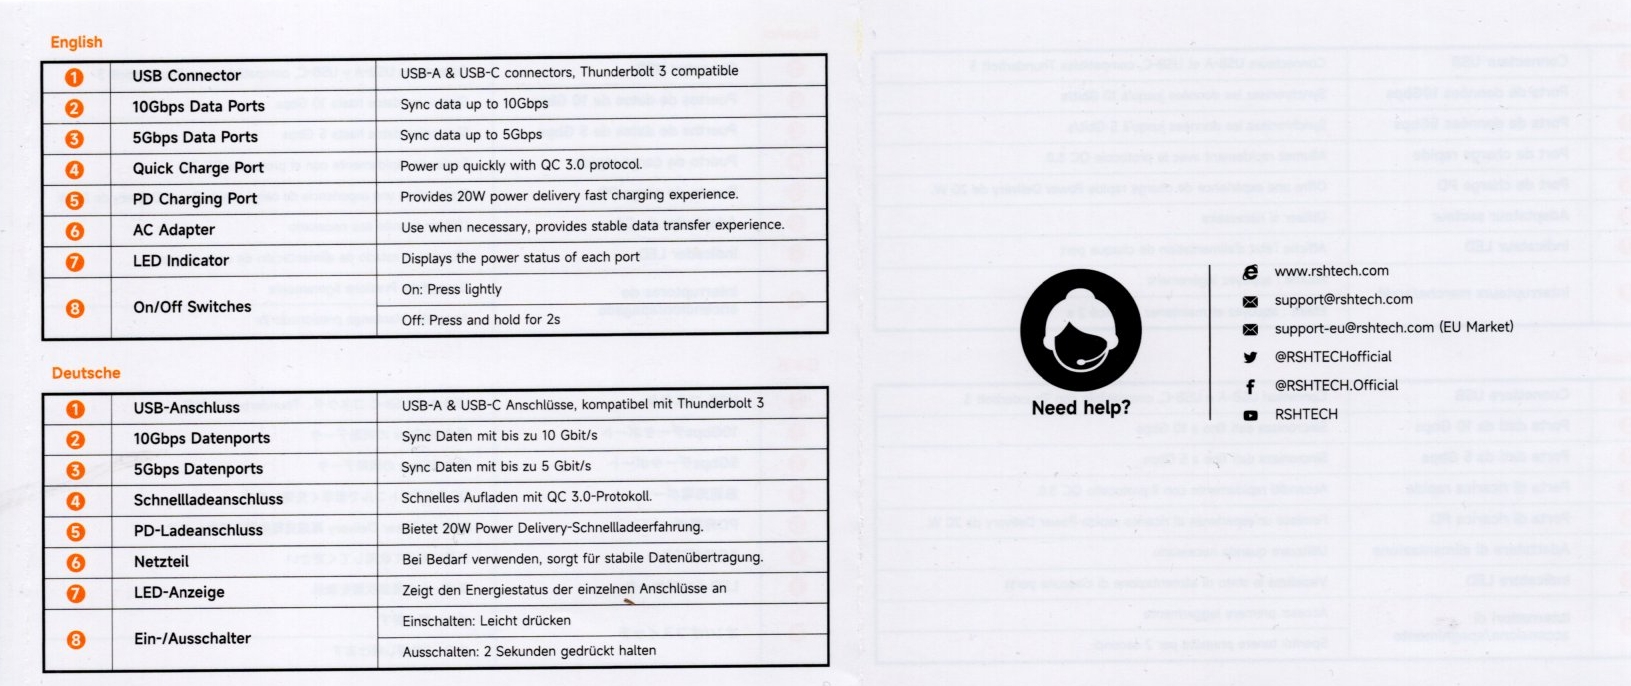
Here are some scans of the manual:
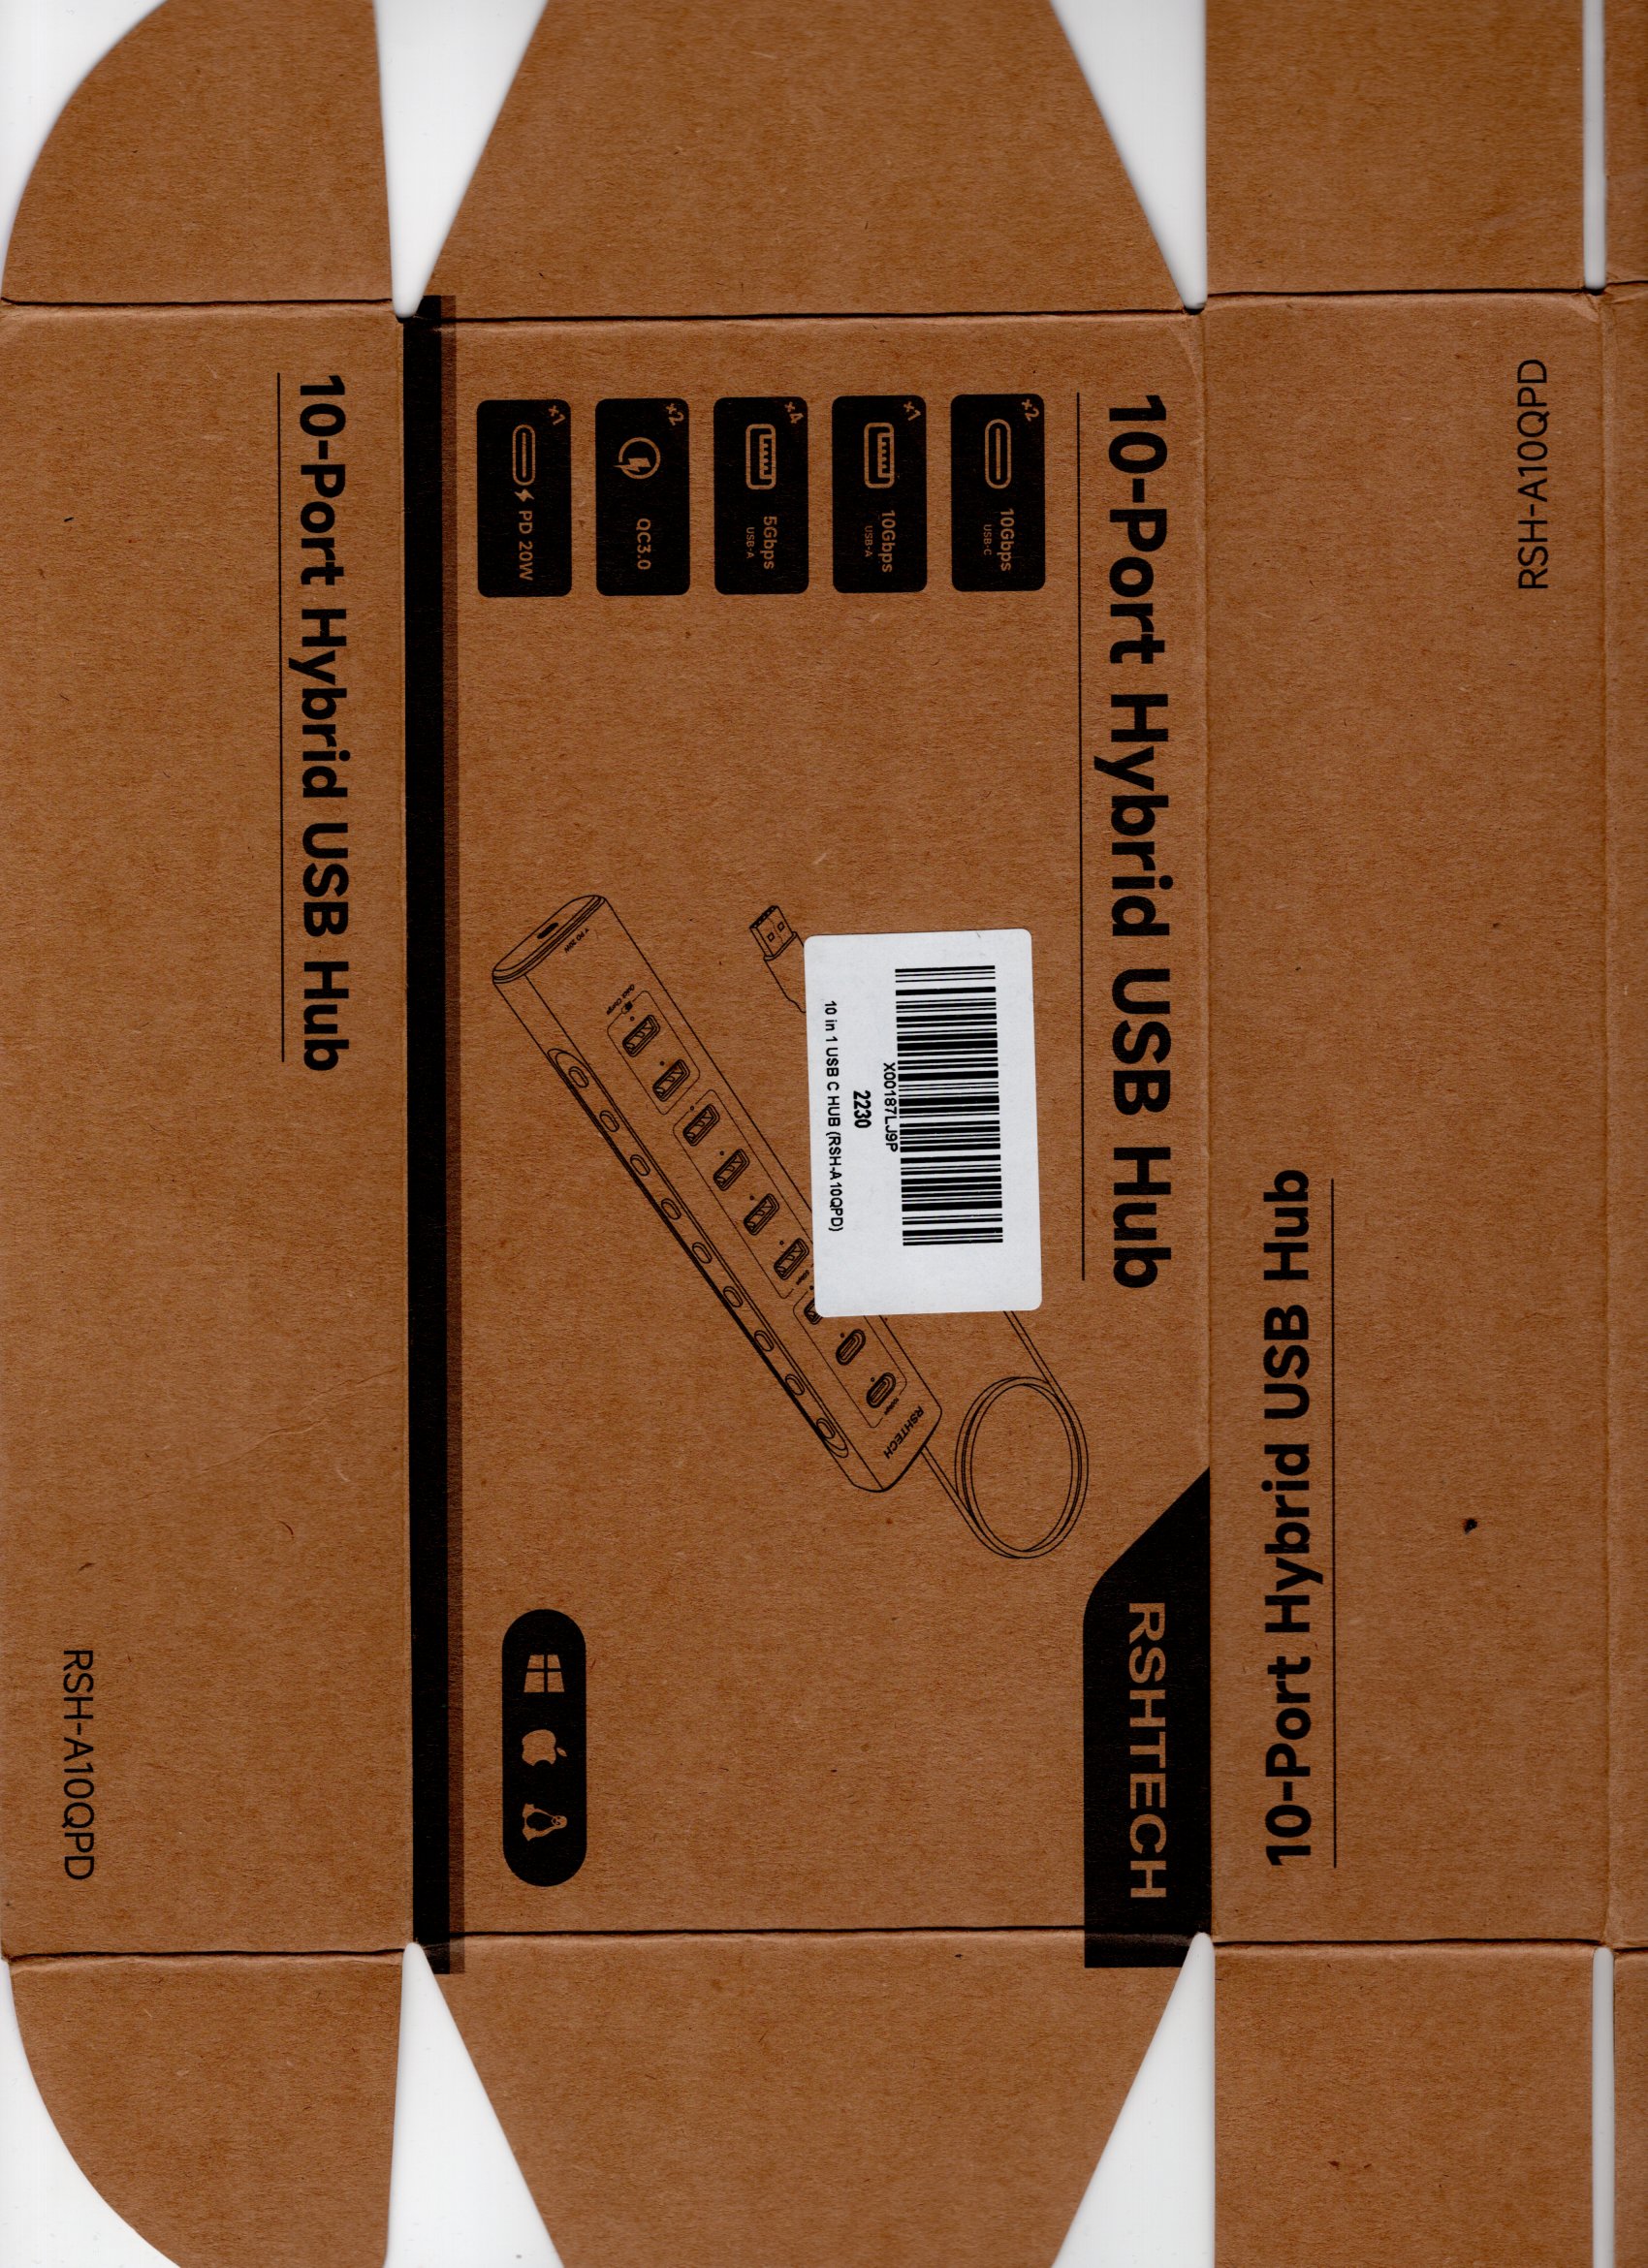
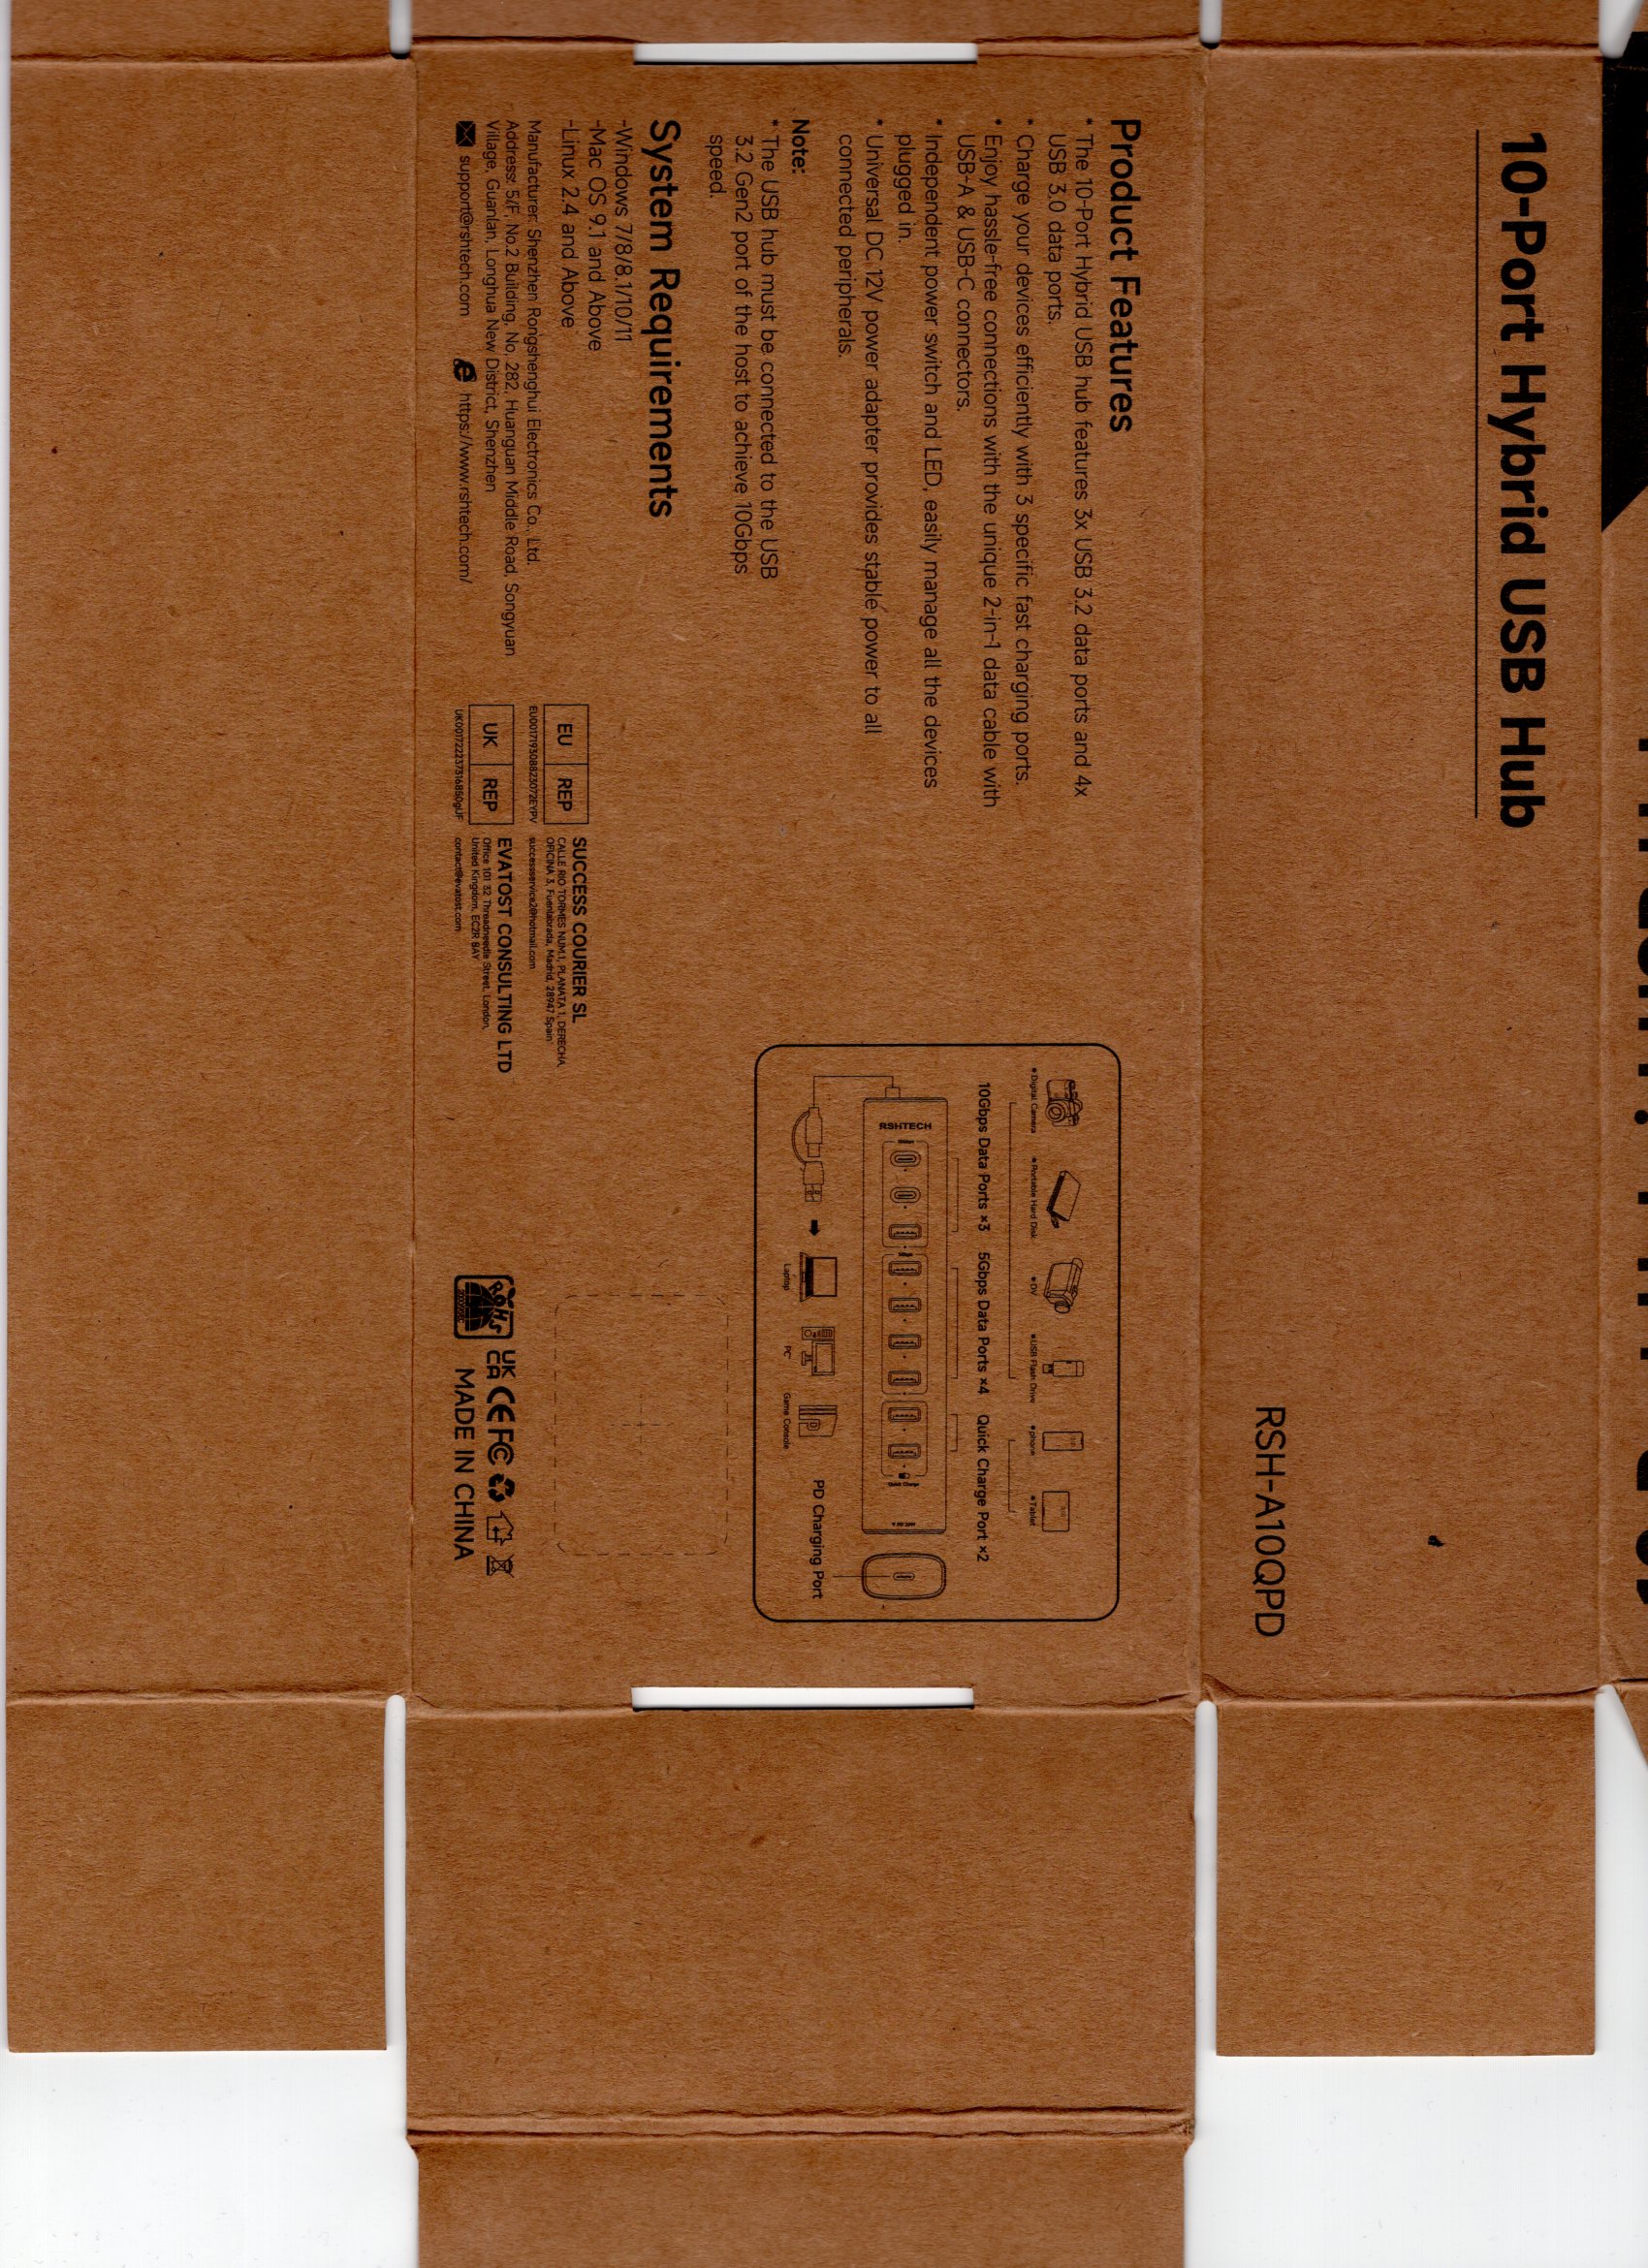
And here are some scans of the box the device came in:
Thanks very much for watching! And please remember to hit like and subscribe! :)
Following is a product I use picked at random from my collection which may appear in my videos. Clicking through on this to find and click on the green affiliate links before purchasing from eBay or AliExpress is a great way to support the channel at no cost to you. Thanks!
Yum Cha Blue Spudgers |
Let’s go shopping!