A new post from Justin Sung: How to Effortlessly Enter DEEP WORK on Command. I assume “deep work” has something to do with Deep Work: Rules for Focused Success in a Distracted World. But basically I guess they are talking about flow.
Using The 74HC595 Shift Register To Drive 7-Segment Displays
I have a new post on Hackaday: Using The 74HC595 Shift Register To Drive 7-Segment Displays.
Mail Call #36: QuickStudy Cheatsheets and Soldering Stuff from Amazon | In The Lab With Jay Jay
This post is part of my video blog and you can find more information about this video over here.
You can support this channel on Patreon: patreon.com/JohnElliotV
Silly Job Title: Electronics Guru.
In this video we see what arrived in the mail from Amazon. The main haul was my QuickStudy cheatsheets. But I also go this stuff too:
Thanks very much for watching! And please remember to hit like and subscribe! :)
Following is a product I use picked at random from my collection which may appear in my videos. Clicking through on this to find and click on the green affiliate links before purchasing from eBay or AliExpress is a great way to support the channel at no cost to you. Thanks!
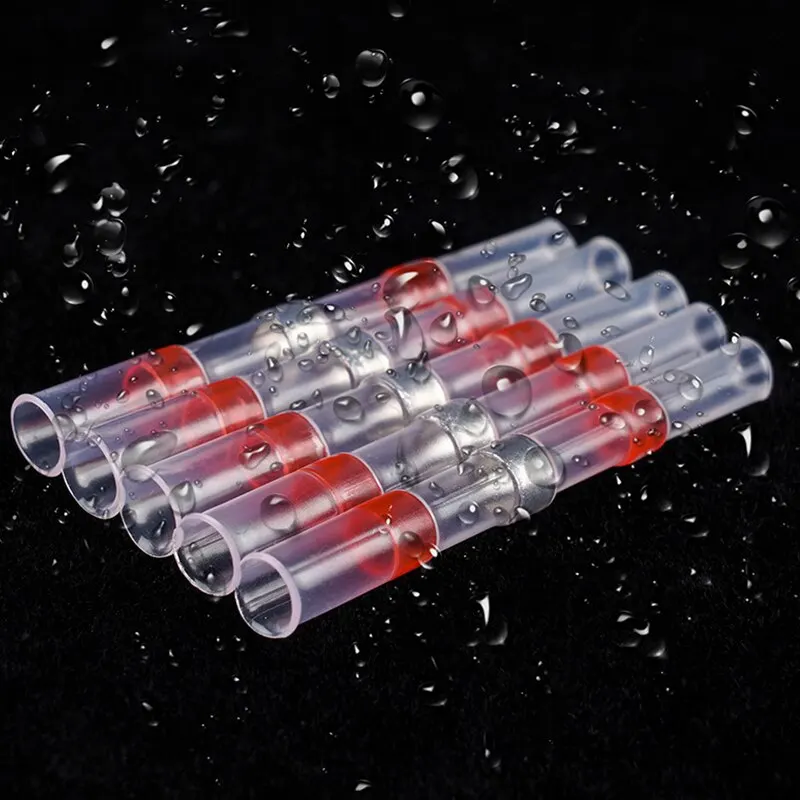
Yum Cha 100pcs Heat Shrink Wire Connectors |
Let’s go shopping!
Let’s Brief You On Recent Developments For Electrostatic Motors
I have a new post on Hackaday: Let’s Brief You On Recent Developments For Electrostatic Motors.
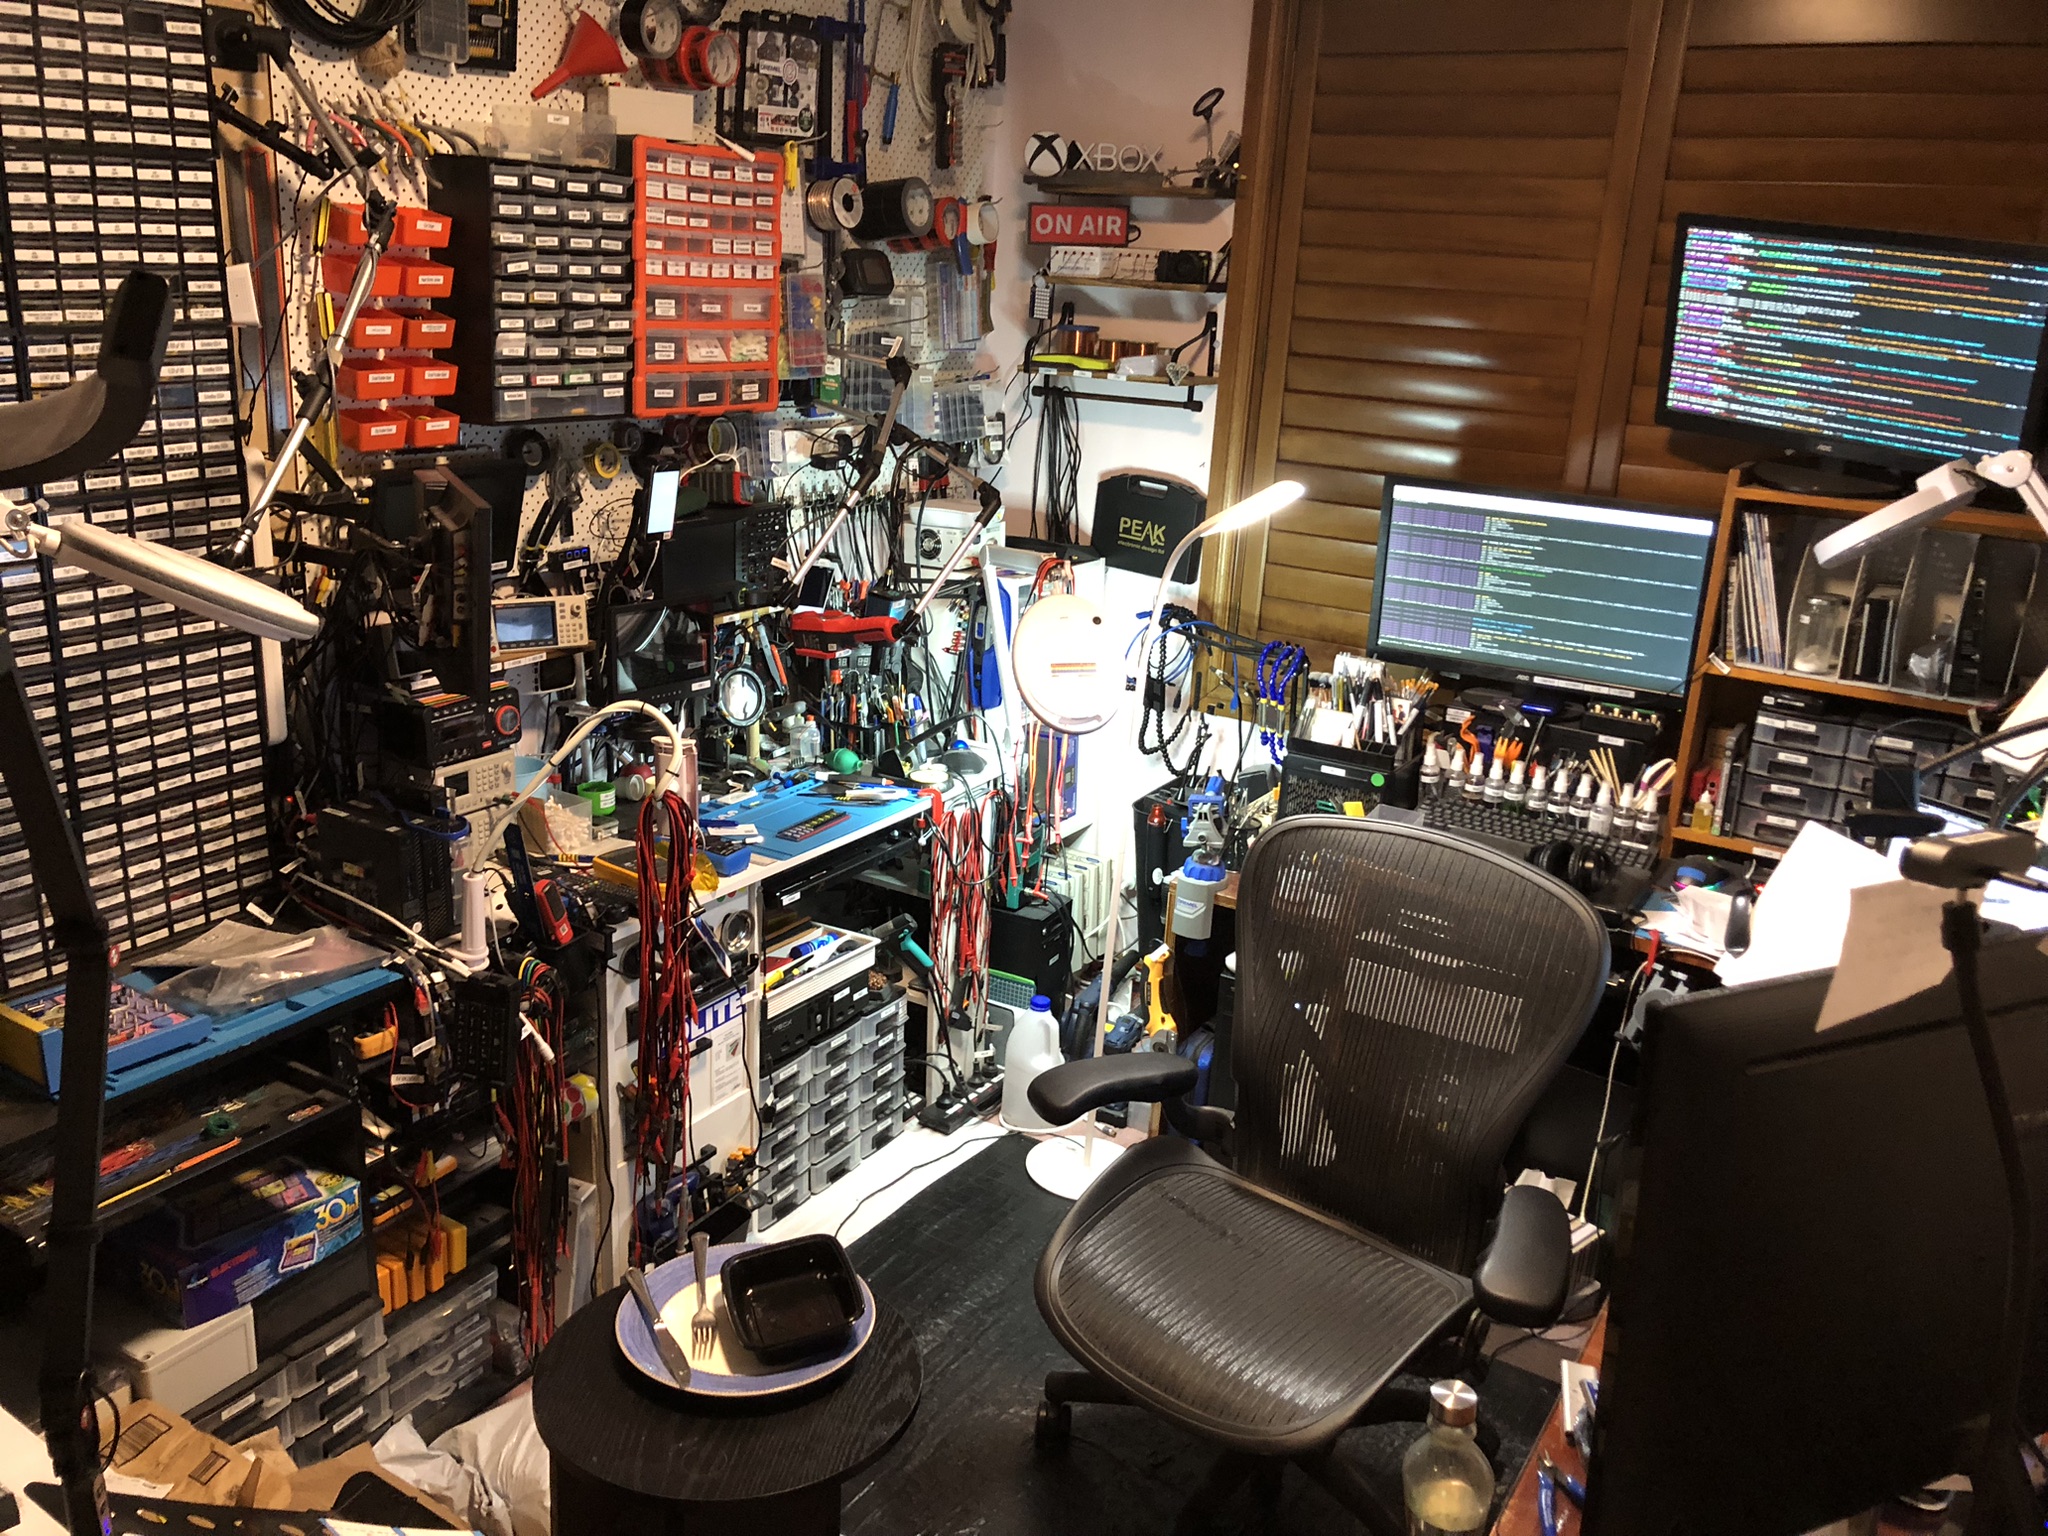
Living the life
POLITE
Learning the Art of Electronics 1N.23
I made another false start for Learning the Art of Electronics the other day, you can see the results below. I am planning to re-record this particular video, the goal is to have that come out on Tuesday next week.
Using Ultra-Wideband For 3D Location And Tracking
I have a new post on Hackaday: Using Ultra-Wideband For 3D Location And Tracking.
Electronics Project #16: Making Power Cables for Learning the Art of Electronics | In The Lab
This post is part of my video blog and you can find more information about this video over here.
You can support this channel on Patreon: patreon.com/JohnElliotV
Silly Job Title: Transistor Troubadour.
In this video we make some power cables which we will be using when we start to make the circuits for Learning the Art of Electronics. In particular we make two banana jack to DC barrel male and three DC barrel female to JST PH2.0 male. I also accidentally made a DC barrel male to JST PH2.0 but I’m not planning to use that.
The ElectroCookie printed circuit boards (PCBs) I will be using for the LAoE projects are these:
- ElectroCookie Mini PCB Prototype Board Solderable Breadboard for DIY Electronics, Compatible for Mini Arduino Soldering Projects, Gold-Plated (50 Pack, Black)
- ElectroCookie Solderable Breadboard PCB Board for Electronics Projects Compatible for DIY Arduino Soldering Projects, Gold-Plated (9 Pack + 3 Mini, Multicolor Pack)
- ElectroCookie Large PCB Prototype Board Kit Solderable Breadboards for DIY Arduino and Soldering Projects, Gold-Plated (6 Multi-Pack, Blue)
We use the METCAL PS-900 Soldering Station for soldering.
We use the EEVblog BM2257 Digital Multimeter to test continuity.
We use the Horusdy Soldering Station with Hot Air Gun to shrink our head shrink.
We use the Hakko CHP 3C-SA Precision Tweezers for working the wire.
We use the Plato Model 170 Wire Cutter to cut things.
Thanks very much for watching! And please remember to hit like and subscribe! :)
Following is a product I use picked at random from my collection which may appear in my videos. Clicking through on this to find and click on the green affiliate links before purchasing from eBay or AliExpress is a great way to support the channel at no cost to you. Thanks!
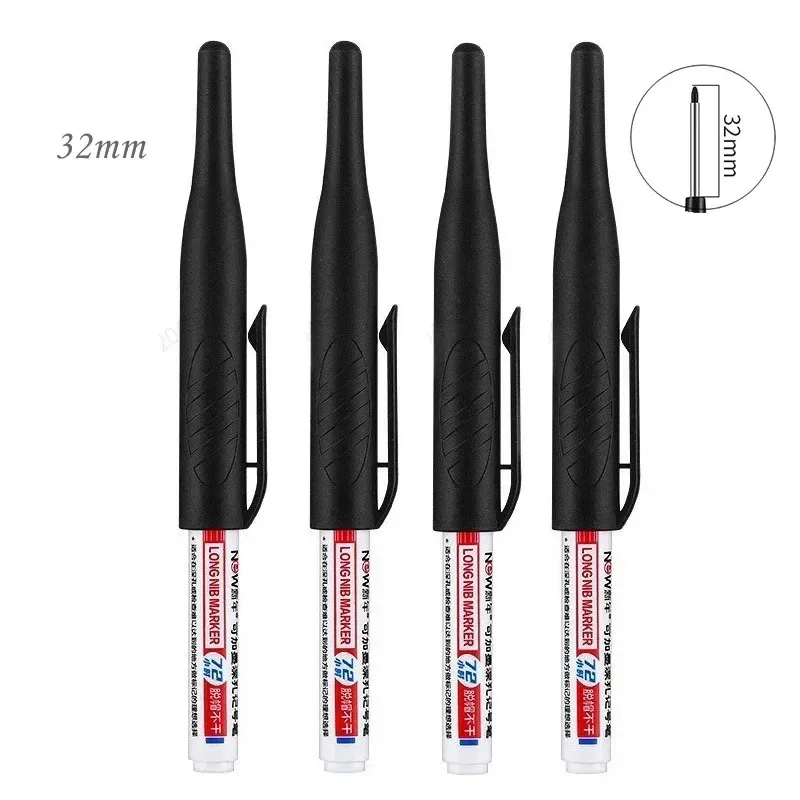
Yum Cha 4pcs 30mm Deep Hole Pen notes notes |
Let’s go shopping!
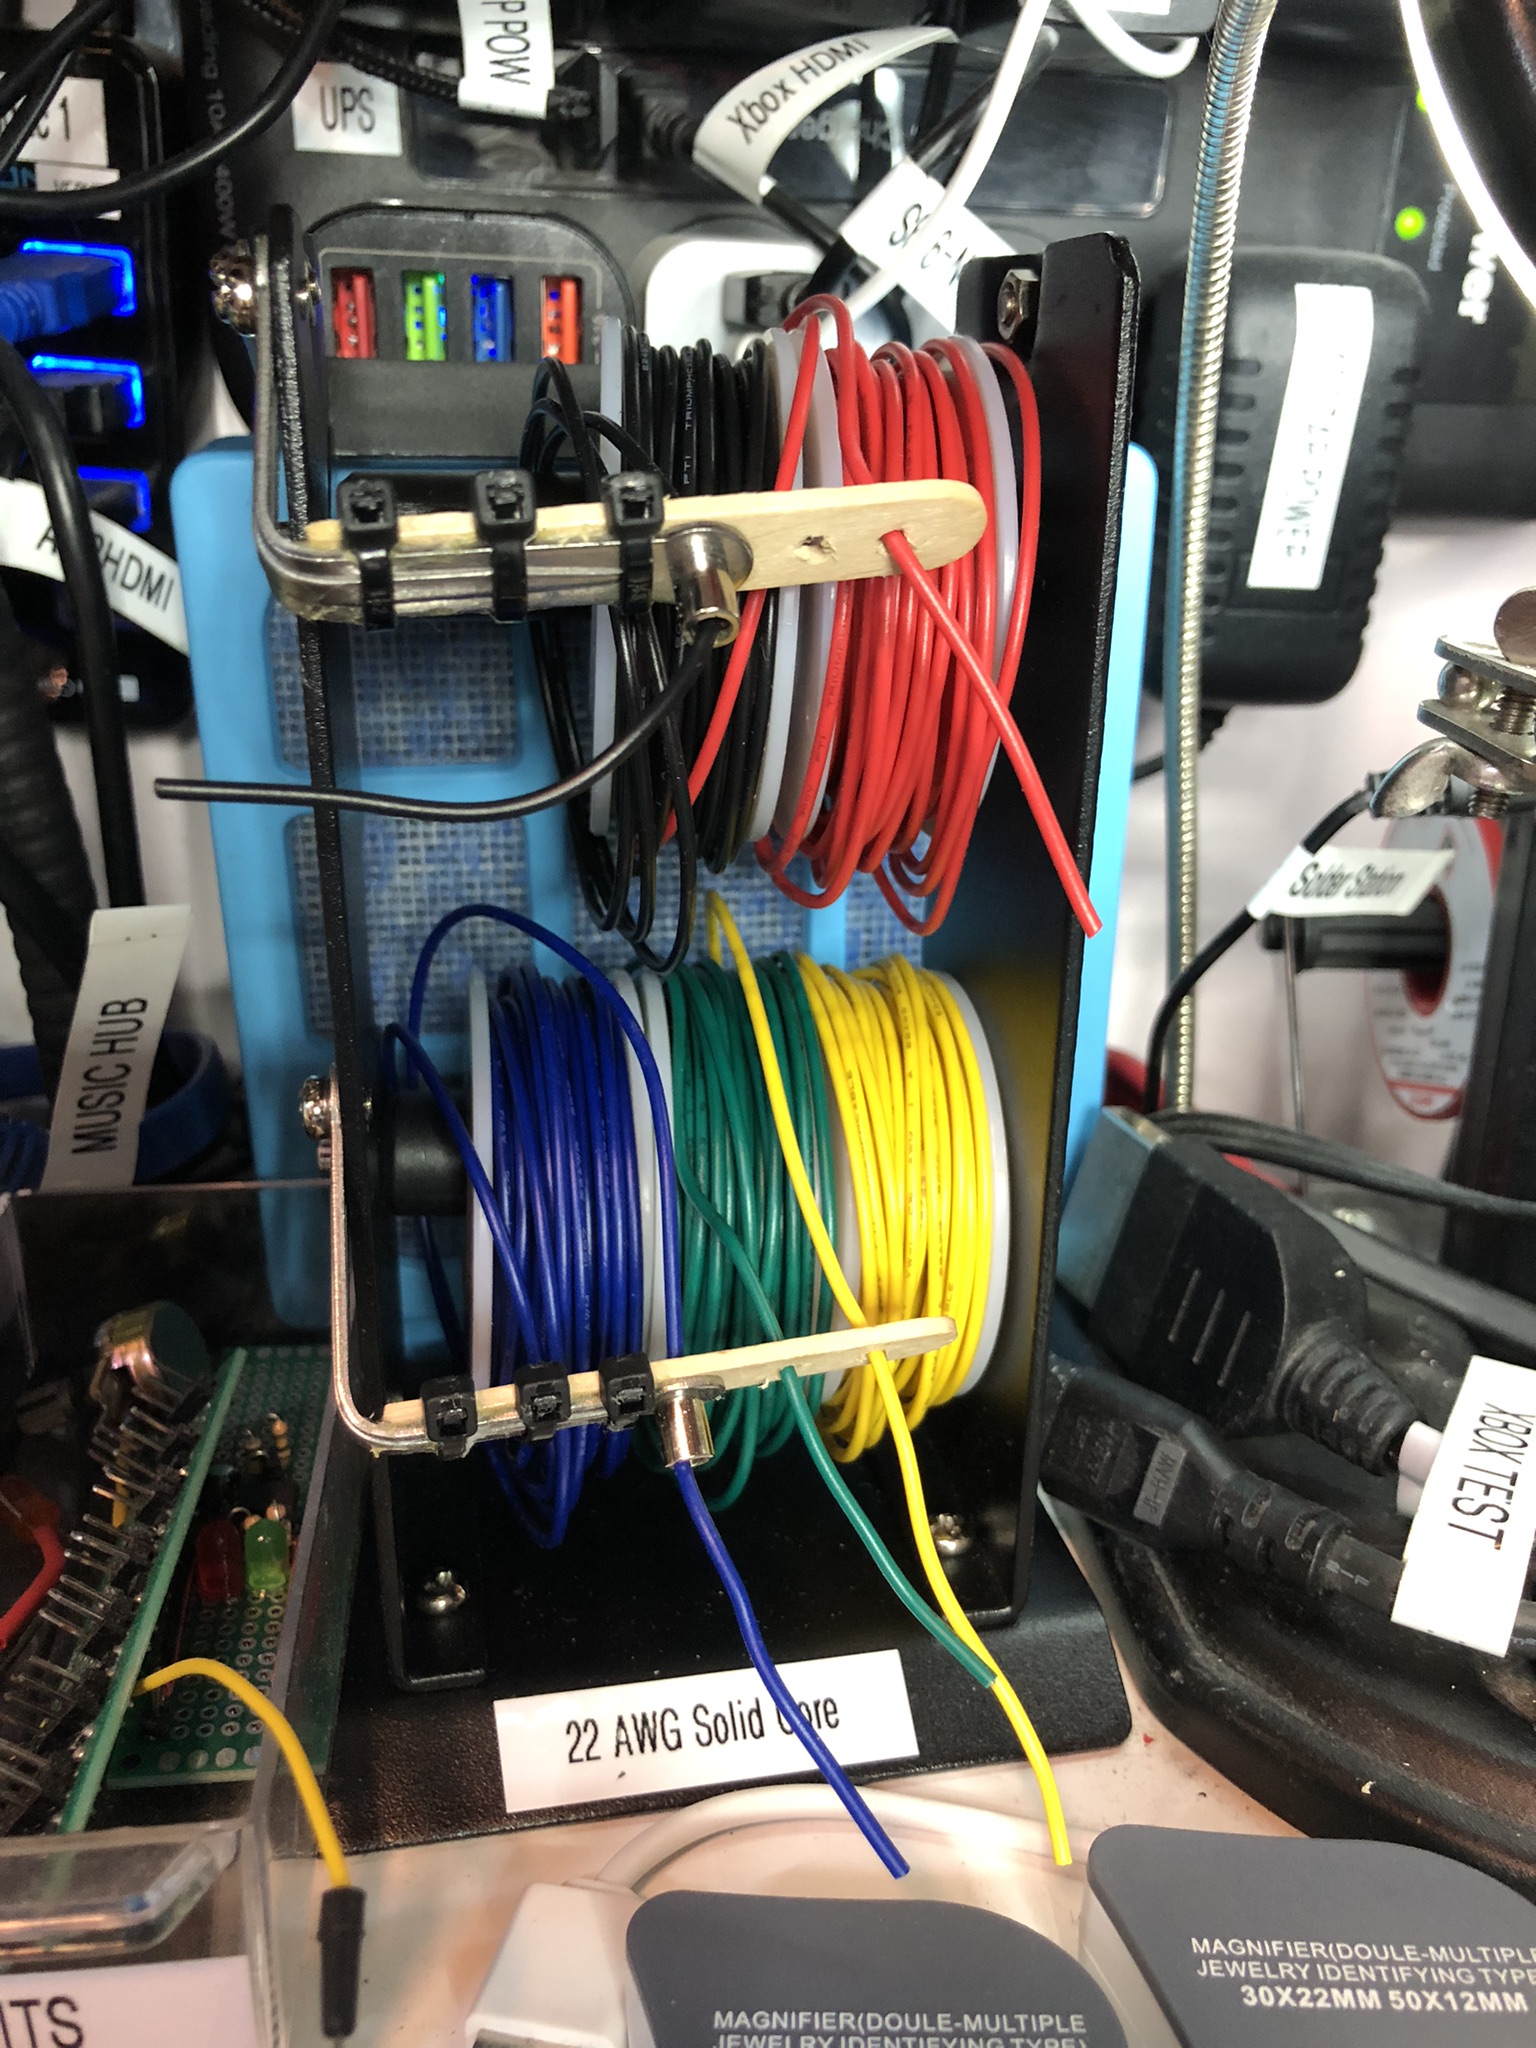
QWORK Dual Solder Dispenser
My QWORK Dual Solder Dispenser came with only one outlet per reel, but I wanted three outlets per reel, so I glued on some craft sticks with holes drilled in them and added three zip ties to each for extra mechanical support.


