Man, I just spent quite a bit of time diagnosing this particular issue.
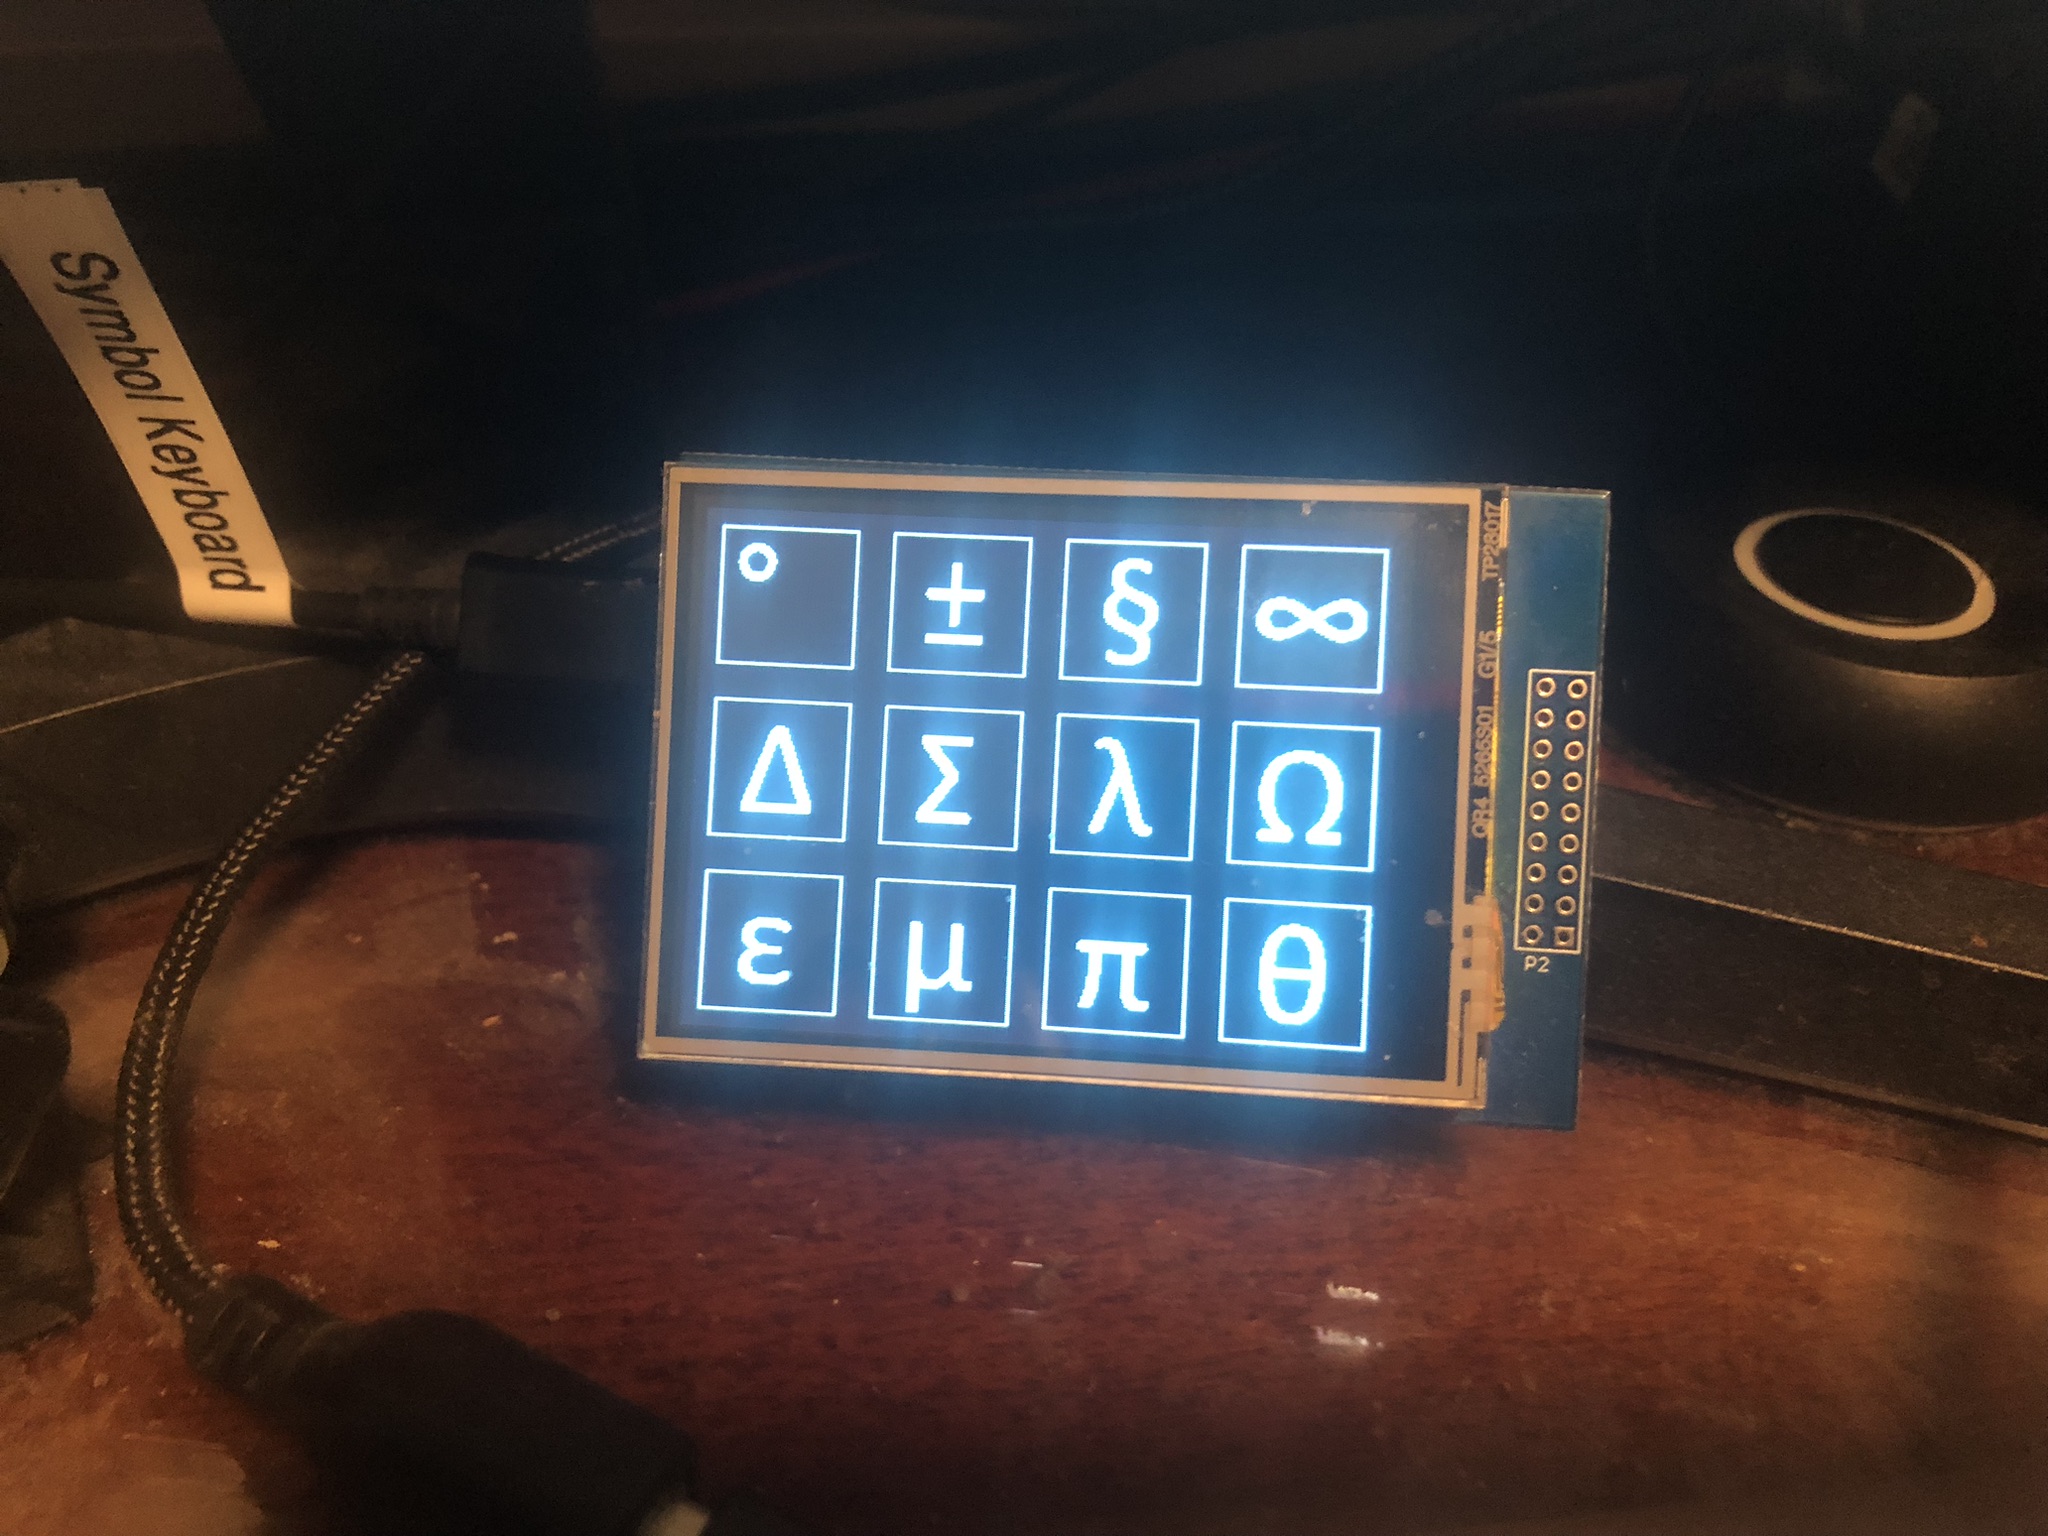
The problem was that my Symbol Keyboard stopped working. This is a USB keyboard I made from an Arduino Leonardo. The touch screen was working okay, but the keypresses weren’t being delivered over USB.
Long story short, the 7-port USB 3.0 hub attached to my workstation needed rebooting! I disconnected the power supply and disconnected the upstream USB cable to remove both sources of power, then when I reconnected everything my stuff started working again, including my symbol keyboard.
Lesson learned: if you’re debugging a USB device failure try plugging the device directly into the host to avoid any potential issues caused by your hub(s).
It was lucky I had a spare 104-key USB keyboard in the cupboard because I needed one while diagnosing this issue (the Windows box I was using only has a tenkeyless 87-key keyboard plugged into it but the Windows alt-key codes require use of the number pad).
The latest incarnation of my symbol keyboard looks like this: