A quick search for arduino fuses programming turned up a bunch of results:
ATmega fuse bytes
Reply

A quick search for arduino fuses programming turned up a bunch of results:
This evening I fell into a gameboy rabbit hole:
Spent AU$50 picking up some bits and pieces during AliExpress’s latest sale.
I got an email from one of the marketing people from PCBWay who said they could offer me free PCB printing services in exchange for a review of their service on my blog. I am very happy to do that!
Today I signed up for an account over here: https://www.pcbway.com/Member/Login/
The signup process was extremely painless: email address, password, terms of service, privacy policy, done.
(Note: I am not a lawyer, but I did read the ToS and privacy policy, and basically they claim the rights to your design files for various purposes and might transfer your data over an insecure network. I think these services are fine for hobbyists dealing with open hardware, but if you’re a commercial entity dealing with higher value intellectual property or larger volumes you might like to get legal advice before engaging.)
After logging in I got an email confirmation code emailed to me. I updated my account settings including my basic information and contact information so they know where to ship my PCBs. In exchange for my having filled out my full profile they gave me US$35 worth of vouchers with various terms (e.g. minimum spend).
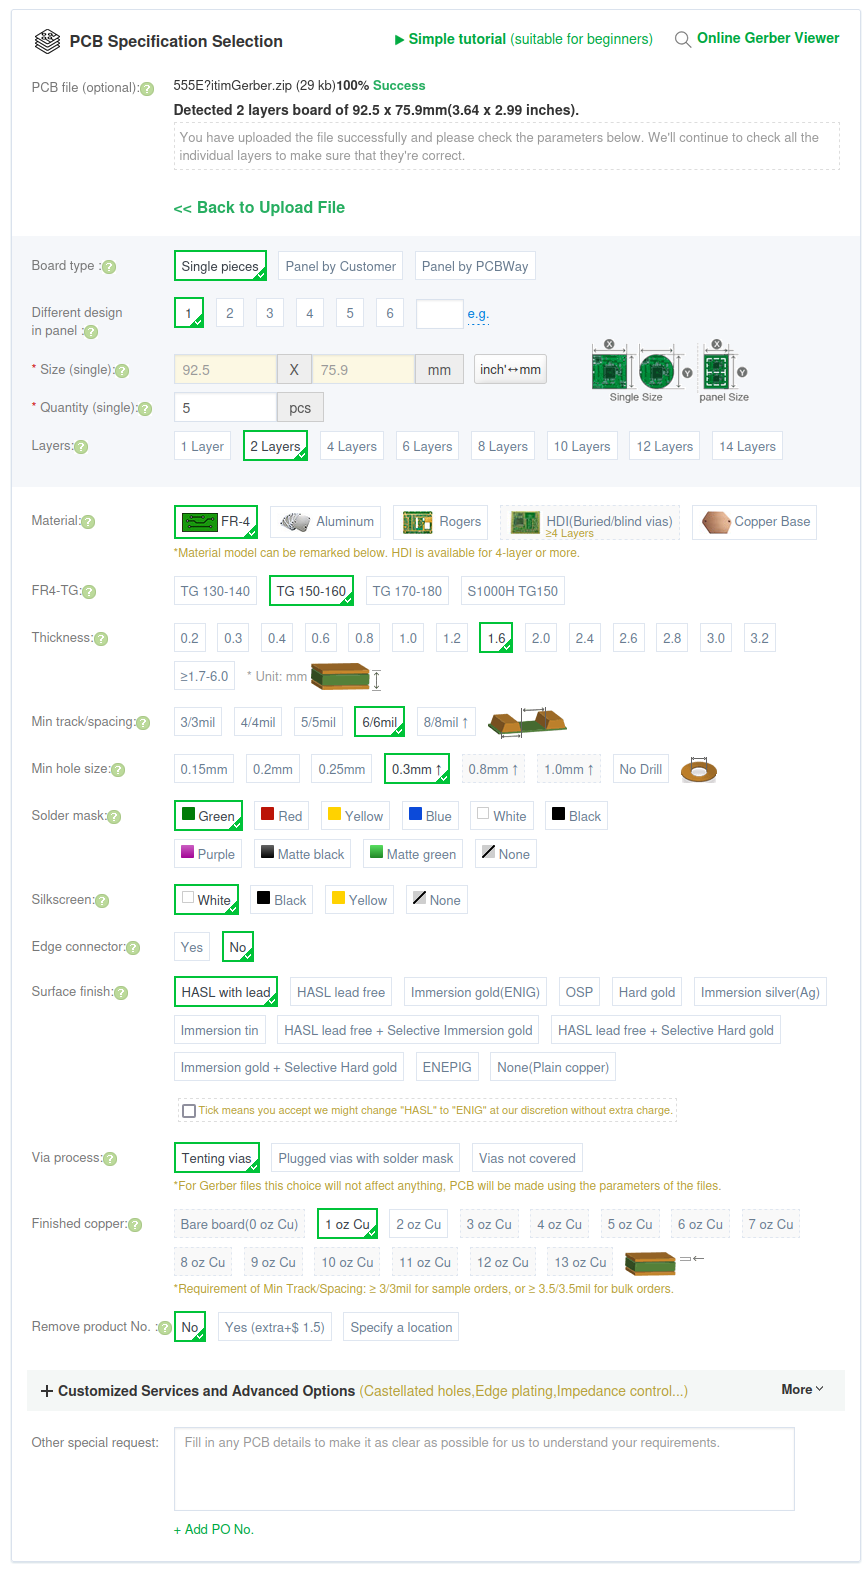
I then used their shared project service to search for a 555 timer circuit that would meet my requirements. I found this one: Educational 555 Board.
I clicked “Add to cart” and accepted all the defaults (shown below) on my order for 5 PCBs. So far I am a happy customer! (Update: as part of our sponsorship deal PCBWay covered the shipping costs too! I was a bit worried they might ask me to cover the shipping, but they included it, which was super excellent, especially as the shipping was about five times as much as the boards themselves!)
I’m just getting started with PCB printing. I expect that in future I will do much more of it. I have been working my way through PCB design with KiCad – updated for KiCad 7 to learn how to design PCBs using KiCad. Apparently there is a PCBWay Plug-In for KiCad, so that might be something worth checking out.
When my PCBs from PCBWay arrive I will make a video of me putting together the 555 timer circuit and then using it to test my IC test probes. Stay tuned for that one!
Today I discovered Intel Processors and Chipsets by Code Name while I was reading about Cascade Lake which was released back in 2019.
Today while watching EEVblog 1580 – MacGruber Mailbag I discovered the Jon Newcomb universal SMD breakout boards, there’s more info and links to purchase here: http://www.jnewcomb.com/
This post is part of my video blog and you can find more information about this video on this show’s homepage which is here.
You can support this channel on Patreon: patreon.com/JohnElliotV
Silly Job Title: Science Officer
Today we’re gonna take a look at what arrived recently from AliExpress. They were having a sale so I purchased some natty tools and a few consumables. Details below. I made some notes at the time of purchase if you’re interested in what I paid for this stuff.
In the video I refer to the workstation I am planning to buy for the studio. When I get this new computer I should be able to improve the quality of my YouTube videos. If you’re interested in the details the new computer I’m planning is ‘victory‘. In the video I say this new computer will cost me AUD$6,000, but it’s looking like it will cost more like AUD$7,500 (roughly USD$5,000), so I will have to save my pennies! The Dell OptiPlex computer that I am presently using is ‘wonder‘.
In the video I refer to “box openers”. If you know what these things are actually called, please do let me know!
The spider who popped up on my bench during the recording of this video was found later. He, um, didn’t make it…
Thanks very much for watching! And please remember to hit like and subscribe!
Following is a product I use picked at random from my collection which may appear in my videos. Clicking through on this to find and click on the green affiliate links before purchasing from eBay or AliExpress is a great way to support the channel at no cost to you. Thanks!
Sudake SDK08 Test Clips notes notes |
Let’s go shopping!
Ordered myself a new motherboard today, the ASUS ProArt B550-CREATOR. This new board will replace my ASUS PRIME B550M-A in my new/upgraded computer ‘lore‘ (which is replacing ‘longing‘).
This new board has 2x M.2 PCIe 4.0 (as with the old motherboard), 2x 2.5Gbps Ethernet (compared to 1x 1Gbps Ethernet in my old motherboard), and 3x PCIe 16x slots (compared to 1x PCIe 16x slot in my old motherboard).
I will put in 2x M.2 PCIe 4x adapters and 2x M.2 PCIe 1x adapters which will mean I am able to install 6x M.2 drives: 2x Kioxia 256GB, 2x Samsung 990 Pro 2TB, and 2x PNY 1TB.
I will also put in a quad 2.5Gbps PCIe Ethernet adapter which will give me six 2.5Gbps Ethernet ports in total (two onboard and four on PCIe 16x).
When I’m done all four RAM slots will be full (4x Corsair Vengeance 32GB 3200MHz DDR4), both the M.2 slots will be full, all three of the PCIe 16x slots will be full, all four SATA ports will be full (3x Western Digital WD Ultrastar DC HC550 16TB and 1x ASUS BW-16D1HT PRO 16X Blu-ray burner), and both PCIe 1x slots will be full too. Also there will be a bunch of high speed USB ports available on both the front and the back of the case. I feel like I have really squeezed a lot of juice out of this system, it’s operating very close to capacity.
I’m kinda dreading plugging in the USB attachments to the front panel, but I guess if I RTFM and apply some thought I will be able to figure that out.
lol. Today I learned that Intel’s PCI Vendor ID is 8086. That’s funny because Intel’s seminal microprocessor was the Intel 8086.
Today there was a promotion/sale on at AliExpress, so I picked up some consumables and a few natty tools. I paid the promotion price AU$63.46 for stuff on sale at AU$142.82 which normally sells for AU$326.12.