Casey Muratori explains his approach to not-so-object-oriented design (he calls it procedurally-oriented) and refactoring (he calls it compression): Semantic Compression.
Today I added procedurally-oriented to my spell check.

Casey Muratori explains his approach to not-so-object-oriented design (he calls it procedurally-oriented) and refactoring (he calls it compression): Semantic Compression.
Today I added procedurally-oriented to my spell check.
In my feed today: How I estimate work as a staff software engineer.
Some operating systems textbooks which came up on IRC today: Operating Systems: Three Easy Pieces, Dive into Systems, and Computer Systems: A Programmer’s Perspective.
I have a new post on Hackaday: HORUS Framework: A Rust Robotics Library.
I have a new post on Hackaday: The Staggering Complexity And Subtlety Of Concurrency.
You can support this channel on Patreon: patreon.com/JohnElliotV
This post is part of my video blog and you can find more information about this video.
Silly Job Title: Terminal Tactician. I am the Terminal Tactician!
In this video we do the ninth project from The 12 Projects of Codemas.
Thanks very much for watching! And please remember to hit like and subscribe! :)
Following is a product I use picked at random from my collection which may appear in my videos. Clicking through on this to find and click on the green affiliate links before purchasing from eBay or AliExpress is a great way to support the channel at no cost to you. Thanks!
Yum Cha Digital Meter |
Let’s go shopping!
You can support this channel on Patreon: patreon.com/JohnElliotV
This post is part of my video blog and you can find more information about this video.
Silly Job Title: Relay Renegade. I am the Relay Renegade!
In this video we do the eighth project from The 12 Projects of Codemas.
Thanks very much for watching! And please remember to hit like and subscribe! :)
Following is a product I use picked at random from my collection which may appear in my videos. Clicking through on this to find and click on the green affiliate links before purchasing from eBay or AliExpress is a great way to support the channel at no cost to you. Thanks!
SUNSHINE Hard Brush Set notes notes |
Let’s go shopping!
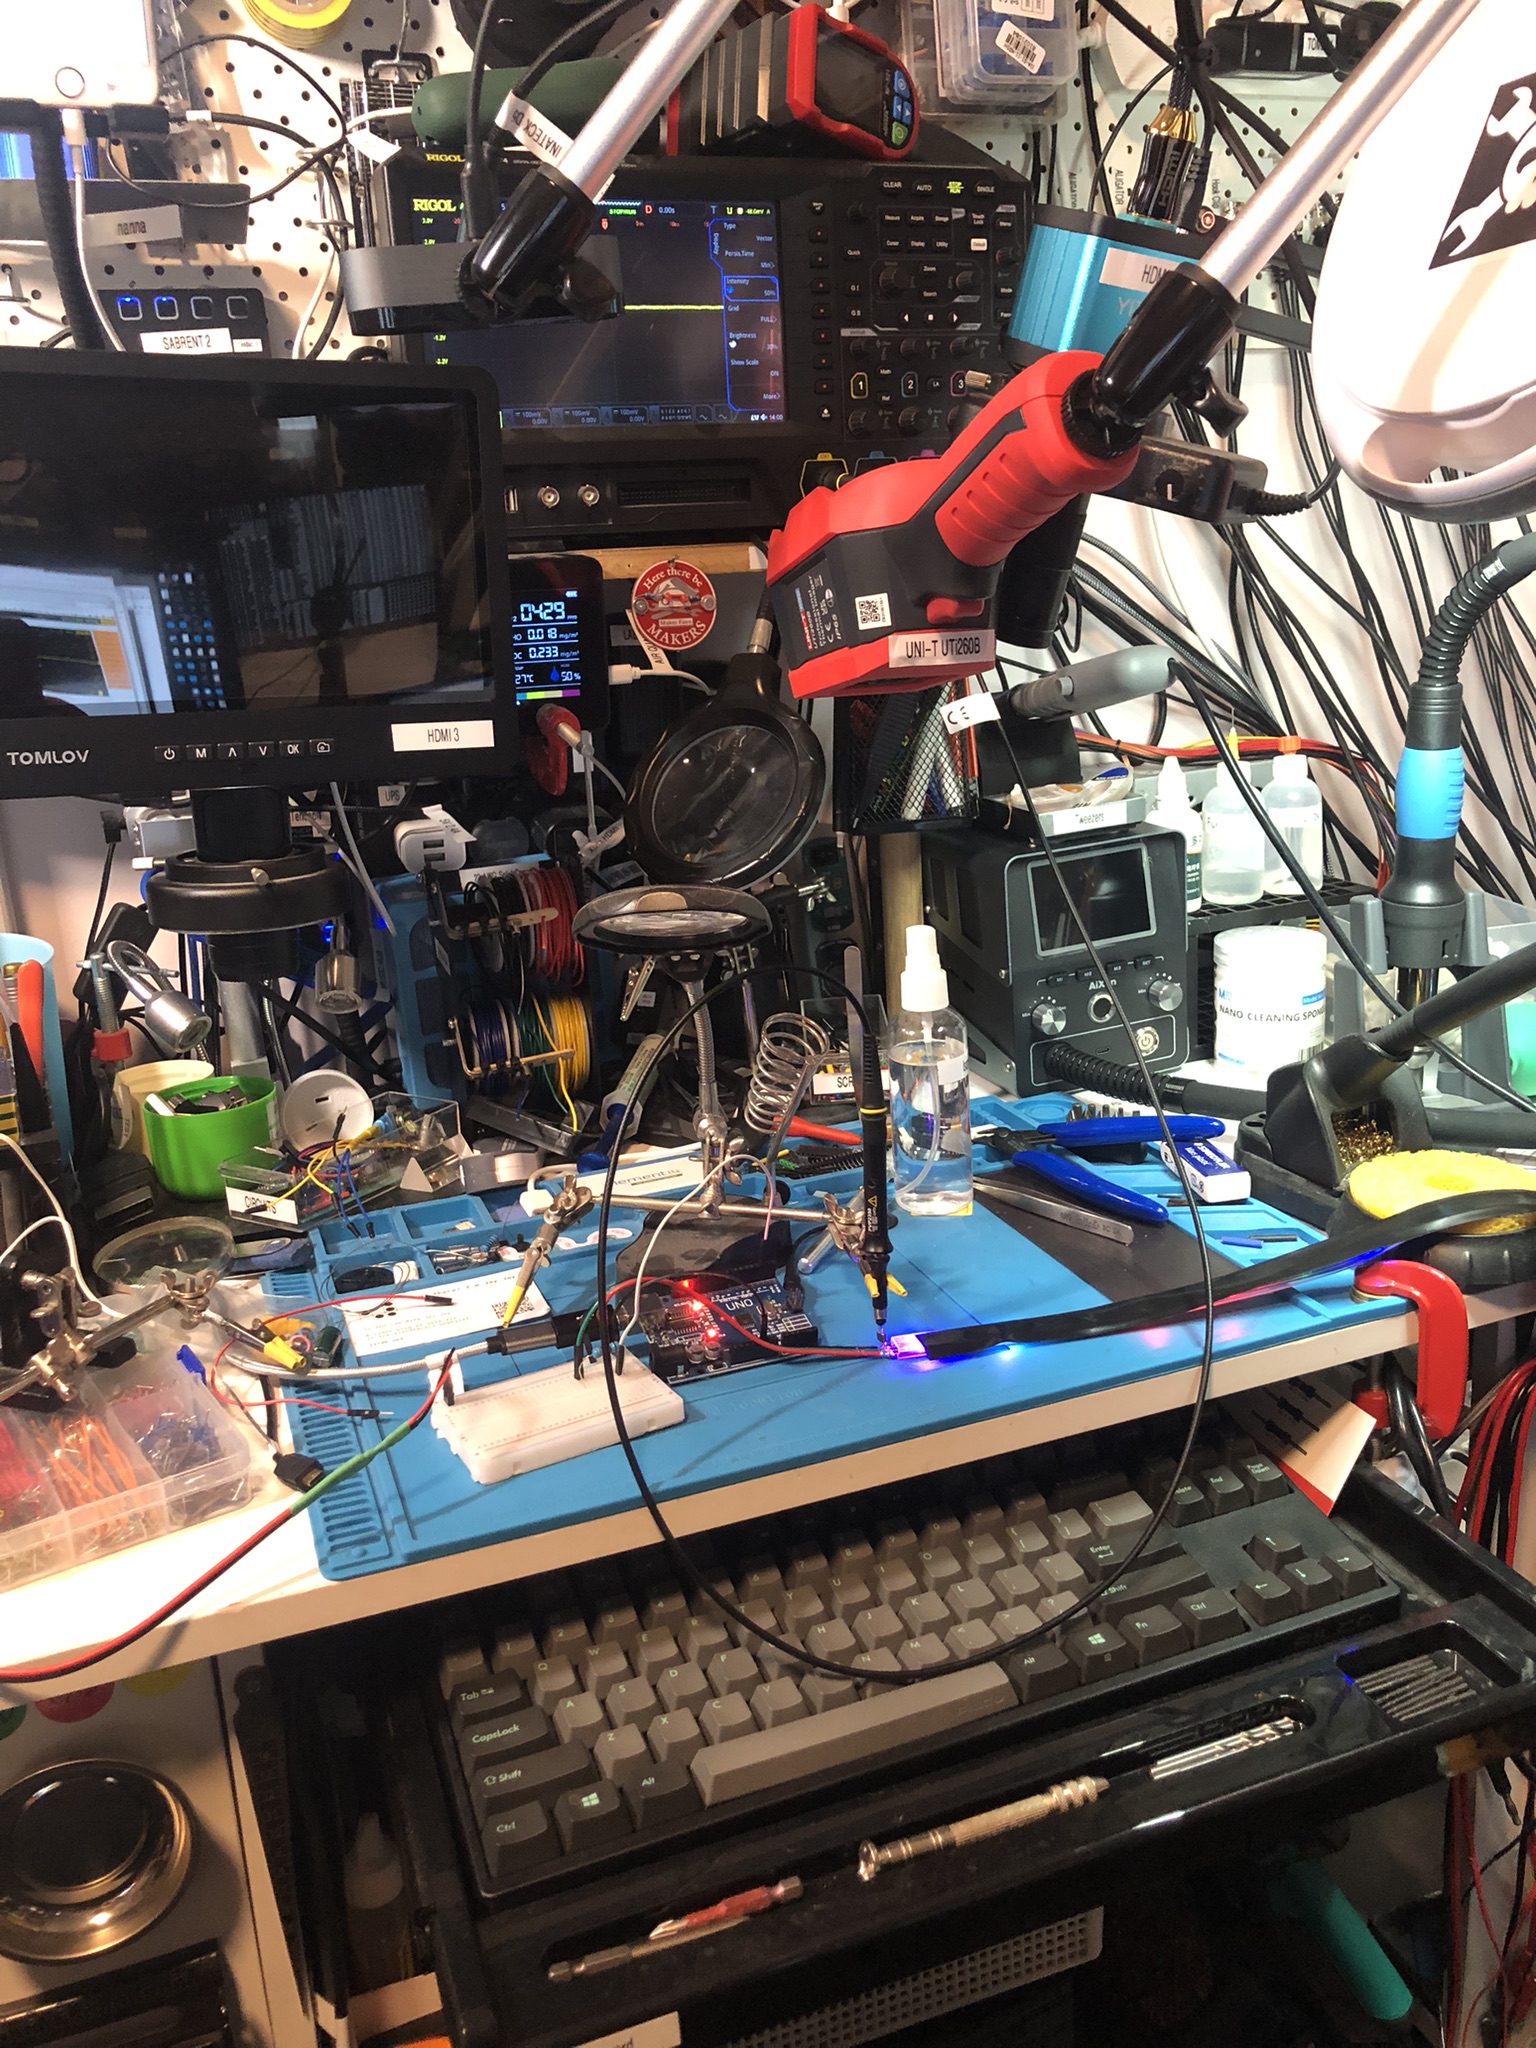
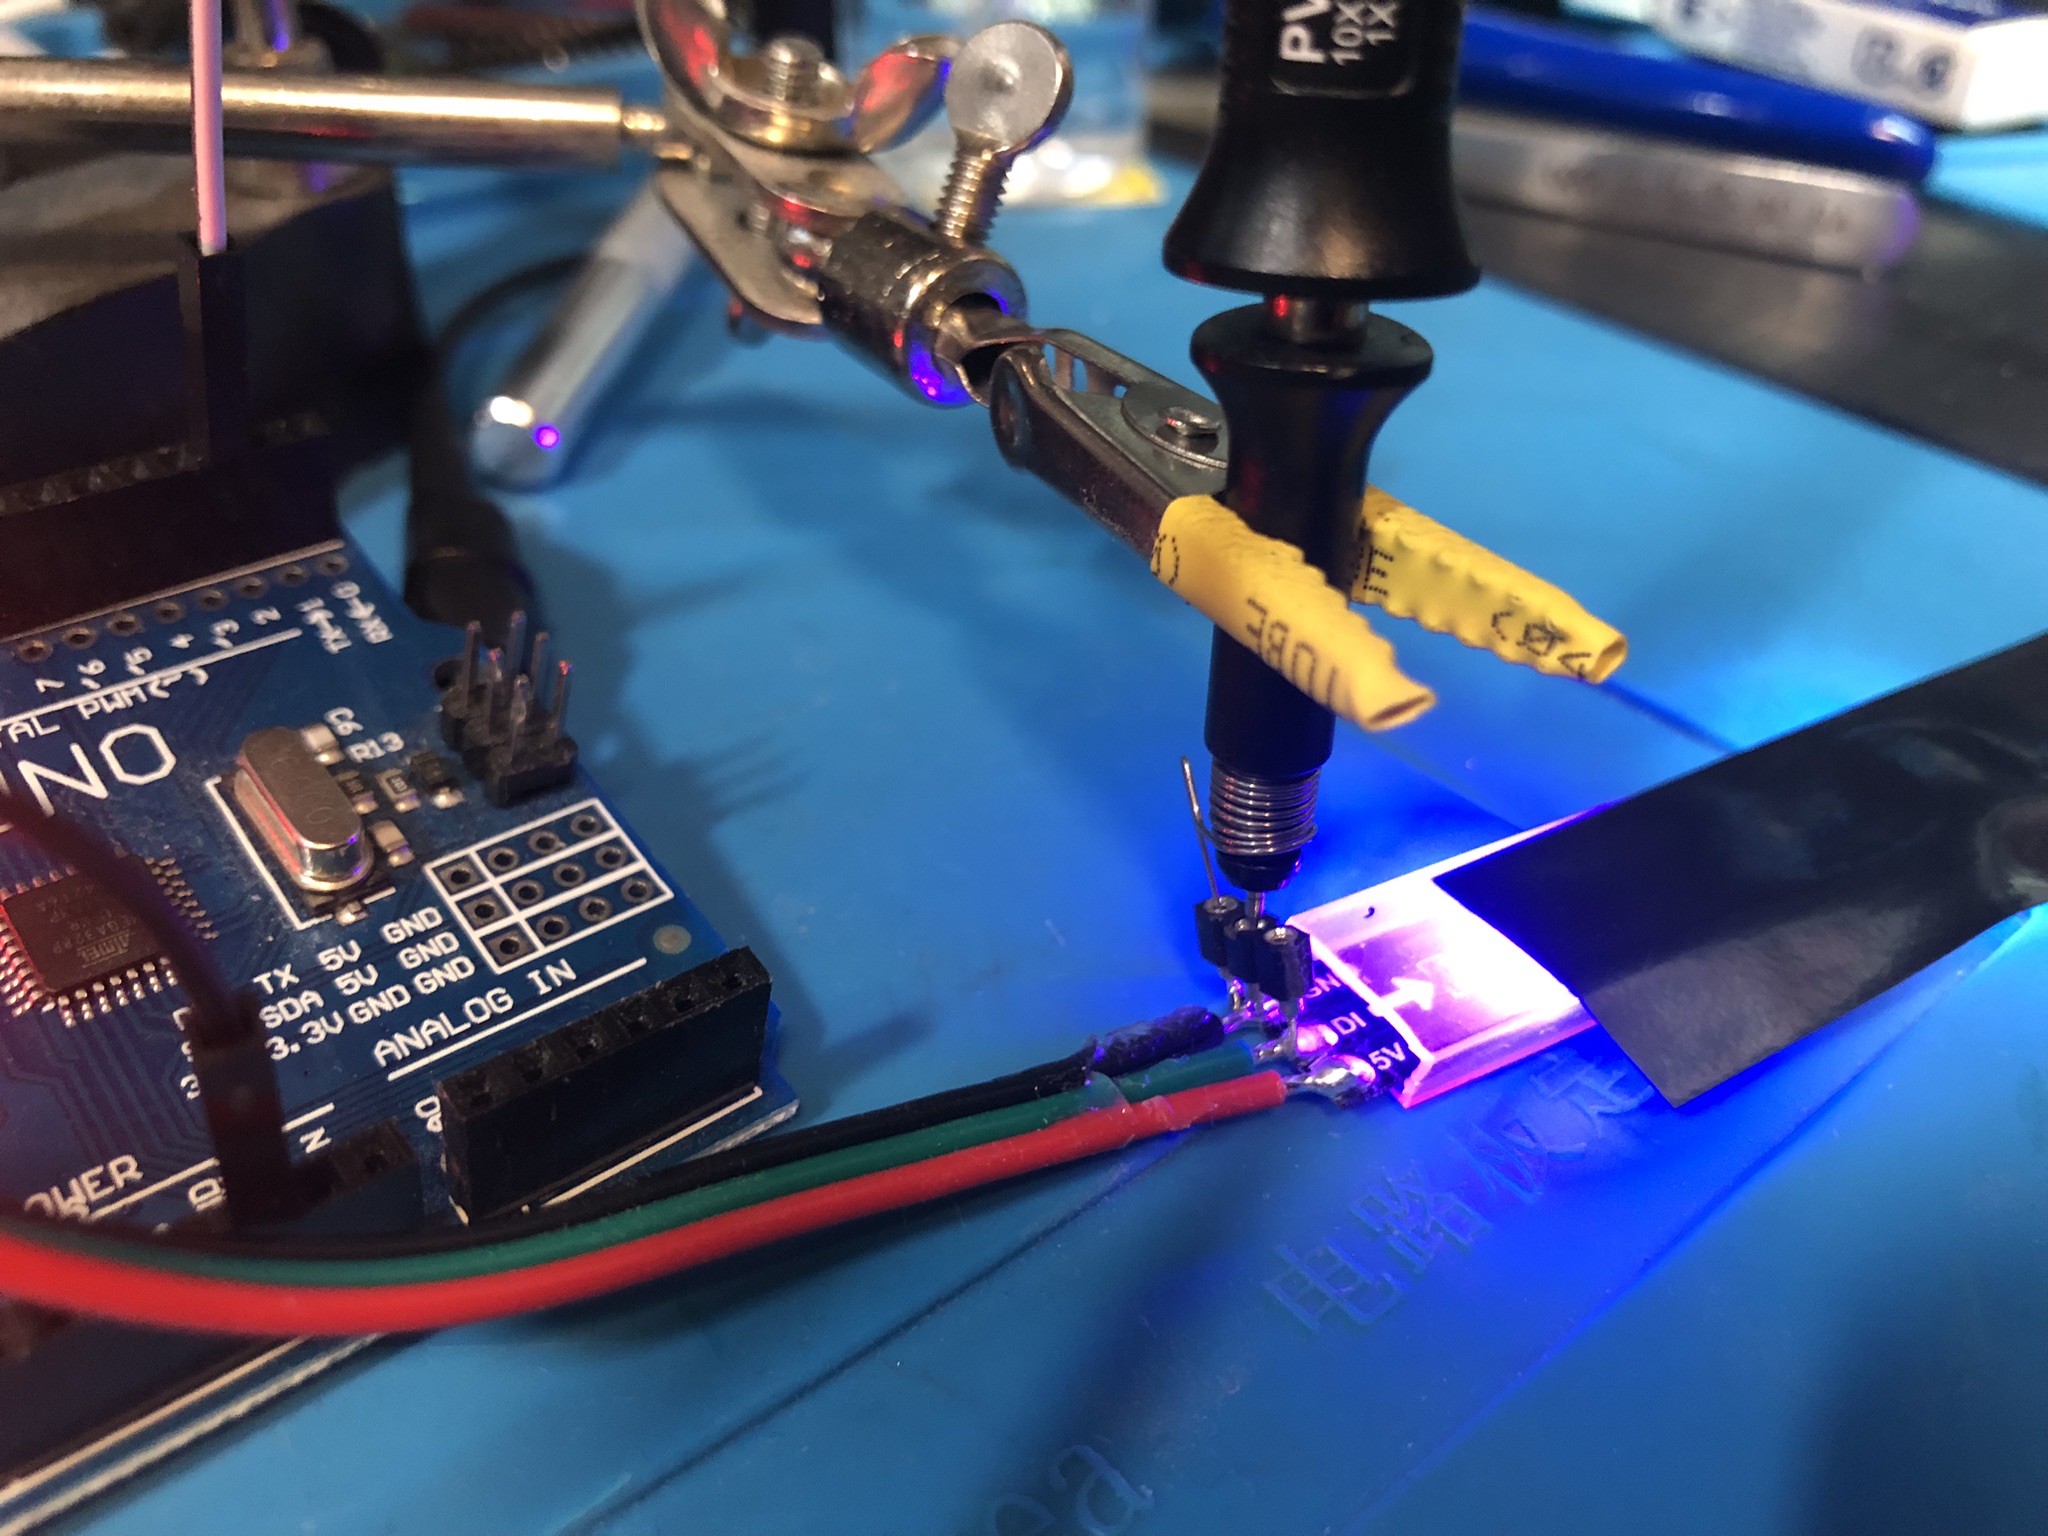
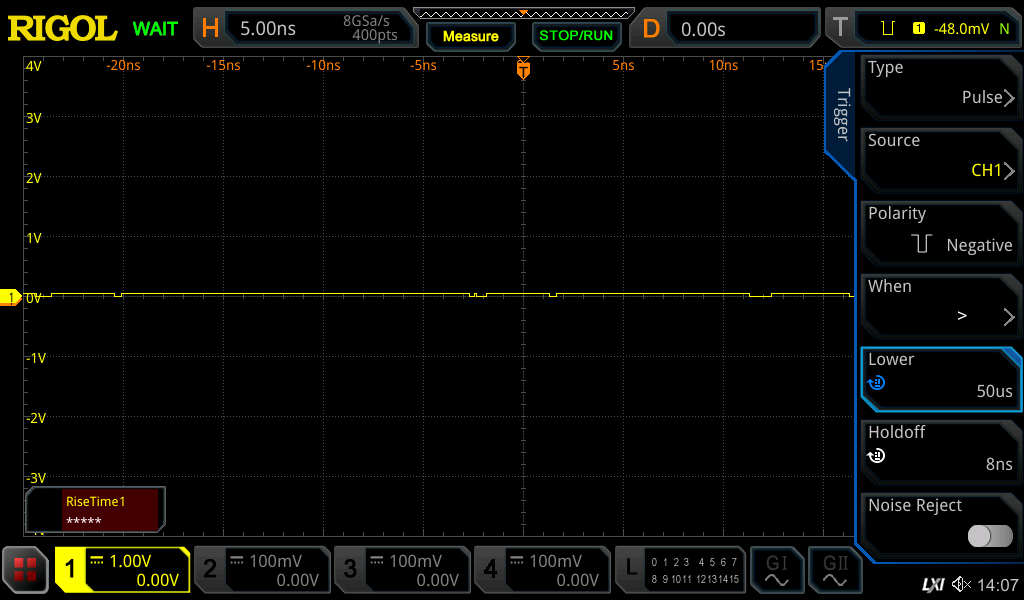
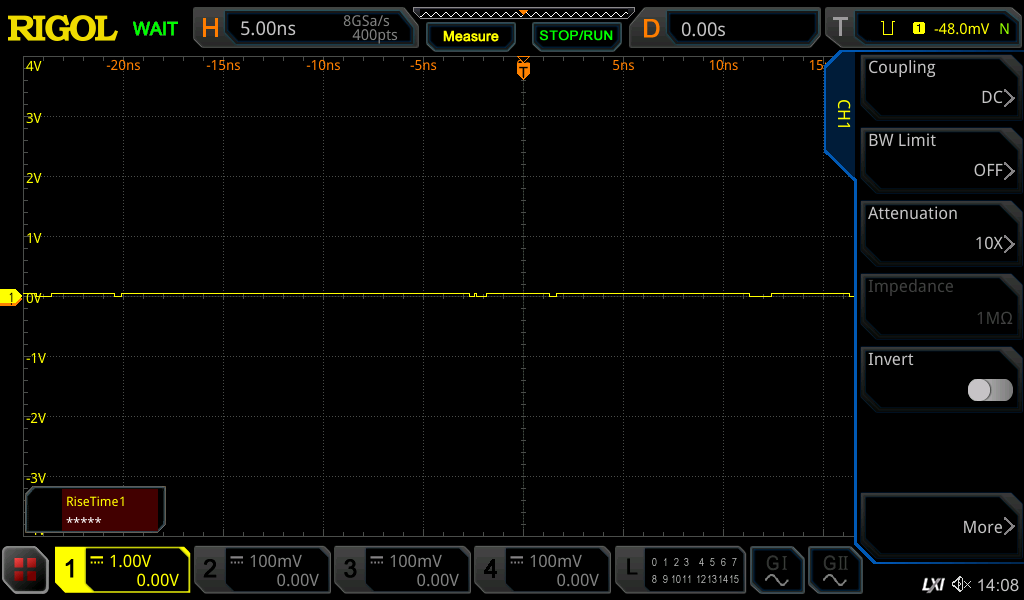
Oh man. Everything’s broken and I don’t know what I’m doing. I have a NeoPixel LED strip which isn’t working right. I’m trying to debug the issue but am not having a good time of it.
I have a new post on Hackaday: Two-Wheeled Arduino Robot Project For Beginners.
You can support this channel on Patreon: patreon.com/JohnElliotV
This post is part of my video blog and you can find more information about this video.
Silly Job Title: Current Conjurer. I am the Current Conjurer!
In this video we do the seventh project from The 12 Projects of Codemas.
Thanks very much for watching! And please remember to hit like and subscribe! :)
Following is a product I use picked at random from my collection which may appear in my videos. Clicking through on this to find and click on the green affiliate links before purchasing from eBay or AliExpress is a great way to support the channel at no cost to you. Thanks!
Yum Cha AU 240V Watt Meter |
Let’s go shopping!