Open Source Firmware Extraction – Reversing the XGecu T76 Universal Programmer
Reply

You can support this channel: patreon.com/JohnElliotV
This post is part of my video blog and you can find more information about this video.
Silly Job Title: Lightning Tamer. I am the Lightning Tamer!
In this video we unbox the FNIRSI HRM-10 Internal Resistance Tester.
Thanks very much for watching! And please remember to hit like and subscribe! :)
Following is a product I use picked at random from my collection which may appear in my videos. Clicking through on this to find and click on the green affiliate links before purchasing from eBay or AliExpress is a great way to support the channel at no cost to you. Thanks!
FNIRSI FNB58 Type-C USB Cable Tester |
Let’s go shopping!
You can support this channel: patreon.com/JohnElliotV
This post is part of my video blog and you can find more information about this video.
Silly Job Title: Switch Switcher. I am the Switch Switcher!
In this video we do the 19th project from the Maxitronix 30in1 Electronics Project Lab Kit: The Radio Station.
We use the LiteVNA 64 Vector Network Analyzer to measure reactance and resistance of our antenna coil.
We use the Rigol MSO5074 Mixed Signal Oscilloscope to investigate our signal.
We use the METCAL PS-900 Soldering Station to make our cable fixture.
We use the AiXun H314 Hot Air Gun to shrink our heat shrink.
We use the MUIN Solder Fume Extractor to clear the air.
We use the Riden RD6006 Bench Power Supply to provide power.
We use the EEVblog BM2257 Digital Multimeter to measure resistance and check continuity.
We use the Peak Electronic Design Atlas LCR45 LCR Meter to measure capacitance.
We use the Hakko CHP 3C-SA Precision Tweezers for tweezering.
We use the Plato Model 170 Wire Cutter to cut, cut, cut.
We use the Kaisi S-160 45x30cm Repair Mat as our workspace.
Thanks very much for watching! And please remember to hit like and subscribe! :)
Following is a product I use picked at random from my collection which may appear in my videos. Clicking through on this to find and click on the green affiliate links before purchasing from eBay or AliExpress is a great way to support the channel at no cost to you. Thanks!
Yum Cha Heavy Duty Stainless Steel Wire Brush notes notes |
Let’s go shopping!
You can support this channel: patreon.com/JohnElliotV
This post is part of my video blog and you can find more information about this video.
Silly Job Title: Solder Soldier. I am the Solder Soldier!
In this video we have a look at what’s in The Art of Electronics: The x-Chapters 2nd Edition by Paul Horowitz and Winfield Hill. The book’s website is here: https://x.artofelectronics.net/
In the same family of books are The Art of Electronics 3rd Edition also by Paul Horowitz and Winfield Hill and Learning the Art of Electronics: A Hands-On Lab Course 2nd Edition by Thomas C. Hayes, David Abrams, and Paul Horowitz.
There were a few things that came up as we flipped through this venerable tome:
Thanks very much for watching! And please remember to hit like and subscribe! :)
p.s. today I added Electro-Optical to my spell check.
Following is a product I use picked at random from my collection which may appear in my videos. Clicking through on this to find and click on the green affiliate links before purchasing from eBay or AliExpress is a great way to support the channel at no cost to you. Thanks!
14500pa Cordless Hand Held Vacuum |
Let’s go shopping!
You can support this channel: patreon.com/JohnElliotV
This post is part of my video blog and you can find more information about this video.
Silly Job Title: Plugerinerer. I am the Plugerinerer!
In this video we continue working through Learning the Art of Electronics. Today we build the circuit from Fig-2N.5 which is a simple RC circuit that we charge with a voltage source.
Our charge and discharge curves for the 1000 µF capacitor looked like this:

We use the Rigol MSO5074 Mixed Signal Oscilloscope to investigate our signal.
We use the Riden RD6006 Bench Power Supply to provide 10 V for testing.
We use the EEVblog BM2257 Digital Multimeter for continuity testing the switch we use on the breadboard.
We use the Kaisi S-160 45x30cm Repair Mat as our workspace.
Thanks very much for watching! And please remember to hit like and subscribe! :)
p.s. today I added Plugerinerer to my spell check.
Following is a product I use picked at random from my collection which may appear in my videos. Clicking through on this to find and click on the green affiliate links before purchasing from eBay or AliExpress is a great way to support the channel at no cost to you. Thanks!
Rigol PLA2216 Logic Probe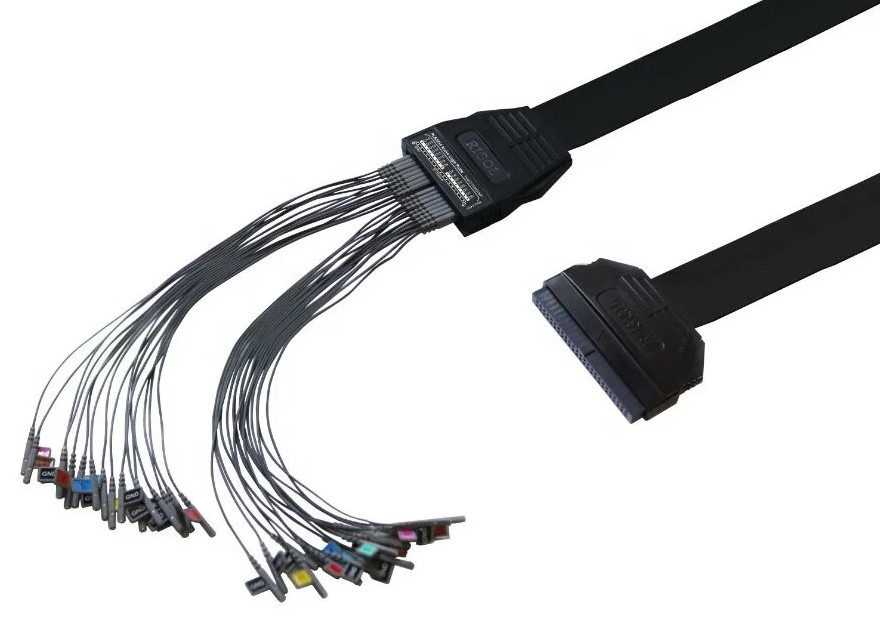 notes notes |
Let’s go shopping!
Today I read Orders of Magnitude, Logarithmic Scales, and Decibels from Ultimate Electronics.
You can support this channel: patreon.com/JohnElliotV
This post is part of my video blog and you can find more information about this video.
Silly Job Title: Cable Commander. I am the Cable Commander!
In this video we take a look at what has arrived in the mail from AliExpress and Amazon:
Thanks very much for watching! And please remember to hit like and subscribe! :)
Following is a product I use picked at random from my collection which may appear in my videos. Clicking through on this to find and click on the green affiliate links before purchasing from eBay or AliExpress is a great way to support the channel at no cost to you. Thanks!
SUNSHINE Hard Brush Set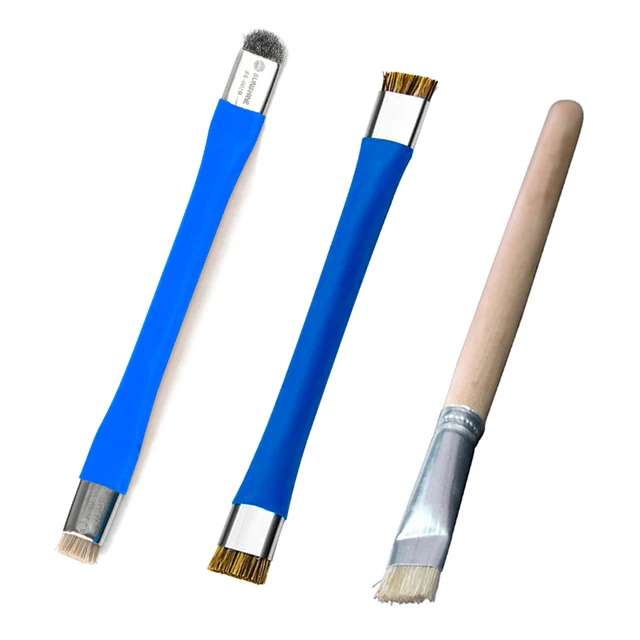 notes notes |
Let’s go shopping!
I enjoyed this one from Electronic Wizard.
You can support this channel: patreon.com/JohnElliotV
This post is part of my video blog and you can find more information about this video.
Silly Job Title: Circuit Breaker. I am the Circuit Breaker!
In this video we continue working through Learning the Art of Electronics. Today we build the circuit from Fig-2N.4 which is a manually switched constant current ramp.
The constant current sources we’re using are these: LT3092 Adjustable Precision Current Source Module, 200mA / 500mA Adjustable Constant Current Source Module, LED Driver.
The other constant current sources I have but that we aren’t using today are these: LT3092 Adjustable Constant Current Source Module 200mA Continuous Adjustable Constant Current Output, Sensor Drive Power Supply.
The box I put everything is the 82x52x35mm-Black box from here: 70/100mm DIY Electrical Enclosure Box Electronic Project Case White Black Grey Instrument Storage Junction Controller Box.
The spanners I mention that I purchased recently are these: 3mm Ultra-thin Open Box Dual-purpose Wrench Set 6-24mm Stainless Steel Spanner Metric Ratcheting Combination Wrench Kit with Bag (6-24mm 12pcs kit).
We use the Rigol MSO5074 Mixed Signal Oscilloscope to investigate Vout.
We use the METCAL PS-900 Soldering Station for soldering.
We use the AiXun H314 Hot Air Gun for heat shrink.
We use the MUIN Solder Fume Extractor to clear the air.
We use the Yizhan Digital Microscope for close ups.
We use two Riden RD6006 Bench Power Supplies to provide positive and negative power.
We use the EEVblog BM2257 Digital Multimeter for continuity testing.
We use the Brother P-Touch D210 Label Maker for labeling.
We use the nmsafety Nitrile Gloves for hand protection.
We use the ENGINEER PA-09 or PA-21 Crimping Tool for crimping.
We use the Hakko CHP 3C-SA Precision Tweezers for tweezering.
We use the Plato Model 170 Wire Cutter to cut, cut, cut.
We use the Kaisi S-160 45x30cm Repair Mat as our workspace.
Thanks very much for watching! And please remember to hit like and subscribe! :)
Following is a product I use picked at random from my collection which may appear in my videos. Clicking through on this to find and click on the green affiliate links before purchasing from eBay or AliExpress is a great way to support the channel at no cost to you. Thanks!
DTBD Wrench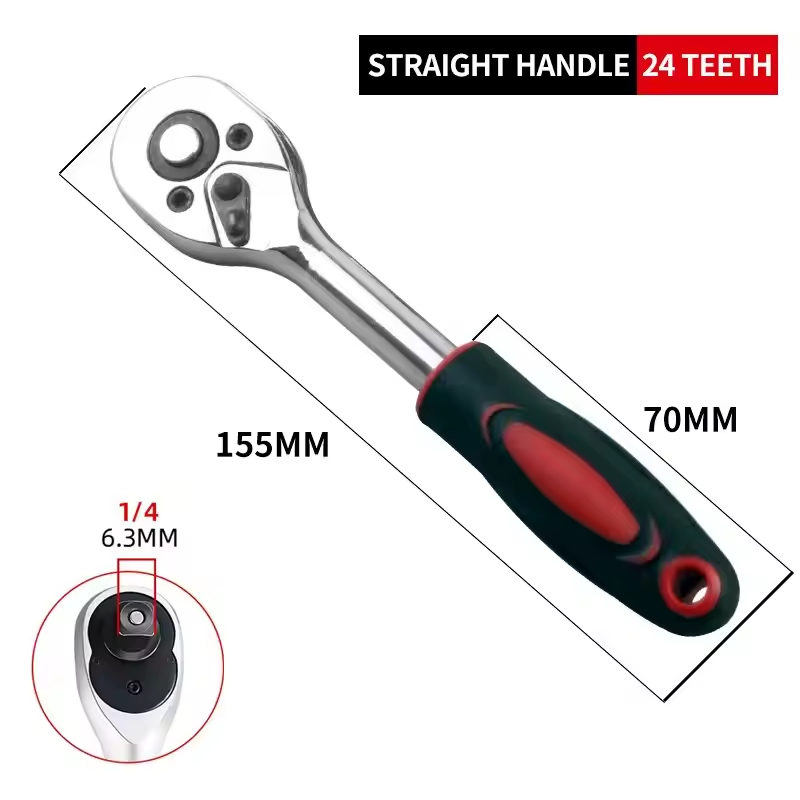 |
Let’s go shopping!