Summary of Differential Calculus
Reply

This post is part of my video blog and you can find more information about this video.
You can support this channel on Patreon: patreon.com/JohnElliotV
Silly Job Title: Outlet Overlord. I am the Outlet Overlord!
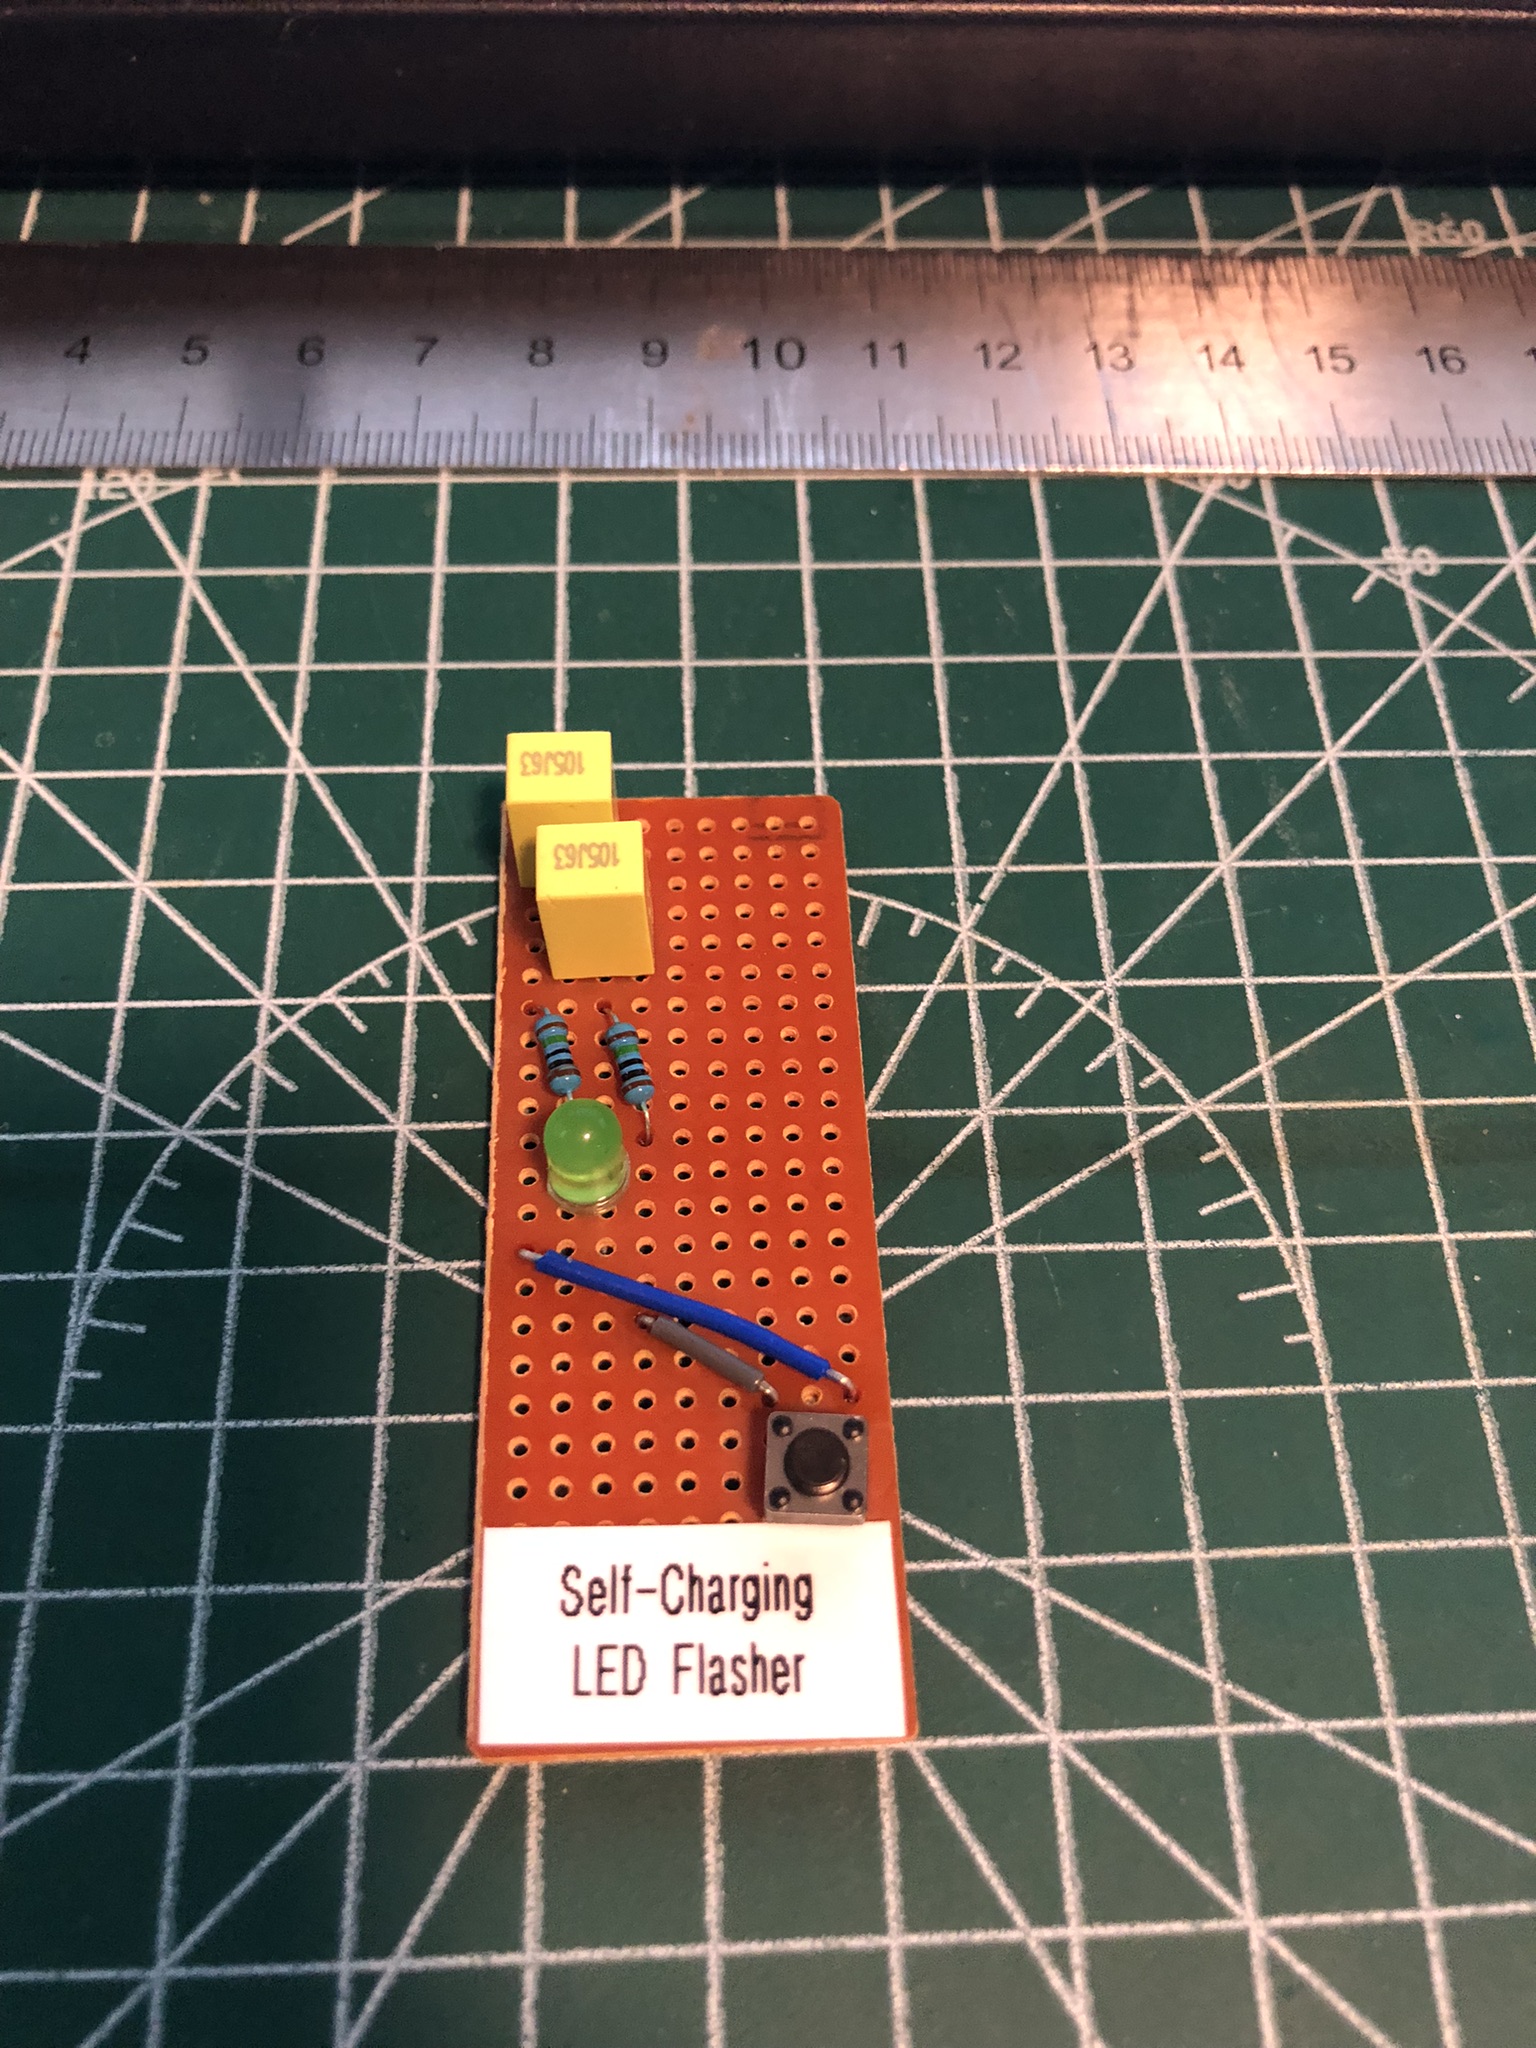
In this video we build the A Self-Charging LED Flasher By Burkhard Kainka. This project was submitted for the Hackaday Component Abuse Challenge 2025.
The fun thing about this project is that it works even though it doesn’t have a power supply. That’s because the LED sucks energy from the ambient light to charge the capacitors!
It took me three goes to make this work. The first go was with 100 nF ceramic caps on veroboard, and that didn’t work. The next go was with 470 µF electrolytic caps on breadboard, and that didn’t work. Finally I had a go with 1 µF polypropylene film caps and that worked!
We use the METCAL PS-900 Soldering Station for soldering.
We use the Pro’sKit SS-331H Desoldering Pump for desoldering.
We use the MUIN Solder Fume Extractor to clear the air.
We use the Riden RD6006 Bench Power Supply for test power.
We use the EEVblog BM2257 Digital Multimeter for voltage and other measurements.
We use the Brother P-Touch D210 Label Maker for making labels.
We use the Bysameyee Head-Mounted Magnifier for magnification and light.
We use the Scotch Titanium Scissors to cut things.
We use the Carpenter Mechanical Pencil to make notes.
We use the Hakko CHP 3C-SA Precision Tweezers for tweezering.
We use the Plato Model 170 Wire Cutter for cutting.
We use the Victorinox Swiss Champ Red Swiss Army Knife for its blade.
We use the Kaisi S-160 45x30cm Repair Mat as our workspace.
Thanks very much for watching! And please remember to hit like and subscribe! :)
Following is a product I use picked at random from my collection which may appear in my videos. Clicking through on this to find and click on the green affiliate links before purchasing from eBay or AliExpress is a great way to support the channel at no cost to you. Thanks!
Wowstick Wowpad Magnetic Screwpad |
Let’s go shopping!
I have a new post on Hackaday: Ben Eater Explains How Aircraft Systems Communicate With The ARINC 429 Protocol.
This post is part of my video blog and you can find more information about this video.
You can support this channel on Patreon: patreon.com/JohnElliotV
Silly Job Title: Component Wrangler. I am the Component Wrangler!
In this video we continue to work our way through Learning the Art of Electronics. We have nearly finished the 1N DC Circuits chapter. Today we learned a new rule of thumb: when circuit A drives circuit B the output impedance of circuit A should be equal to or less than 10% of the input impedance of circuit B.
There is no prac this week, only theory. Next week we will complete this chapter and then we’re ready to proceed into our first lab chapter.
Thanks very much for watching! And please remember to hit like and subscribe! :)
Following is a product I use picked at random from my collection which may appear in my videos. Clicking through on this to find and click on the green affiliate links before purchasing from eBay or AliExpress is a great way to support the channel at no cost to you. Thanks!
Yum Cha 13MP HD Webcam With Mic USB Camera |
Let’s go shopping!
This post is part of my video blog and you can find more information about this video.
You can support this channel on Patreon: patreon.com/JohnElliotV
Silly Job Title: Amp Alchemist. I am the Amp Alchemist!
In this video we demo the KY-002 Vibration Switch Module. There’s more info here: KY-002 Vibration Switch Module on ArduinoModulesInfo.
Source code is here: 2025-10-13-KY-002-Vibration-Switch.ino.
We use the Rigol MSO5074 Mixed Signal Oscilloscope to check the output signals.
We use the Riden RD6006 Bench Power Supply for power.
We use the EEVblog BM2257 Digital Multimeter to test voltage.
We use the Kaisi S-160 45x30cm Repair Mat as our workspace.
Thanks very much for watching! And please remember to hit like and subscribe! :)
Following is a product I use picked at random from my collection which may appear in my videos. Clicking through on this to find and click on the green affiliate links before purchasing from eBay or AliExpress is a great way to support the channel at no cost to you. Thanks!
Aussishop Calipers notes notes |
Let’s go shopping!