This post is part of my video blog and you can find more information about this video.
You can support this channel on Patreon: patreon.com/JohnElliotV
Silly Job Title: Chief Engineer. I am the Chief Engineer!
In this video we attach some alligator clips to a handful of AA battery holders. I was planning to use these for a Learning the Art of Electronics experiment that I didn’t understand, but now that I understand the problem a bit better I don’t want to go short-circuiting five AA batters… that would be a bad idea!
We use the METCAL PS-900 Soldering Station for soldering.
We use the MUIN Solder Fume Extractor to clear the air.
We use the EEVblog BM2257 Digital Multimeter for voltage and continuity testing.
We use the Hakko CHP 3C-SA Precision Tweezers for tweezering.
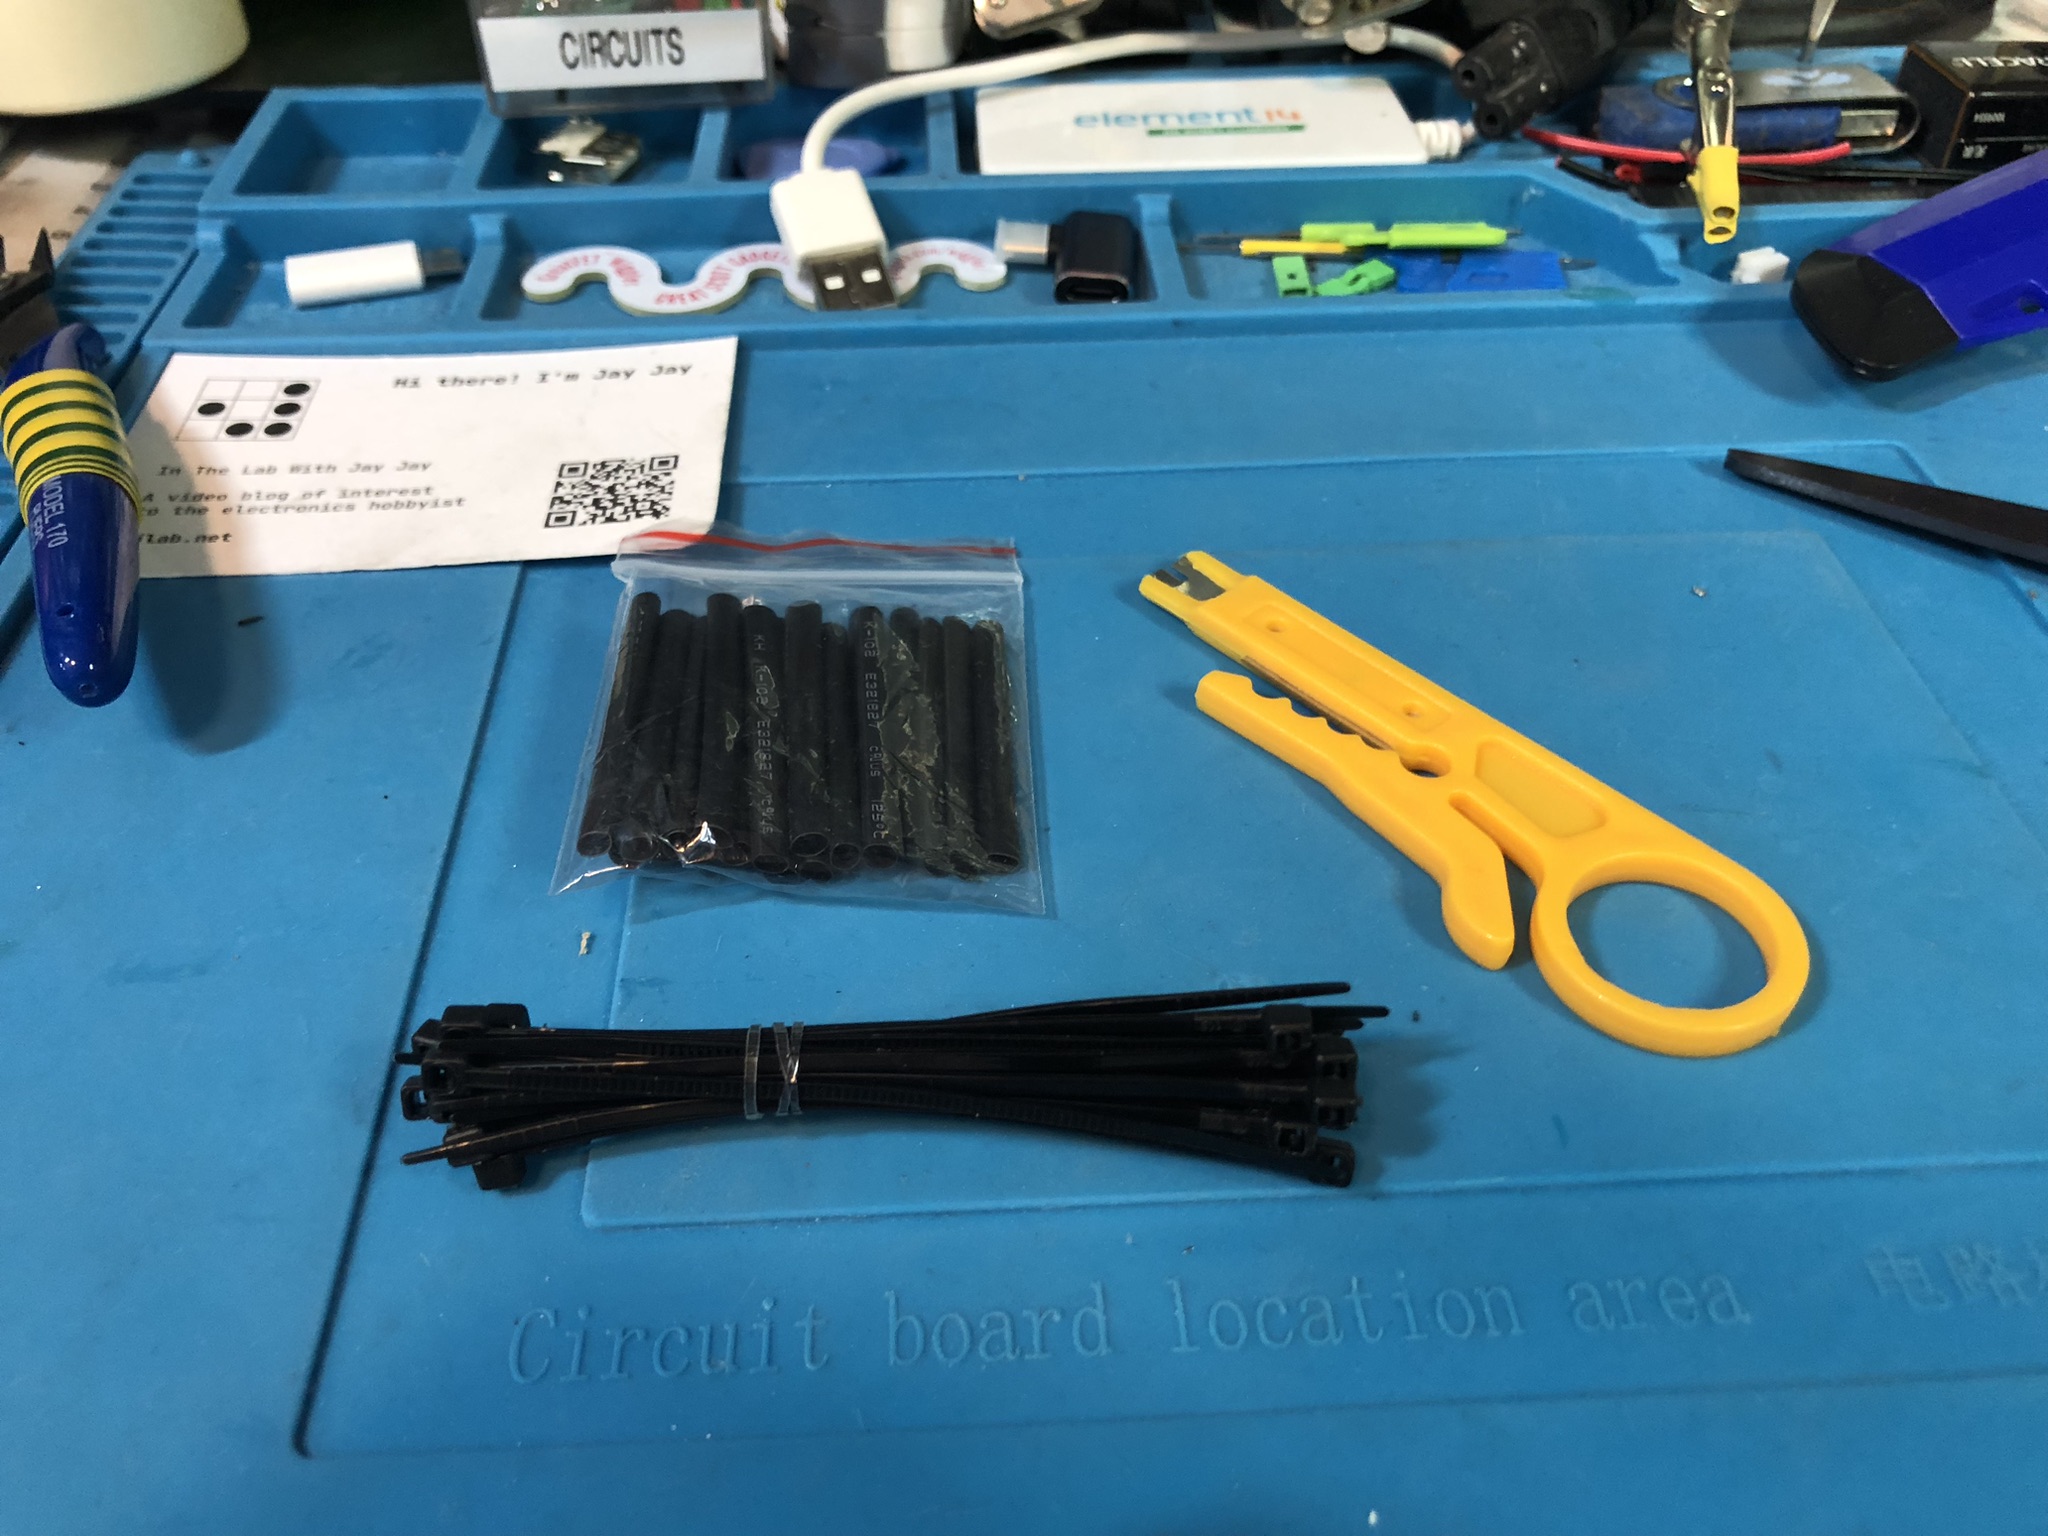
We use the Plato Model 170 Wire Cutter to snip, snip, snip.
We use the Kaisi S-160 45x30cm Repair Mat as our workspace.
Thanks very much for watching! And please remember to hit like and subscribe! :)
Following is a product I use picked at random from my collection which may appear in my videos. Clicking through on this to find and click on the green affiliate links before purchasing from eBay or AliExpress is a great way to support the channel at no cost to you. Thanks!
Yum Cha 4pcs 30mm Deep Hole Pen notes notes |
Let’s go shopping!