Thanks to my mate @edk from IRC I learned of the compose key. I configured my KDE Plasma desktop to use Right Alt as my compose key in System Settings -> Input Devices -> Keyboard -> Advanced. Then I updated the firmware and deployed a .XCompose file that I generated, and now I have a symbol keyboard on my Debian Linux workstation!
Category Archives: Design
Jumperless V5
Today I heard about the Jumperless V5 over on Hackaday: Jumperless Breadboard V5 Readies For Launch. Looking forward to hearing more about that when it launches in a few days…
Hackaday LED Matrix
This is great: Is That A Coaster? No, It’s An LED Matrix!
sigrok and OpenTechLab
I want to learn more about sigrok and OpenTechLab seems like a good place to start…
gusmanb’s 24 Channel 100MHz Logic Analyser
In Build – gusmanb’s 24 Channel 100MHz Logic Analyser from Happy Little Diodes I learned about this Logic Analyzer project. I would like to try building one of these for myself one day too.
100MHz Logic Analyser
Today I watched Build – gusmanb’s 24 Channel 100MHz Logic Analyser by Happy Little Diodes which is about how to make your own 100MHz Logic Analyser for cheap.
Electronics Project #8: Debugging the Symbol Keyboard Mini Project JMP001 | In The Lab With Jay Jay
This post is part of my video blog and you can find more information about this video over here.
You can support this channel on Patreon: patreon.com/JohnElliotV
Silly Job Title: Component Wrangler
In this video I add improved debouncing logic to the inaugural Silicon Chip and Jaycar Mini Project: JMP001.
Shout out and thank you to Tim Blythman for developing this project.
You can see Tim’s original code and my updates which improve the debouncing implementation.
In the video I mention that we use the pgmspace.h header from Arduino.
Thanks very much for watching! And please remember to hit like and subscribe! :)
Following is a product I use picked at random from my collection which may appear in my videos. Clicking through on this to find and click on the green affiliate links before purchasing from eBay or AliExpress is a great way to support the channel at no cost to you. Thanks!
Maxitronix 500 In 1 (500in1) Electronics Project Lab Kit notes |
Let’s go shopping!
Interlude #10: Take Three: Improving My Maker Faire ‘Here There Be Makers’ Badge | In The Lab
This post is part of my video blog and you can find more information about this video over here.
You can support this channel on Patreon: patreon.com/JohnElliotV
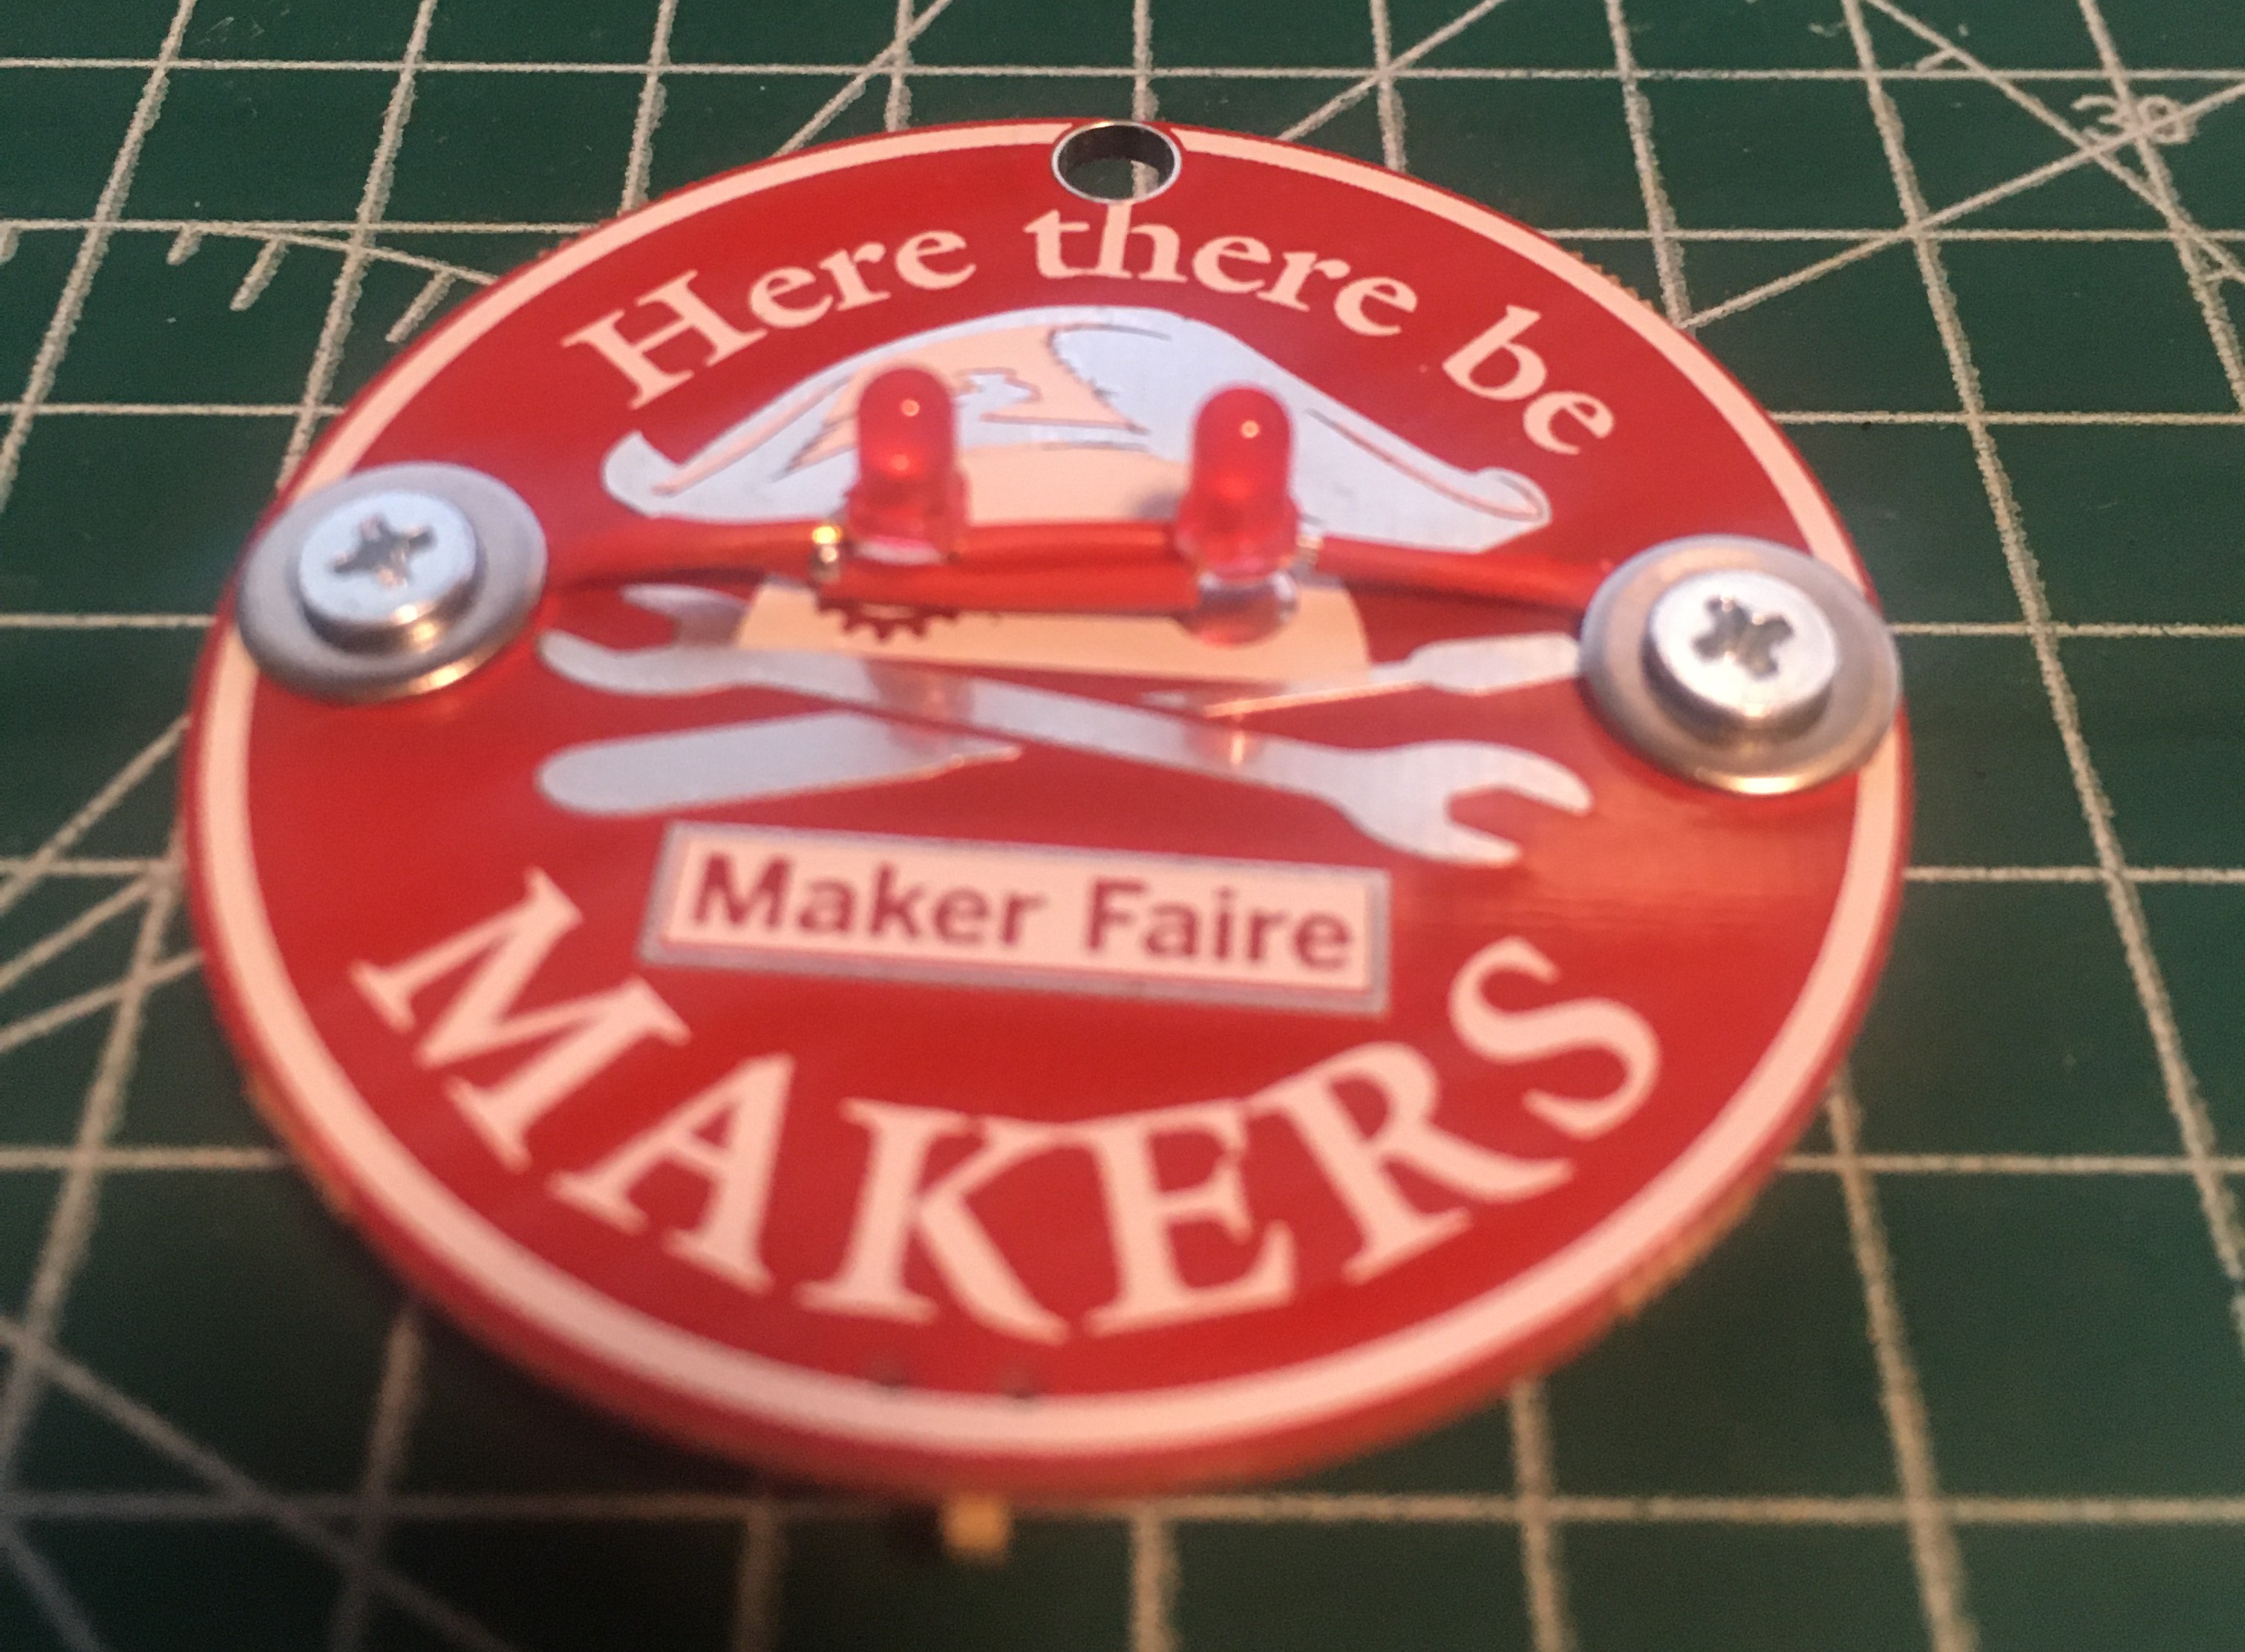
In this video I have a third go at my Maker Faire “Here There Be Makers” badge. You can see my previous attempts here and here
Following is a product I use picked at random from my collection which may appear in my videos. Clicking through on this to find and click on the green affiliate links before purchasing from eBay or AliExpress is a great way to support the channel at no cost to you. Thanks!
Scotch Titanium Scissors notes |
Let’s go shopping!
Interlude #9: Making a Power Breakout Box | Learning Electronics In The Lab With Jay Jay
This post is part of my video blog and you can find more information about this video over here.
You can support this channel on Patreon: patreon.com/JohnElliotV
In this video I make a power breakout box. This is for use in testing my new multimeter, but it will be good to have for other uses in future too.
Thanks very much for watching! And please remember to hit like and subscribe! :)
Following is a product I use picked at random from my collection which may appear in my videos. Clicking through on this to find and click on the green affiliate links before purchasing from eBay or AliExpress is a great way to support the channel at no cost to you. Thanks!
Maxitronix Electronic Metal Detector Kit Electronics Project notes |
Let’s go shopping!
Interlude #8: Making My Maker Faire ‘Here There Be Makers’ Badge | In The Lab With Jay Jay
This post is part of my video blog and you can find more information about this video over here.
You can support this channel on Patreon: patreon.com/JohnElliotV
In this video I fix up and reassemble my Here There Be Makers badge which I received from Maker Shed in California.
This electrified badge was made by lectrify.it and PCBWay.
Previously I had installed a single 3mm LED in the top of this thing, but in this video I remove that (so I can use the hole to hang it) and install two 3mm LEDs on the front instead, which is my best guess as to what I was supposed to do with this thing, which didn’t come with instructions.
There is some information about their Maker Faire event on in San Fransisco later this year over here: https://make.co/welcome/
And also, yes, I should have combed my hair before making this video. :P
Thanks very much for watching! And please remember to hit like and subscribe! :)
Following is a product I use picked at random from my collection which may appear in my videos. Clicking through on this to find and click on the green affiliate links before purchasing from eBay or AliExpress is a great way to support the channel at no cost to you. Thanks!
JST XH2.54 Connector Kit![]() |
Let’s go shopping!


