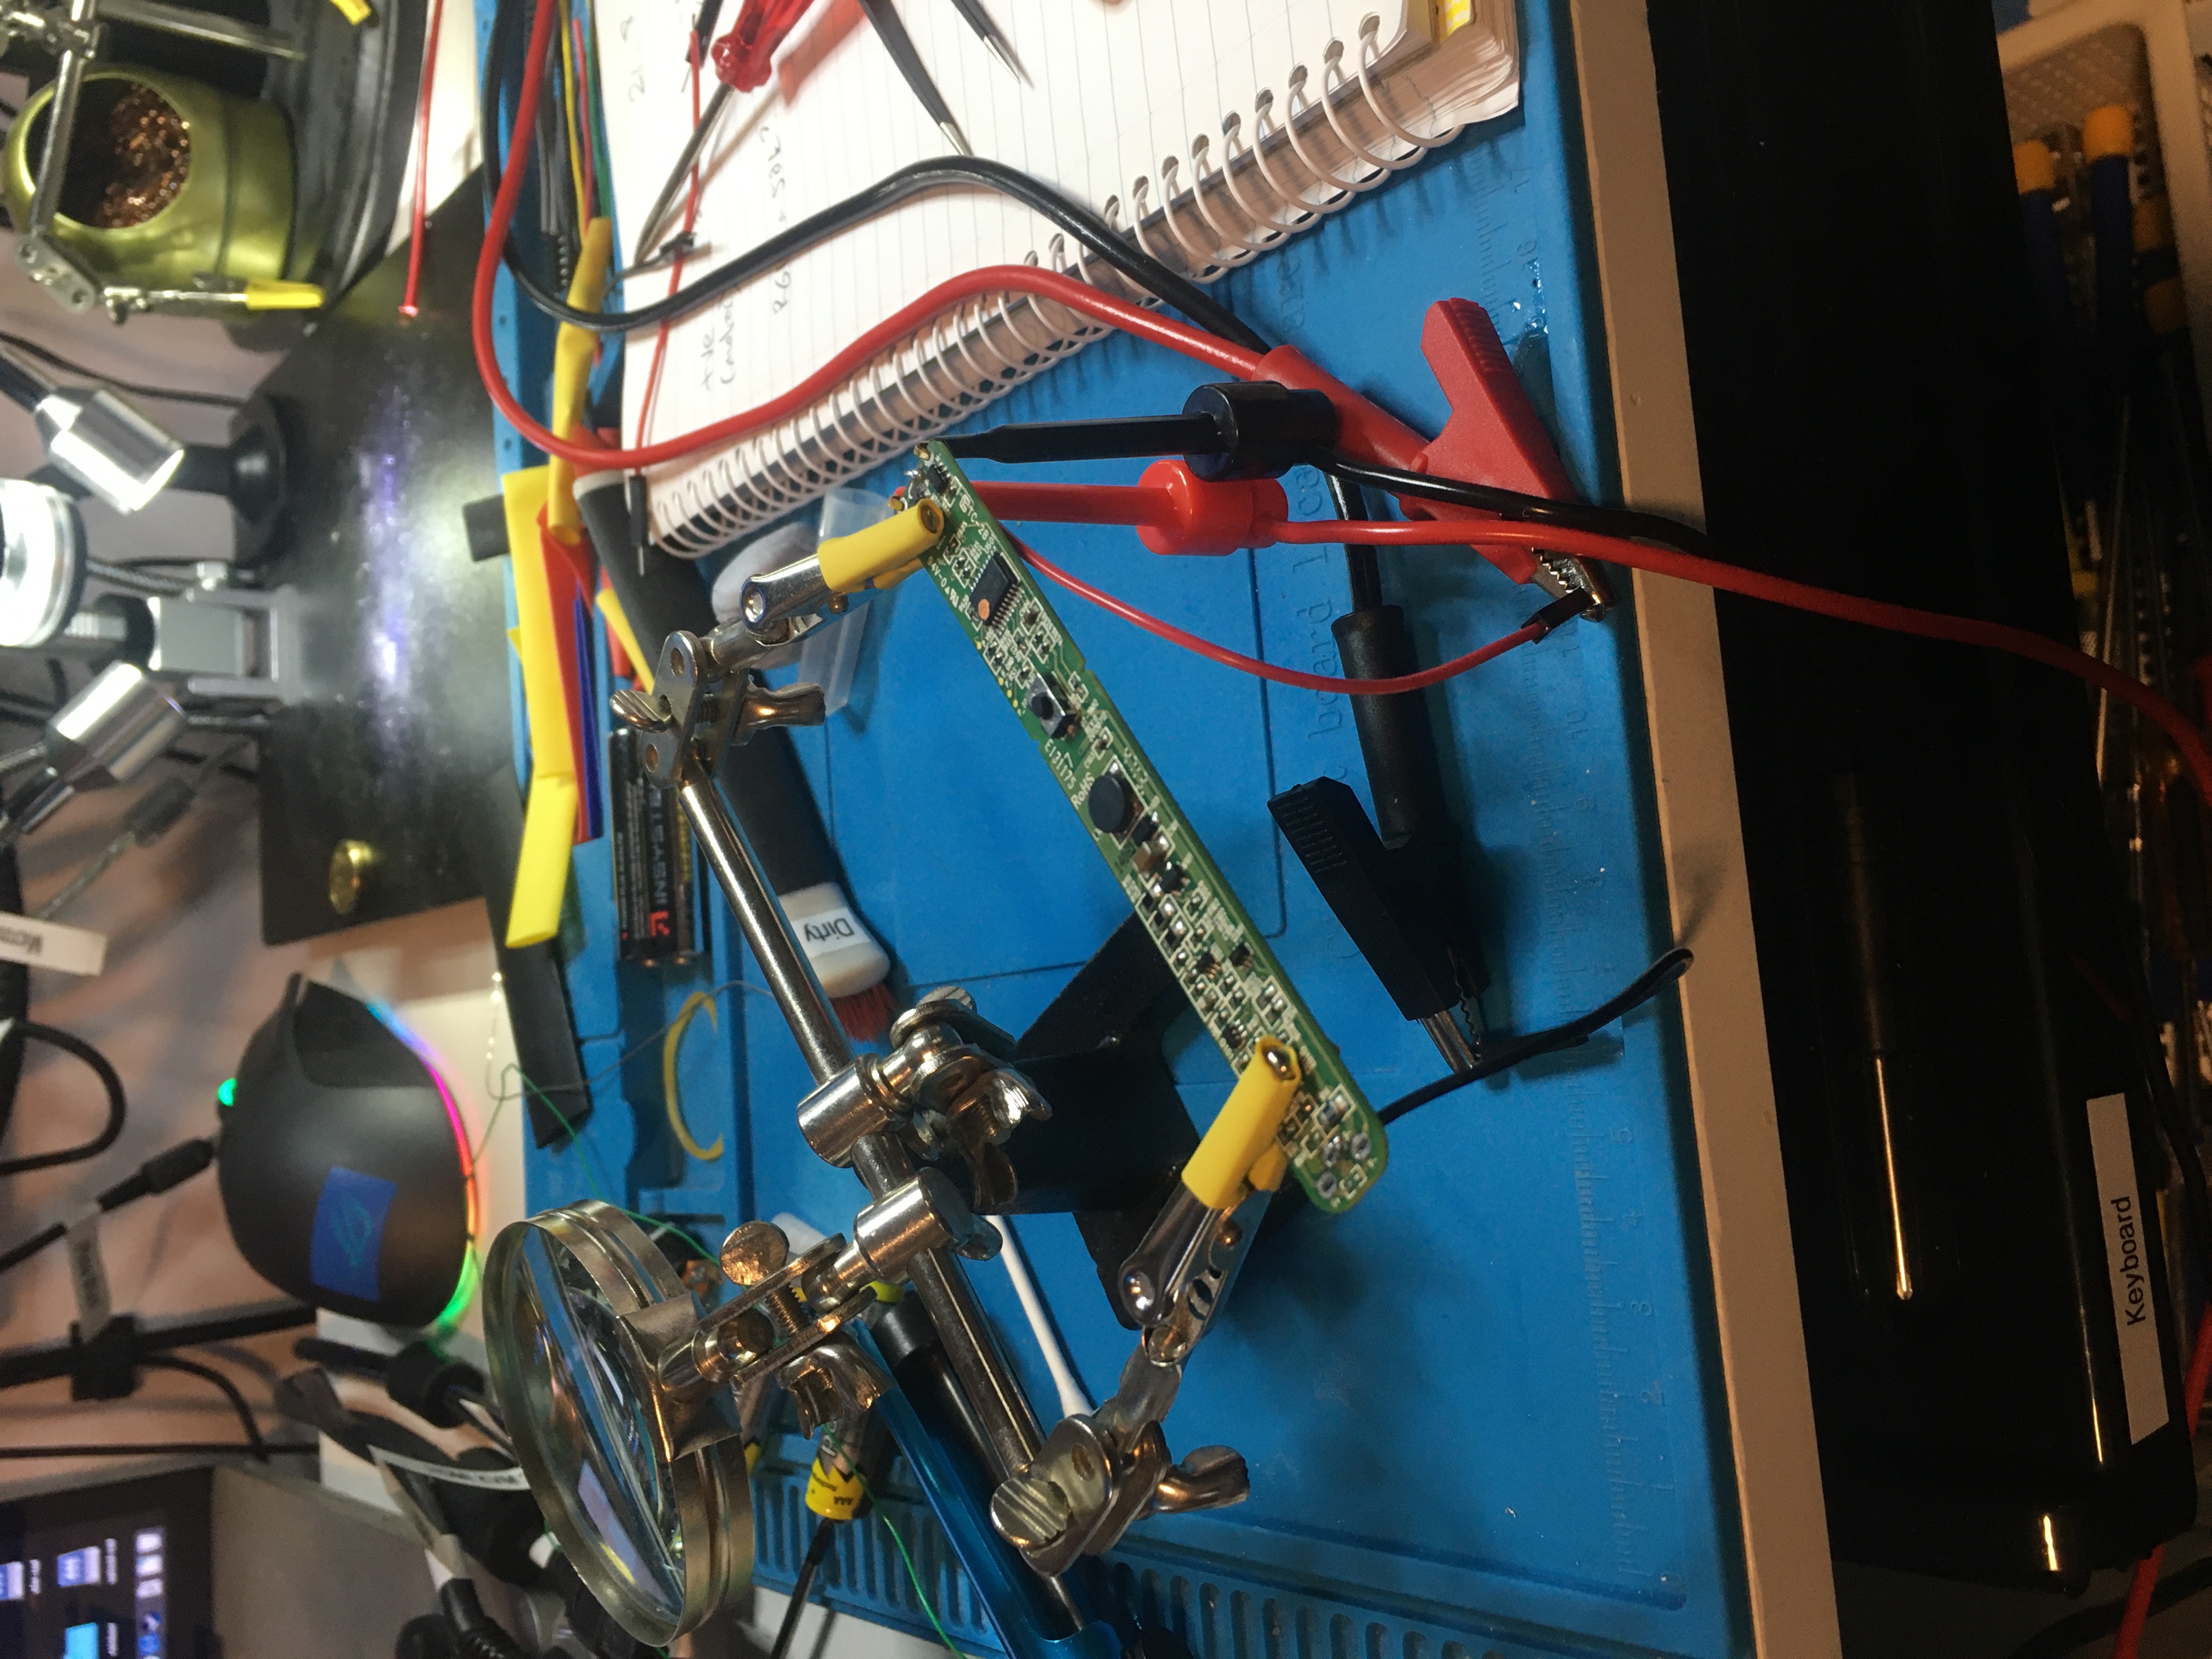
This evening I was working on a battery replacement for a Philips QT4022 hair trimmer for my friend. They don’t seem to make this model any more, it was hard to find useful info about them. I made some notes over here. In the end I accidentally released the magic smoke, but at least I got some practice using my soldering iron and my microscope (this evening I learned how to take photos with my microscope and transfer them to my computer, haven’t done that before).
I did start off making a video about this, but it all went very badly, so I’m not gonna be publishing that one. :P
I learned a few lessons:
- take photos of the circuit board before you take to it with a soldering iron. This is so that if you damage the circuit board or the silk screen you can still read the component markings on the photo even if you damage the board.
- use the max current and max voltage settings on the power supply and don’t exceed sensible values for those. (200mA for DC motor is a sensible limit, 6A is not.)
- if you’re dealing with a circuit that has batteries soldered in, and you’re attempting to desolder the batteries, you need to be careful the solder doesn’t melt and create a short circuit, because it can, and it will.
My soldering skills are pretty poor at the moment. What I need is lots of practice. I’m not sure what the best tips or the best temperatures are yet. I accidentally lifted some SMD components because I used too much heat too close to them.
RIP Philips trimmer.