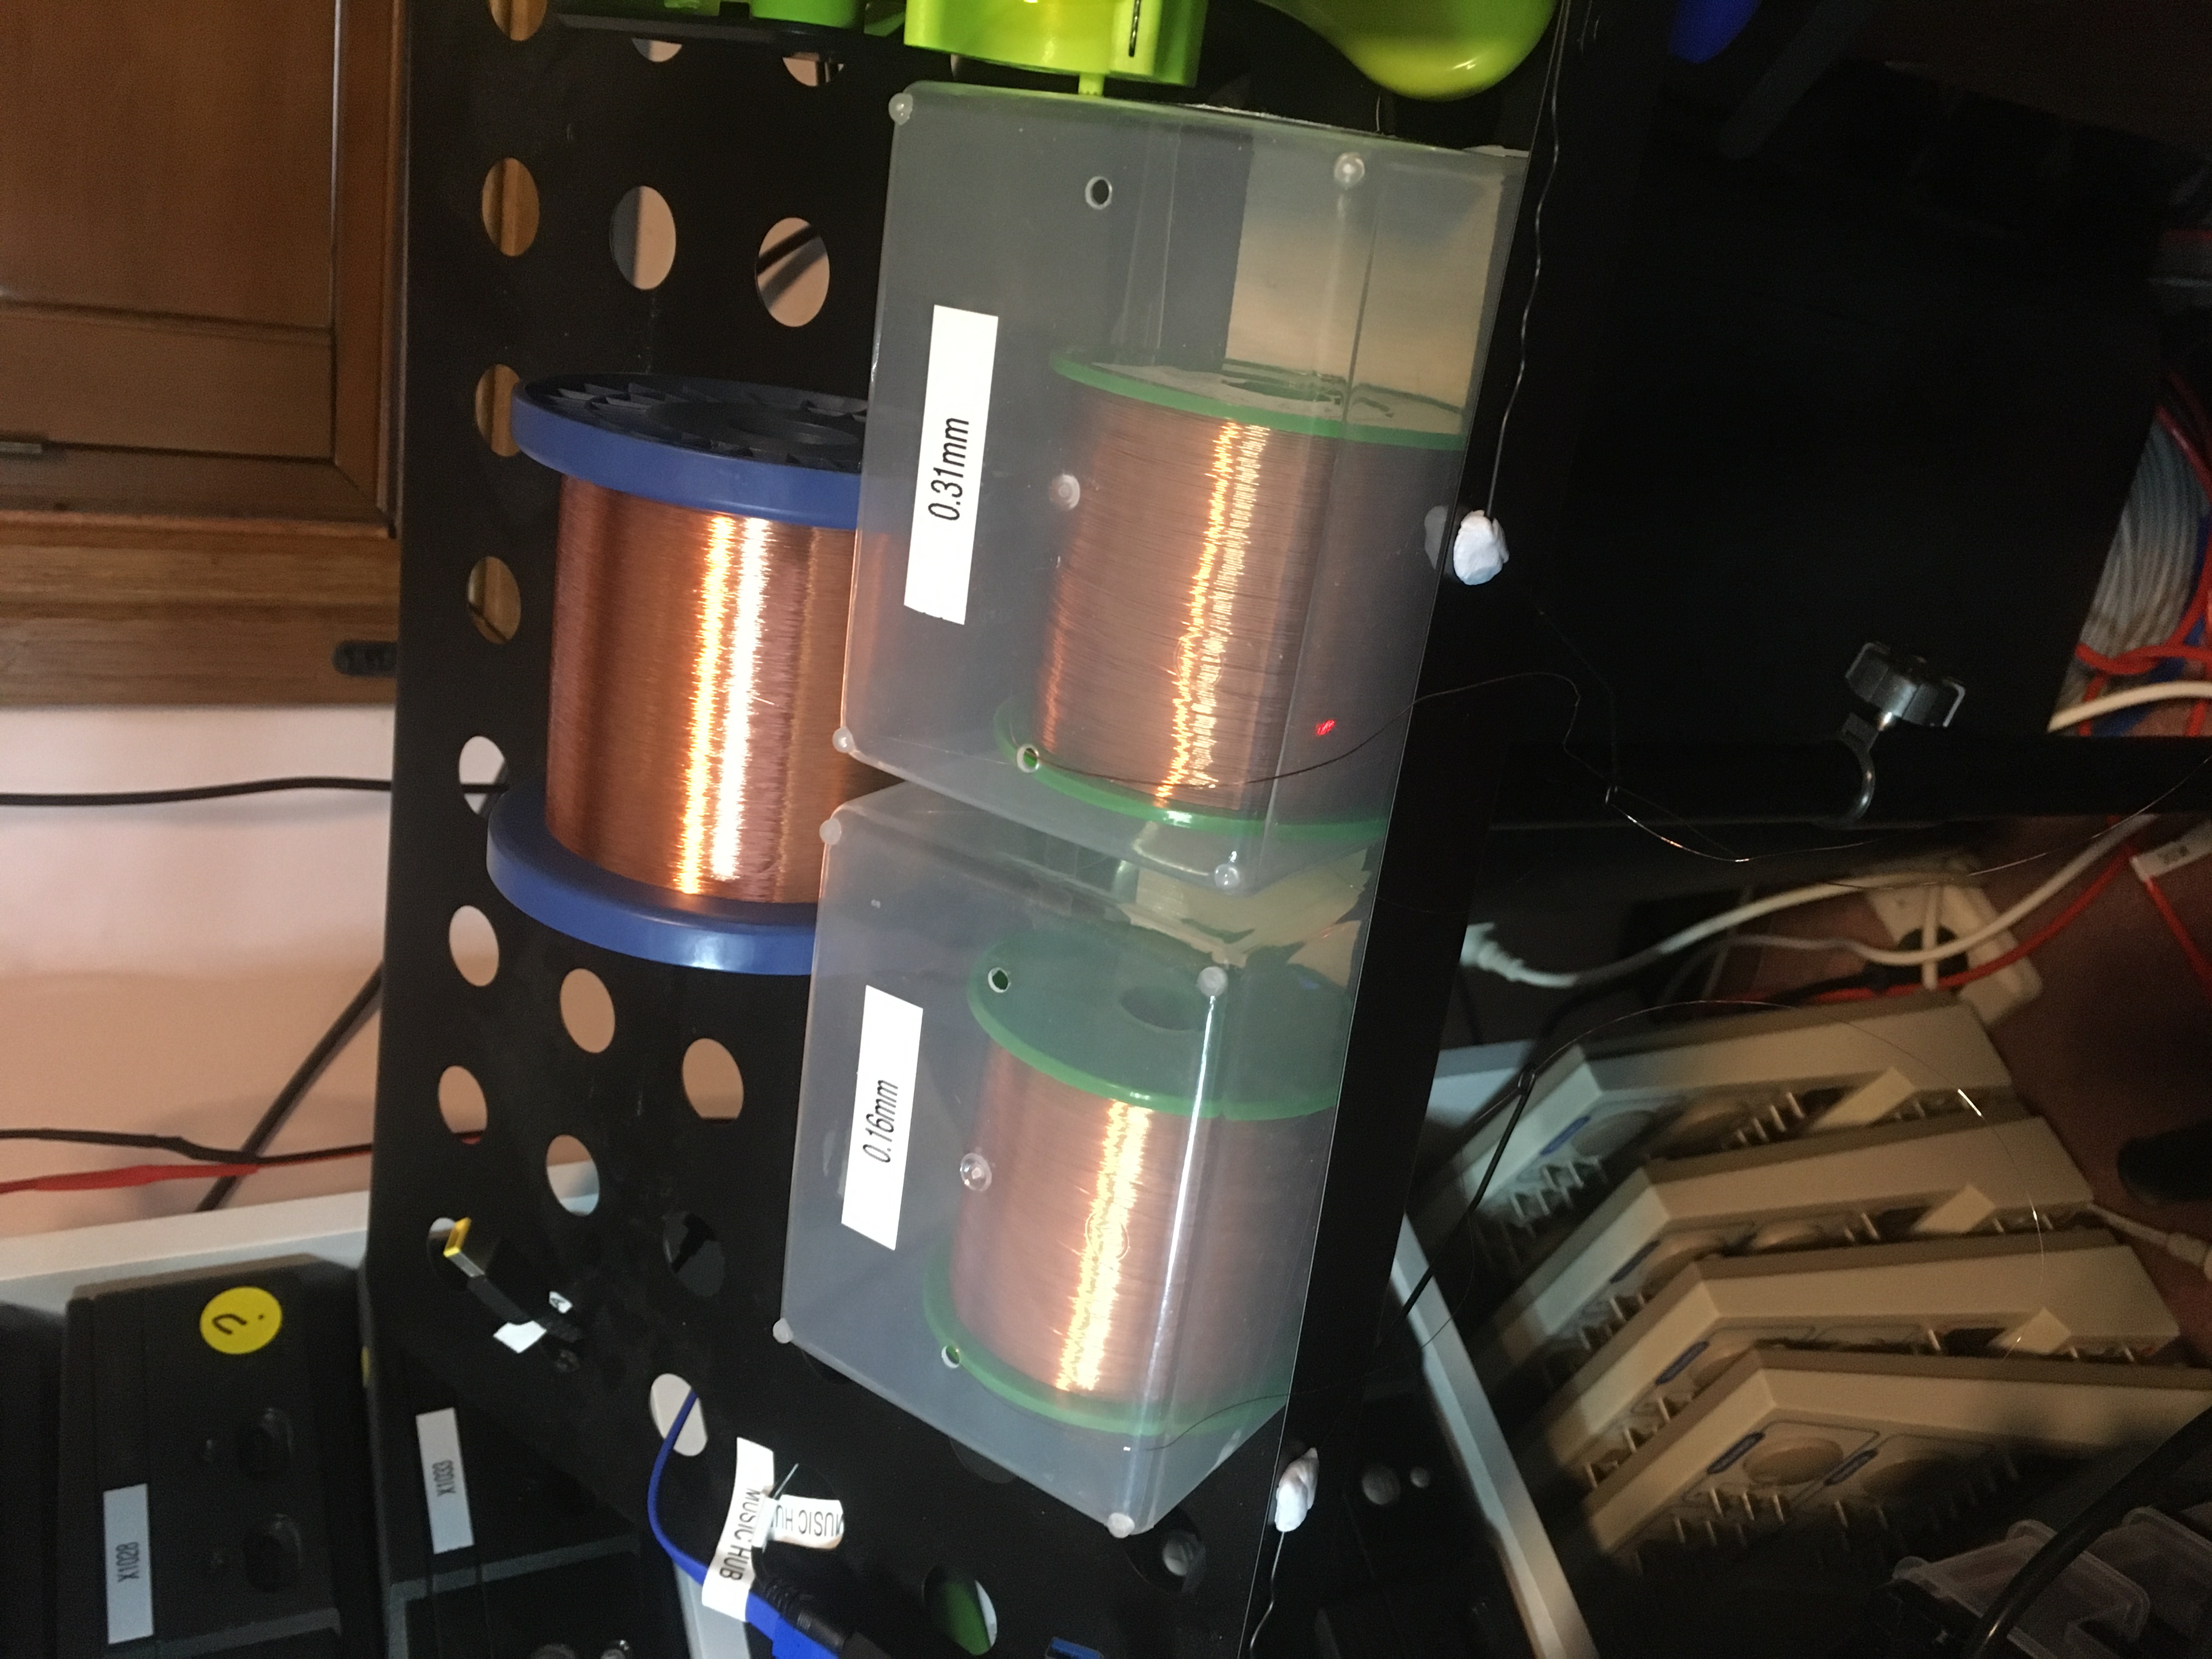
Thanks to my mate Bruce from Branchus Creations and his wire size suggestions I got a bunch of bodge wire for doing PCB repairs, being 1KG Enameled Copper Winding Wire 0.05 0.06 0.1 0.13 0.2 0.4 0.8 0.5mm 0.65 1.0 1.4 1.3mm Cable Magnet Wire Winding Wire Coil red. I got:
- 0.07mm (back)
- 0.16mm (front left)
- 0.31mm (front right)
It would have been more convenient for me if the 0.07mm wire had have been on a smaller roll like the other two, but we can’t have everything. I’ve been thinking I might get some sort of wire rack, but I’m not sure where I would keep it.
I wasn’t sure exactly how I would go about cleaning enamel off the wire for soldering, so I asked ChatGPT, which gave me a number of options:
- Mechanical stripping
- Thermal stripping
- Chemical stripping
I think what I will actually try is just tinning the ends with my soldering iron and some fresh solder and see if that will burn off just a little bit of enamel on the tips, leaving me with a tinned wire I can easily solder into place.