Decided not to do an “unboxing” for this bit of kit which arrived this arvo. But my new tape dispenser arrived. It’s for my Kapton tape.
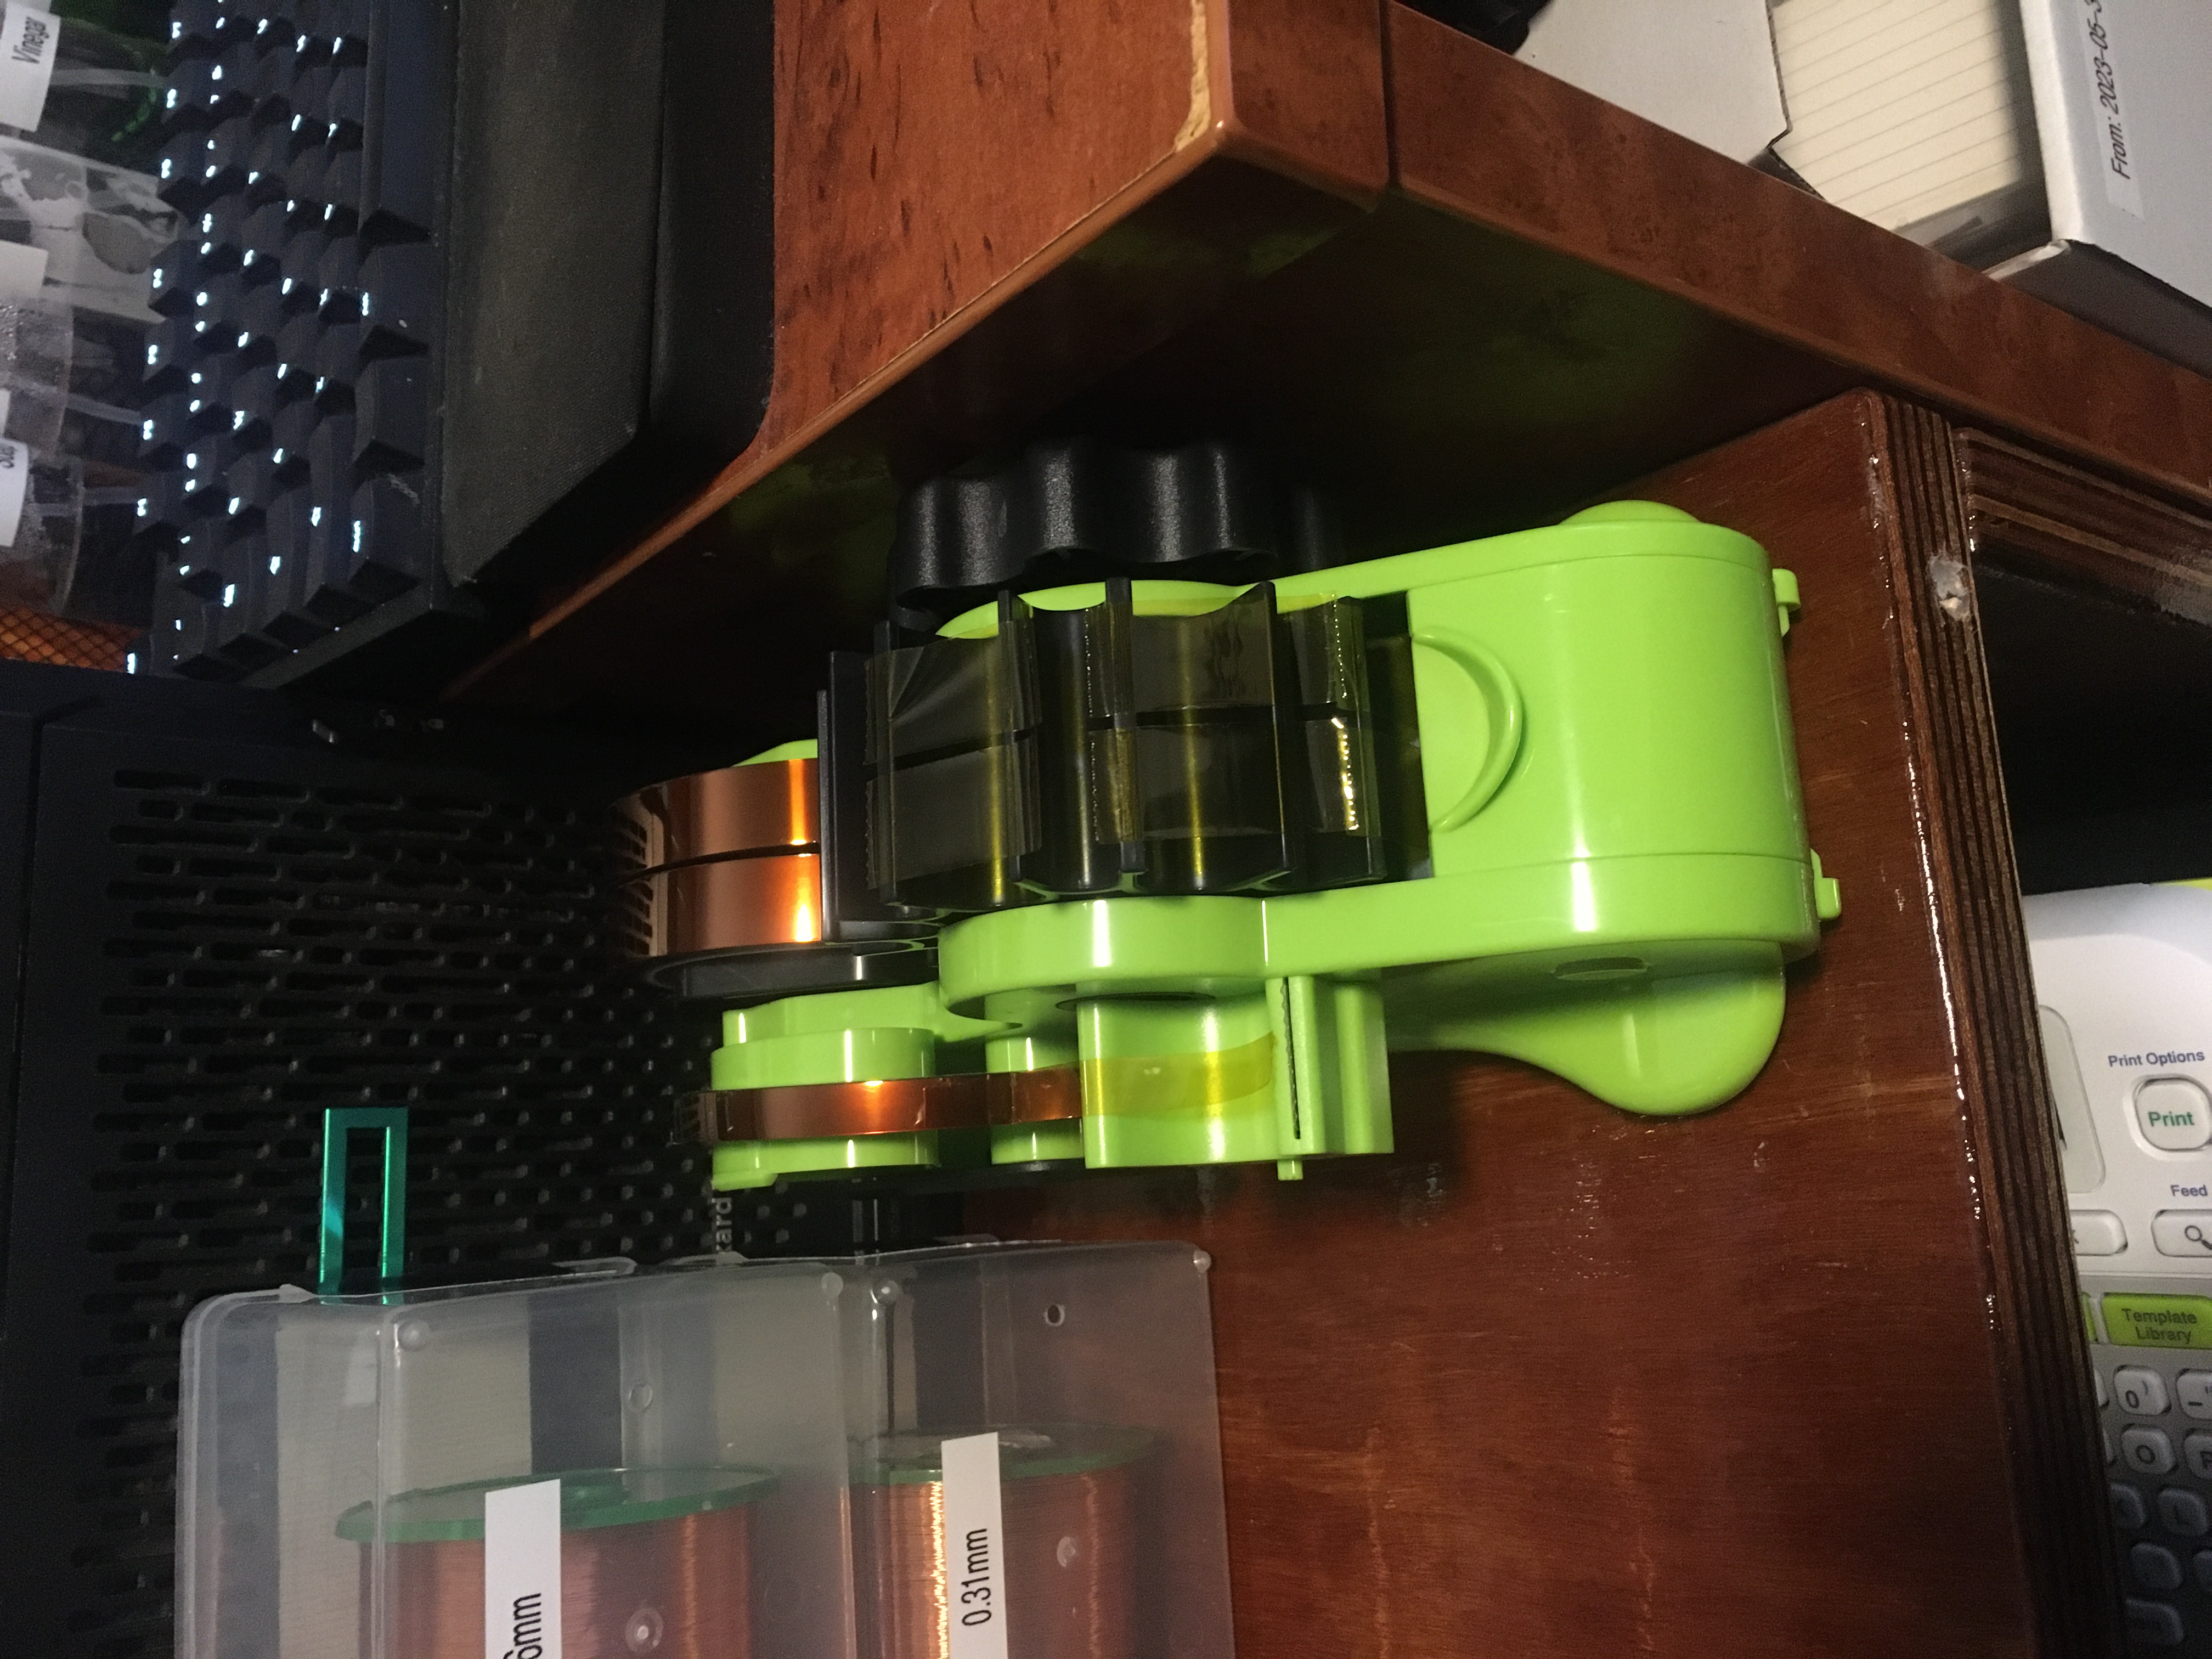
Decided not to do an “unboxing” for this bit of kit which arrived this arvo. But my new tape dispenser arrived. It’s for my Kapton tape.
This morning I was fooling with cables for my Xbox. I want to make some breakout boards with controllers and front-panel buttons and LEDs that I can install in my bench and simply plug in when I’m working on a board.
I had a play with what I had in stock and built the cable you can see below. In the bottom of the frame is the Xbox controller connectors for two controllers, and in the top of the frame is my 10 pin JST PHD connector which I wired up just to make sure I had the right components and everything was working.

It works, but I used 22 AWG gauge wire where I probably want 24 or 26 AWG instead, so I ordered some of that on AliExpress.
I also swung by Digi-Key and stocked up on JST PHD connectors. On an Xbox motherboard (I’ve only checked v1.6 so far, I’m just getting started) you will find a 10 pin JST PHD connector for the front LEDs and power/eject buttons, two 12 pin JST PHD connectors for the controllers, and a 14 pin JST PHD connector for the DVD ROM. I got all such things:
And because I seriously lack restraint I purchased a shitload of every type of USB Type A Female connector I could find on AliExpress:
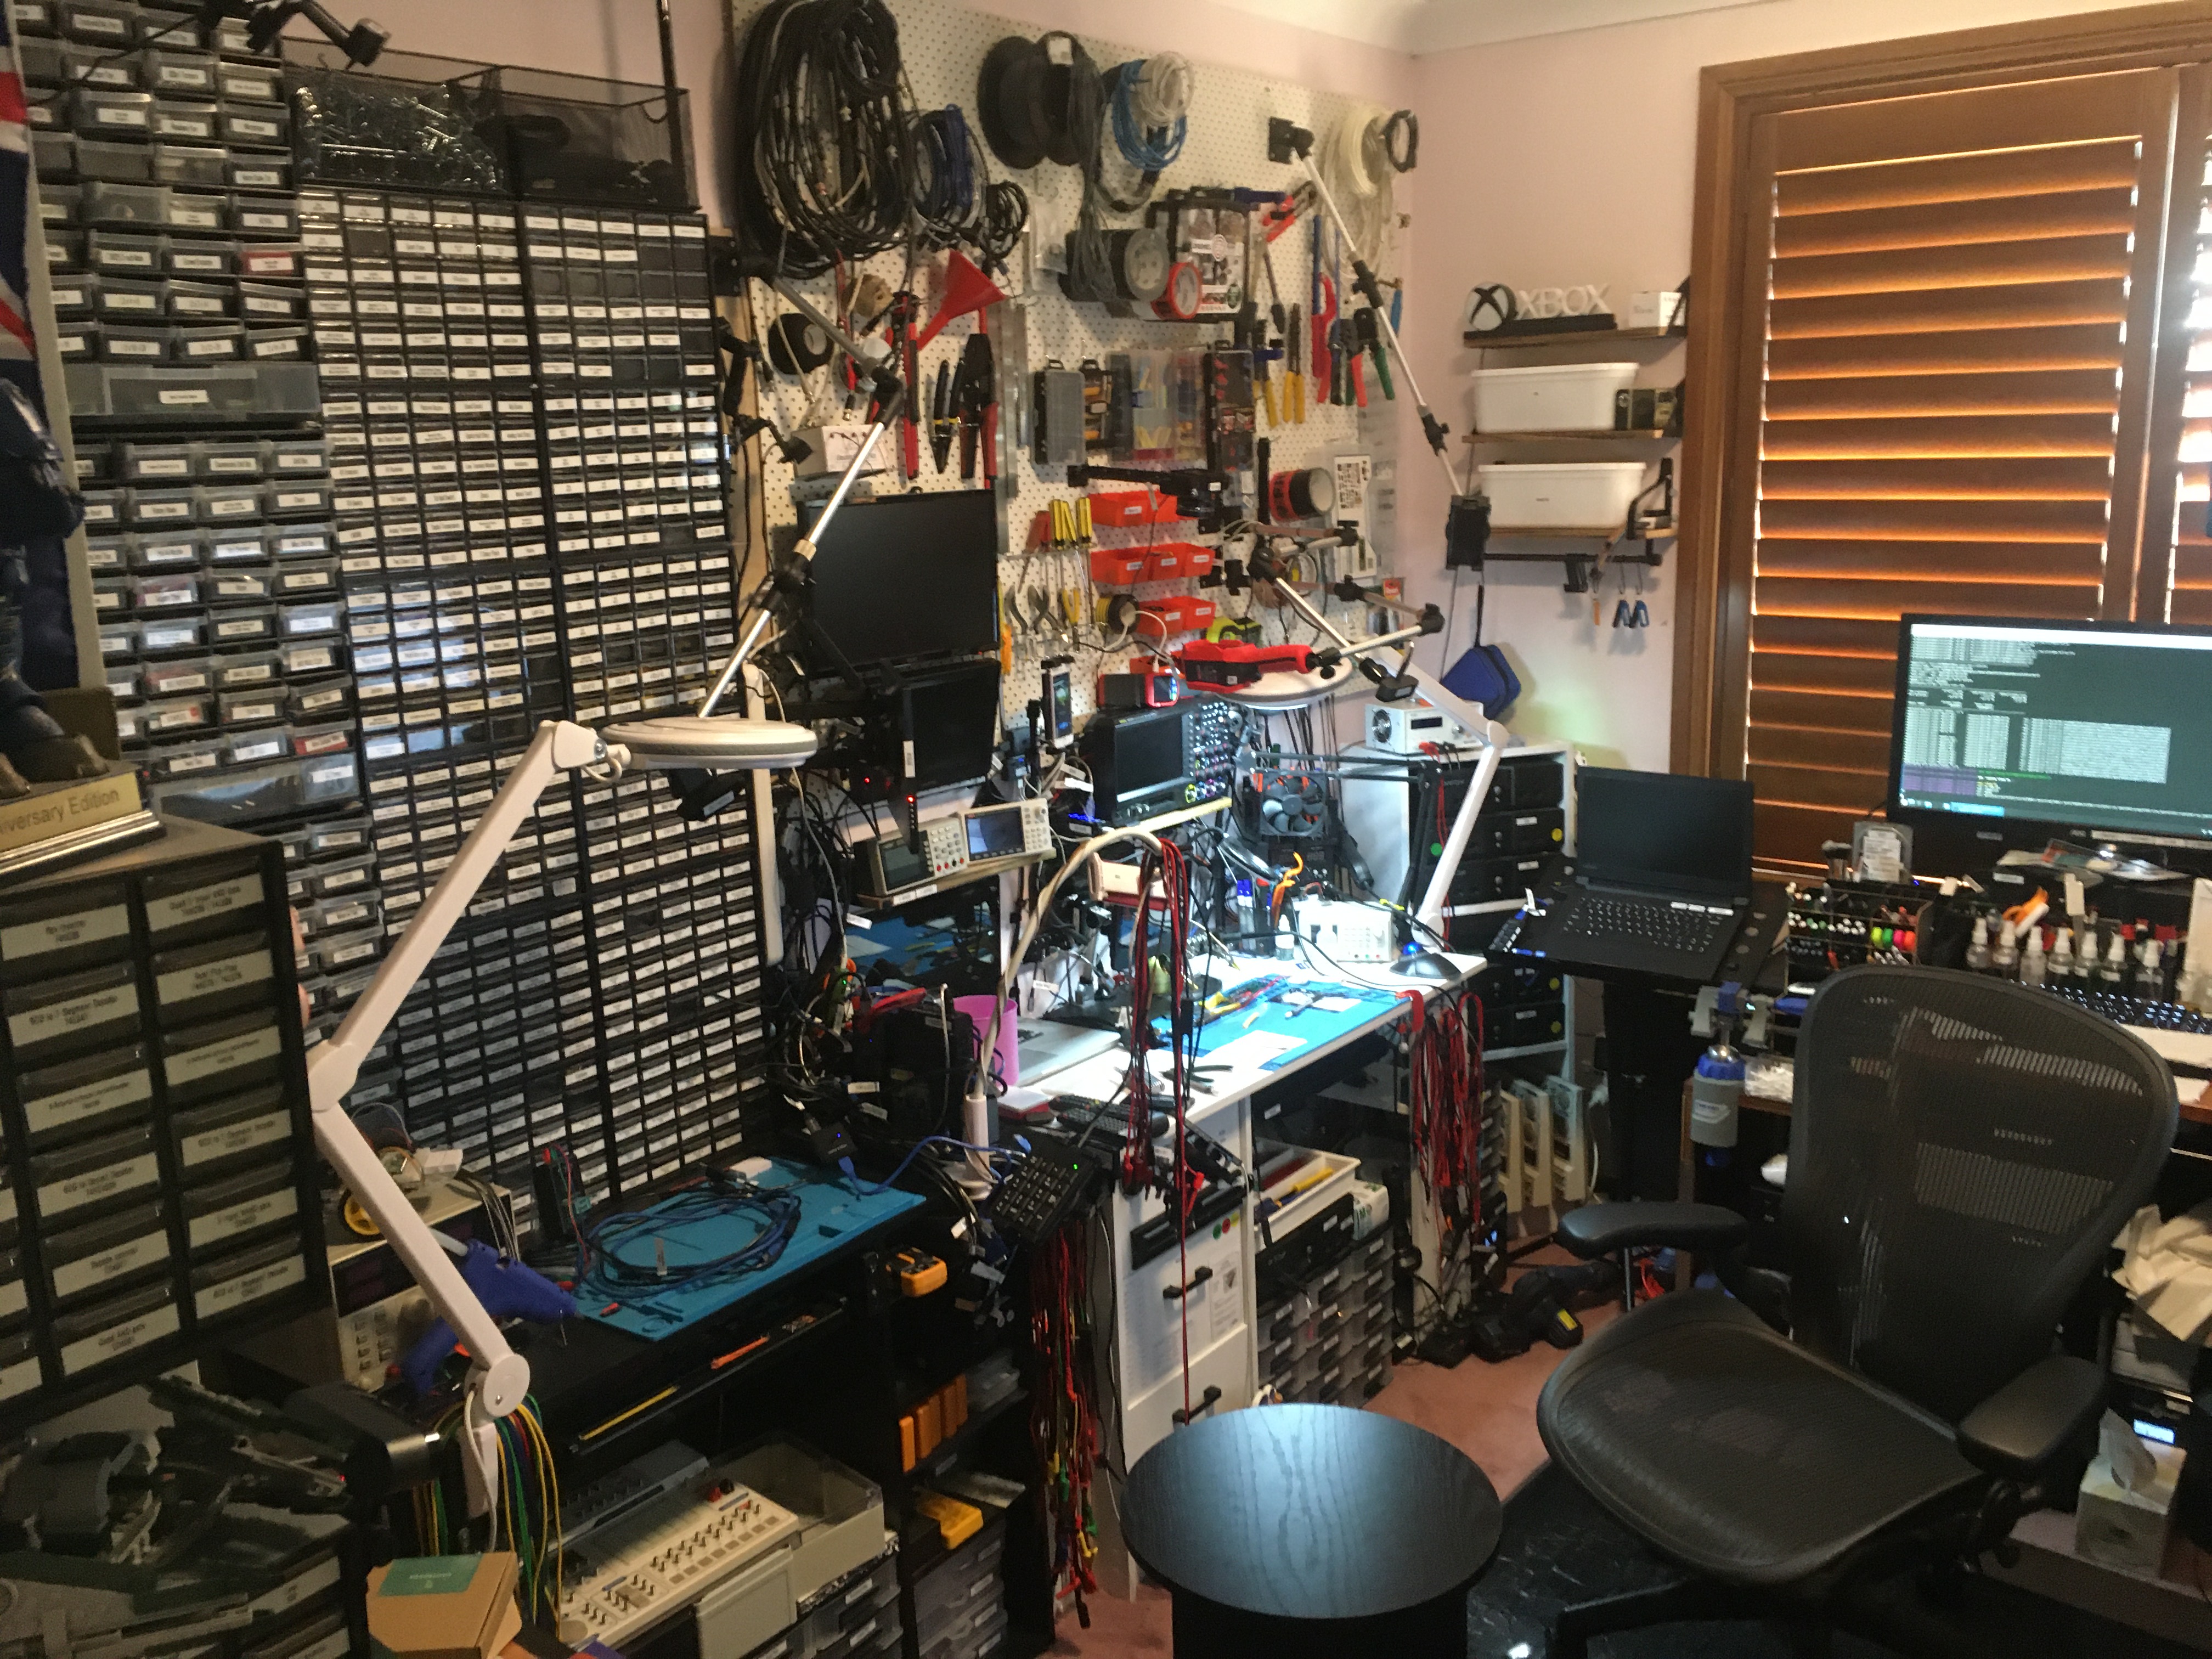
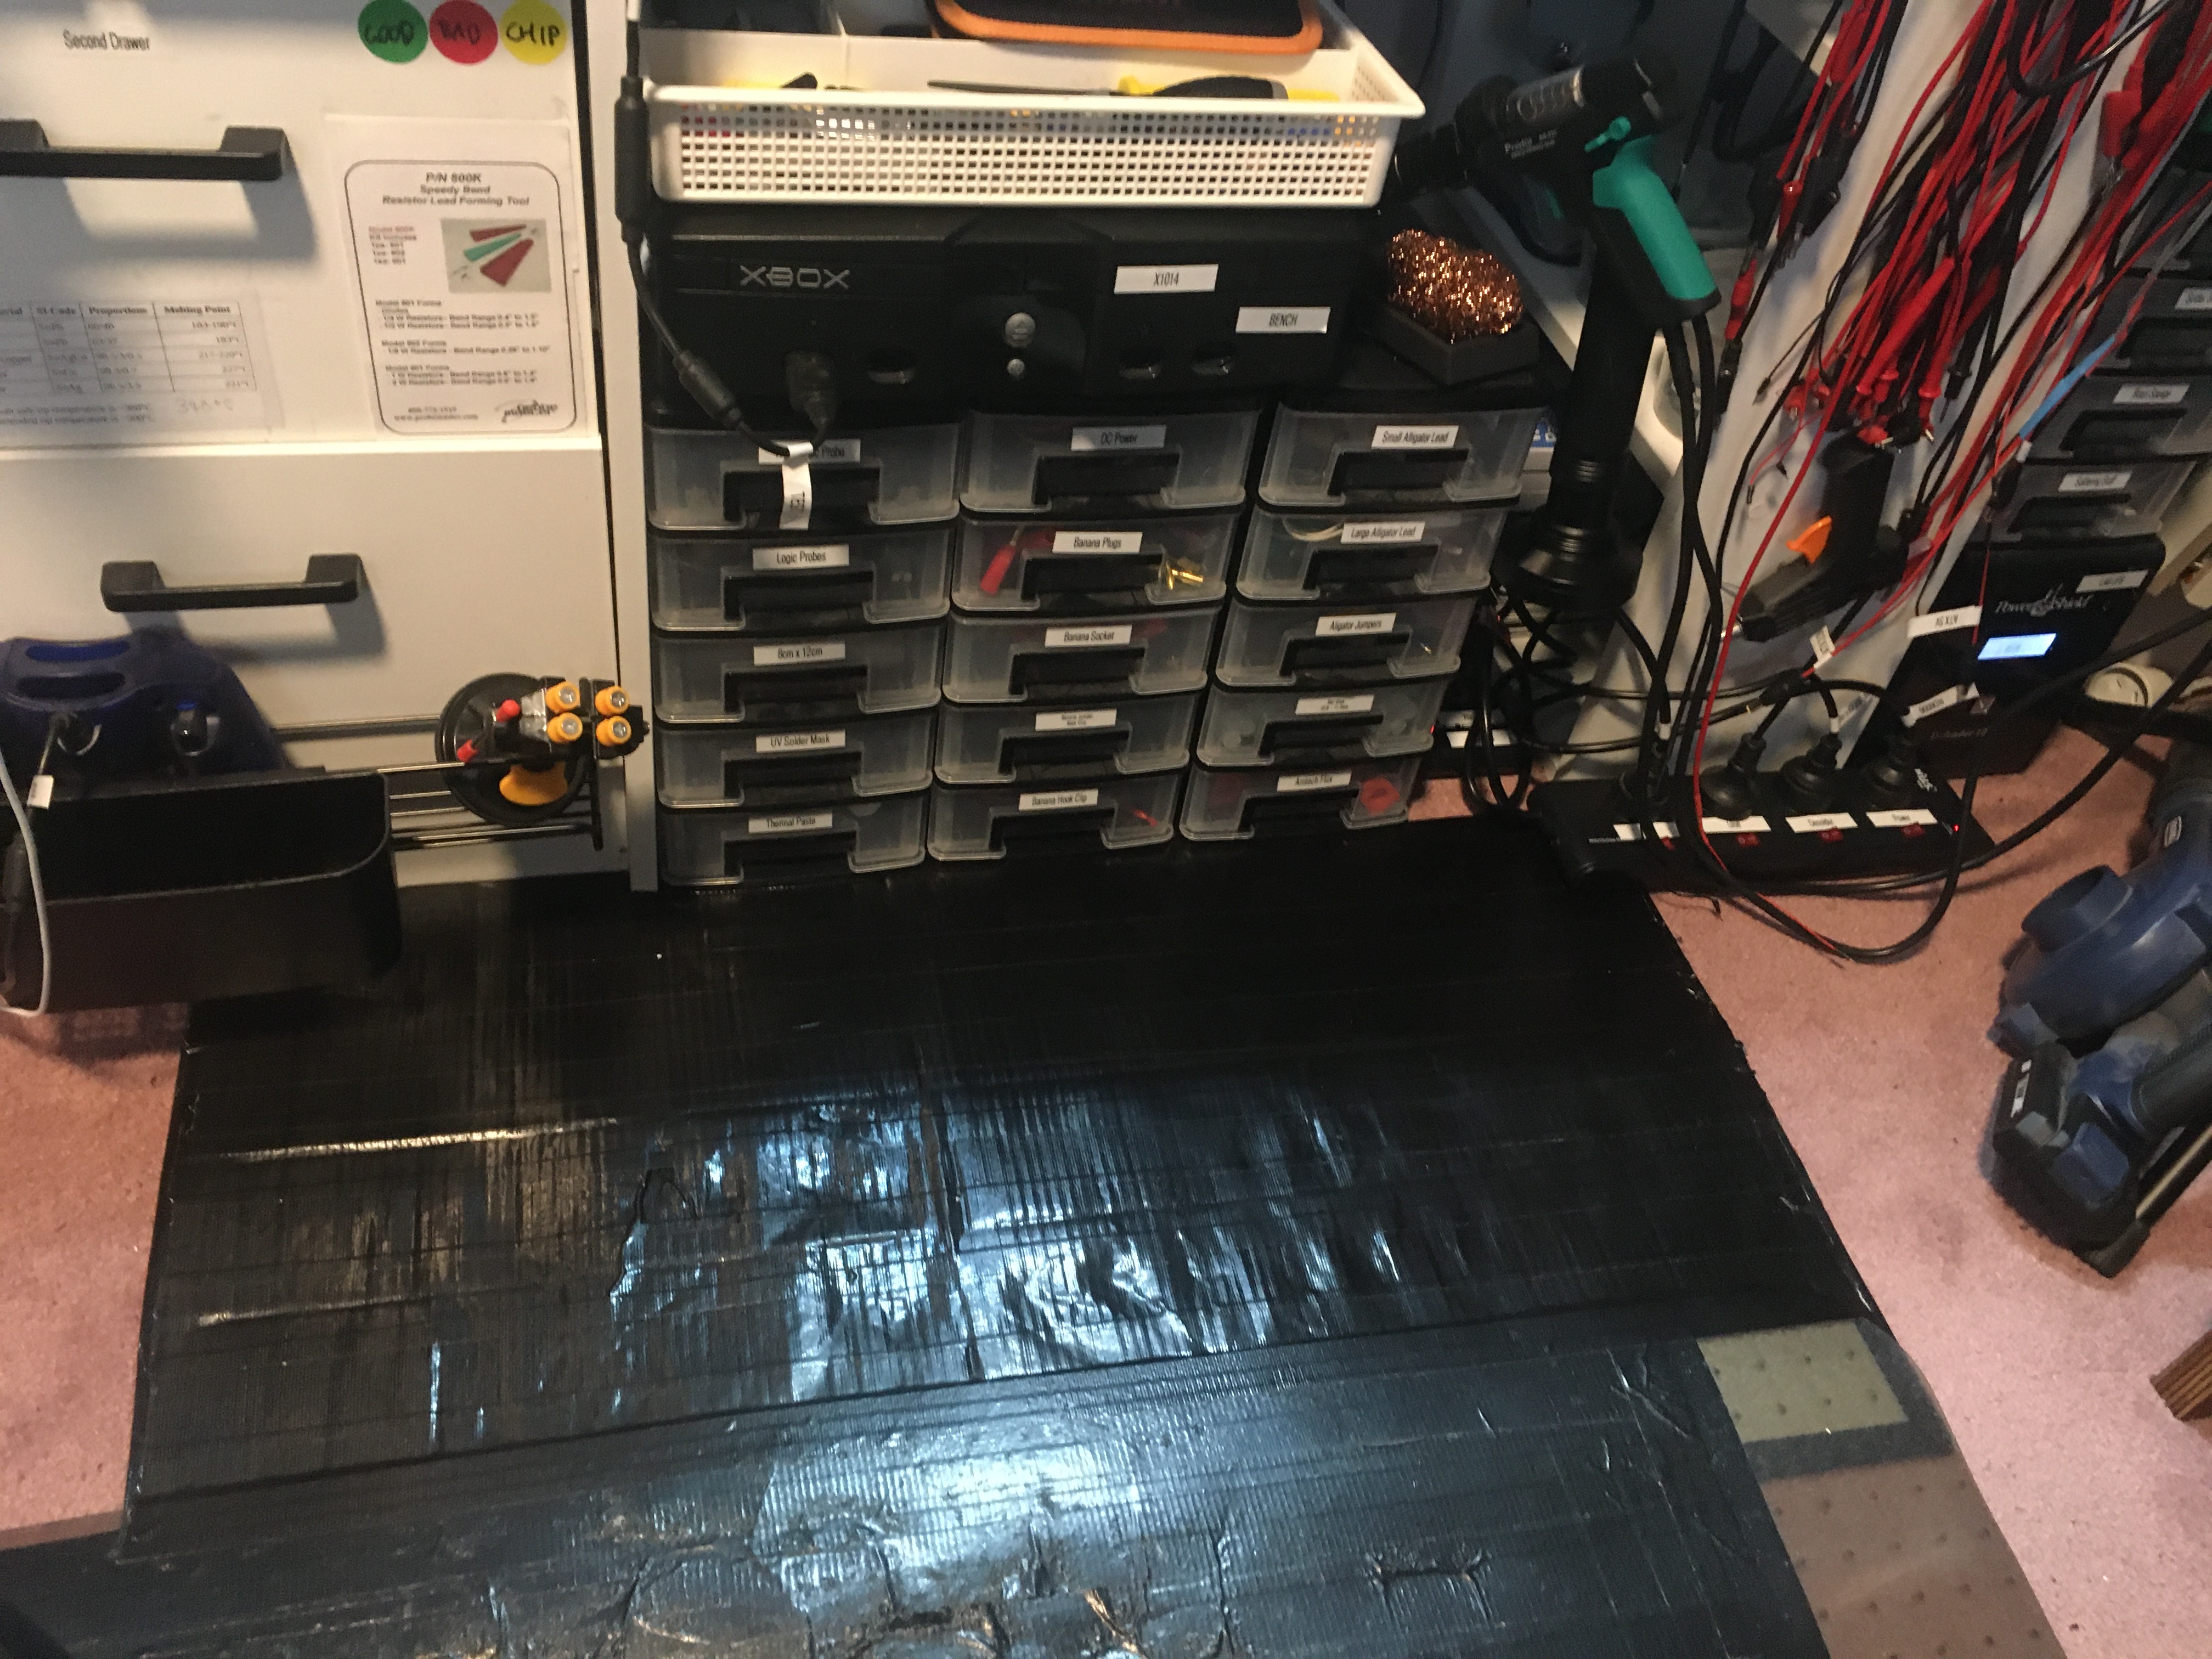
Also I’ve set up some storage so I can work on multiple OGXbox projects at the same time:
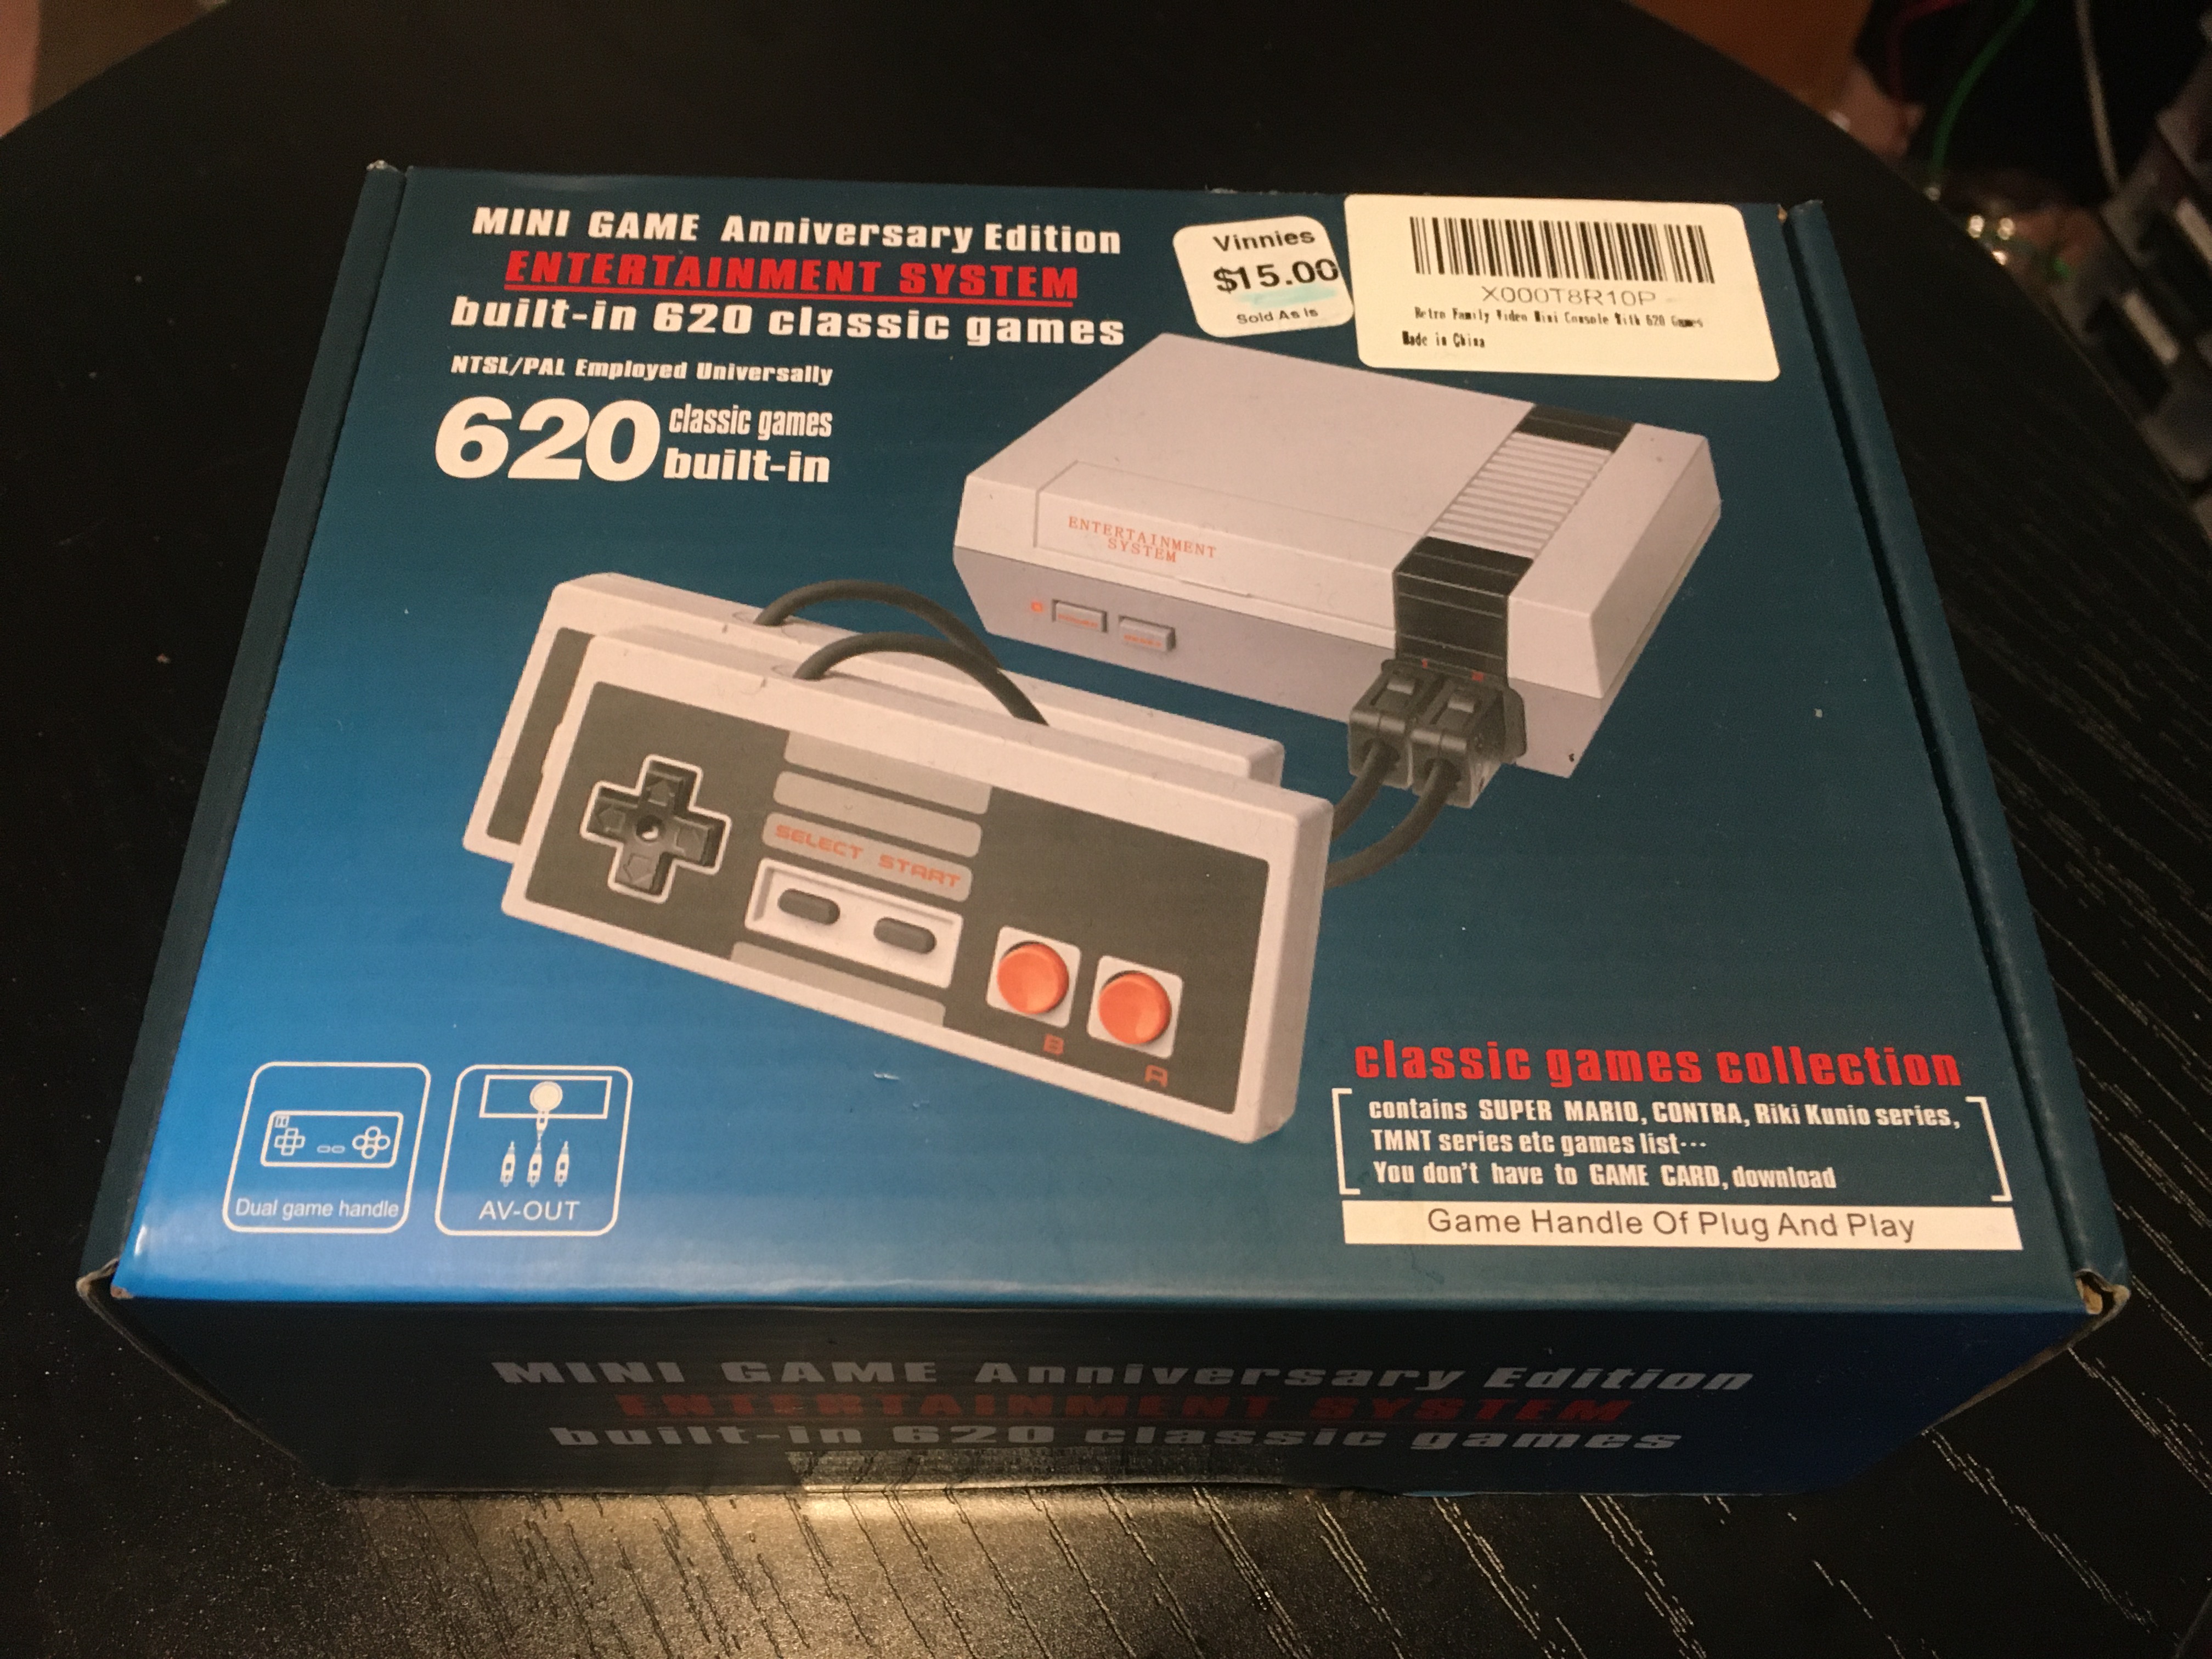
I was at the thrift store the other day and I found this retro gaming system for AU$15 (US$10). Haven’t had a play with it yet, I’m saving it for when I have some time to do the unboxing. And I didn’t want to do that until I had my new HDMI recording setup installed, but that’s done now, so I AM READY BABY.
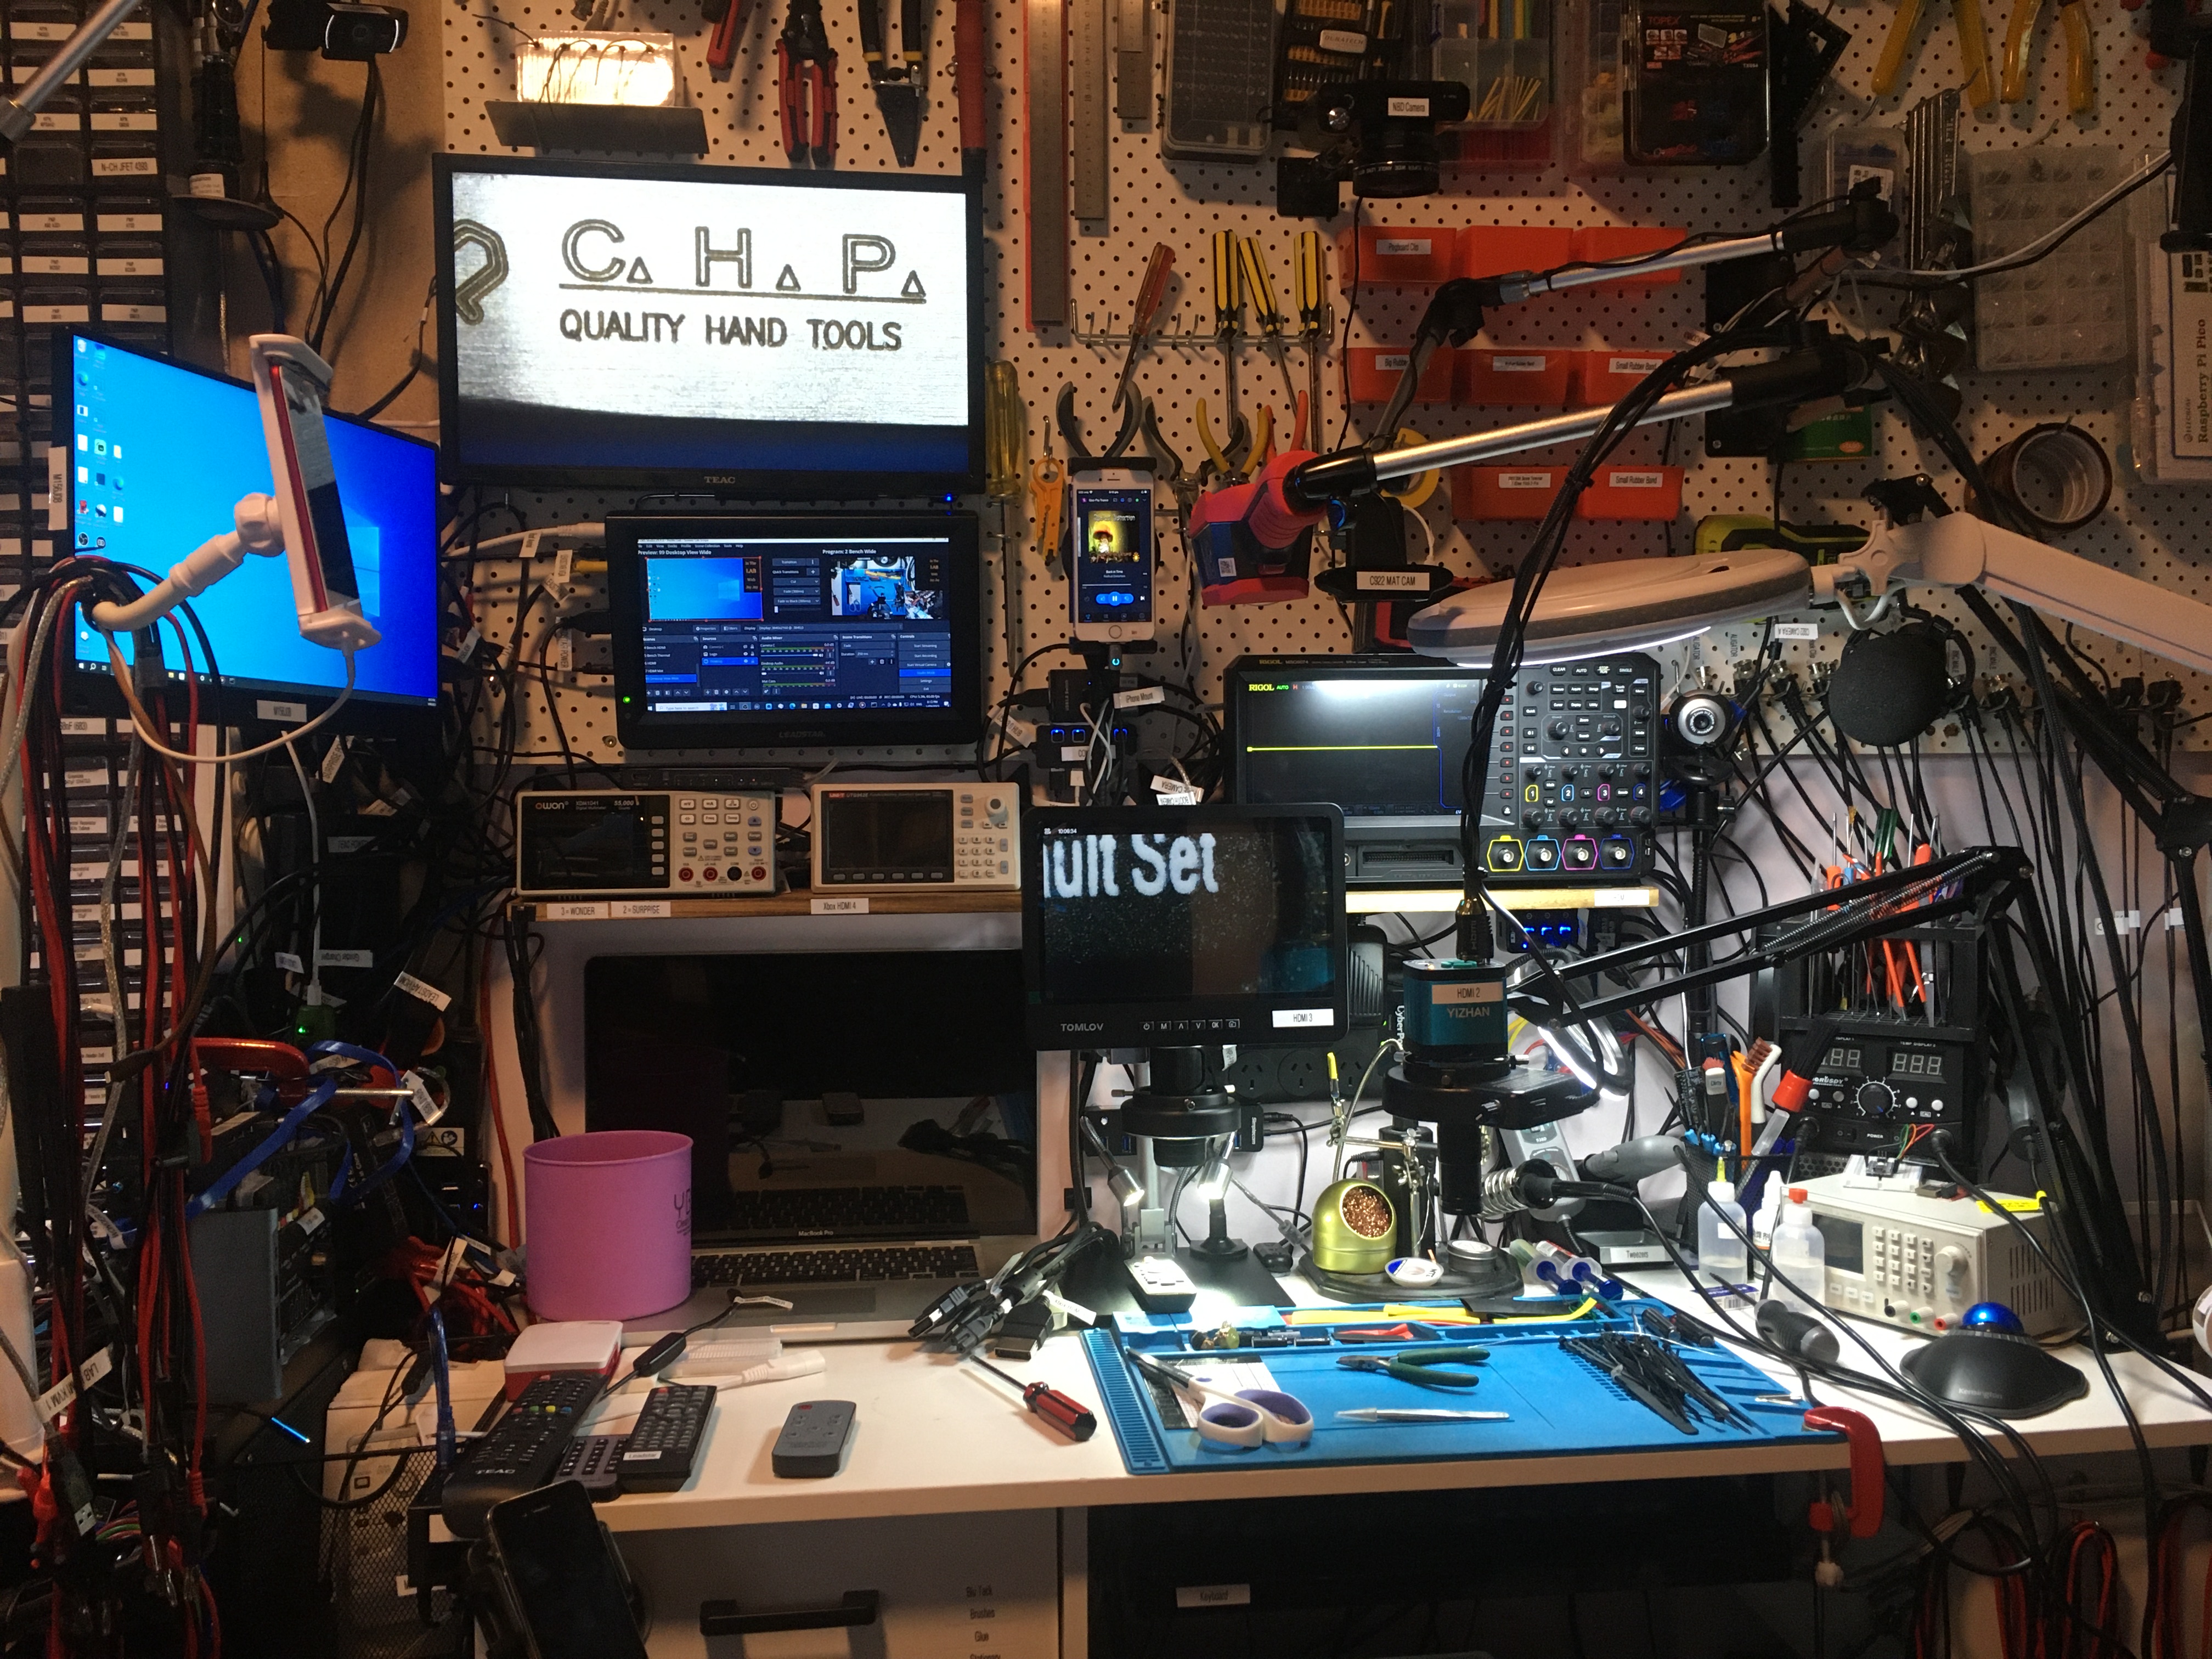
I’ve installed my two new microscopes, the TOMLOV DM602 Pro which arrived today, and the Yizhan Microscope which arrived yesterday.
Using my new 8K 5-in 1-out HDMI 2.1 Switch I can put either of the microscopes on the top display. I can also put the Rigol MSO5074 scope and an Xbox on the top display. There is one spare HDMI port which is on the front of the device which I can use for ad hoc purposes.
Before the HDMI switch output runs into the top display (a Teac TV) it runs through a 4K Audio Video Capture Device which allows me to record the output for inclusion in my videos.
Installed a new mat in front of my bench. It’s made from an Amazon box (cardboard) and gaffer tape.
I was sitting here in my lab this morning and reflecting on all the things I want to do in it. The thing about getting things done is they don’t get done unless you actually take the time to do them. A book will happily sit unopened on your bookshelf for your entire life if you don’t take the time at some point to pick it up and read it.
In this light I thought perhaps I might stand more of a chance of actually completing some of my projects if I put some structure around getting them done. To that end I have one specific activity to do for each day of the week:
On circuit day and Xbox day I will make a video of the activity and publish on In The Lab With Jay Jay. The outputs from the other activities are not video but a lot of that will end up on the web somewhere too.
The sub-pattern is:
I repeat that twice in one week and then give myself a day off.
Traditionally I’m very bad when it comes to having structure in my life, so I can only hope that this attempt to introduce some structure actually works out… wish me luck!
This post is part of my video blog and you can find more information about this video on this show’s homepage which is here.
You can support this channel on Patreon: patreon.com/JohnElliotV
In this video I recap an old OGXbox. I also redo the thermal paste. I use my Pro’sKit SS-331 desoldering pump in anger for the first time. I spend an inordinate amount of time trying to figure out my new tools. In the end the Xbox is still broken!
I sold this Xbox on eBay but it was returned to me during the warranty period (one month) as it was faulty.
In this video I mention a trick you can do in your browser when you’re watching videos on YouTube. Ordinarily the YouTube user interface only allows you to set playback speed to 2x, but if you want to set it at 3x or higher you can do so by pressing F12 to bring up developer tools, then open the Console, and enter this code:
document.querySelector("video").playbackRate = 3.0;
Change the number to change the playback speed.
In this video I mention that it was in a video from Bruce from Branchus Creations that I got the recommendation to try a beveled soldering iron tip. Having given it a bit of a go and not really having great luck with it I am going back to a small chisel bit instead.
I comment in the video about how you don’t need to replace the clock capacitor on a v1.6 board, but Harcroft on the ConsoleMods.org original-xbox Discord forum reminded me that sometimes you do need to replace this capacitor.
The capacitors I use for this recapping are Chong 6.3V 3300μF Low ESR caps. Of course the board didn’t work after recapping so it’s possible these are dodgy caps.
I’m pretty sure I did damage the tip on my desoldering pump by putting the temperature all the way up to 480°C. Maybe don’t do that yourself. I believe anything over 380°C can damage iron tips (basically they melt!).
Thanks very much for watching! And please remember to hit like and subscribe!
Following is a product I use picked at random from my collection which may appear in my videos. Clicking through on this to find and click on the green affiliate links before purchasing from eBay or AliExpress is a great way to support the channel at no cost to you. Thanks!
ZKETECH EBD-A20H Electronic Load notes notes |
Let’s go shopping!
I purchased some high-precision tweezers which arrived today. I got these ones: TOWOT Industrial Tweezers (SA11-15) from Amazon for AUD$58.95. Haven’t used them in anger yet but they look pretty good. I got these because I tried working with my cheapo tweezers which I already had, and they weren’t up to the job. So hopefully I have better luck with these ones.
This post is part of my video blog and you can find more information about this video over here.
You can support this channel on Patreon: patreon.com/JohnElliotV
In this video I unbox my new Pro’sKit SS-331 desoldering pump.
I also recommend the Brother HT-D210 label maker.
Thanks very much for watching! And please remember to hit like and subscribe! :)
Following is a product I use picked at random from my collection which may appear in my videos. Clicking through on this to find and click on the green affiliate links before purchasing from eBay or AliExpress is a great way to support the channel at no cost to you. Thanks!
Logitech Brio USB Camera |
Let’s go shopping!
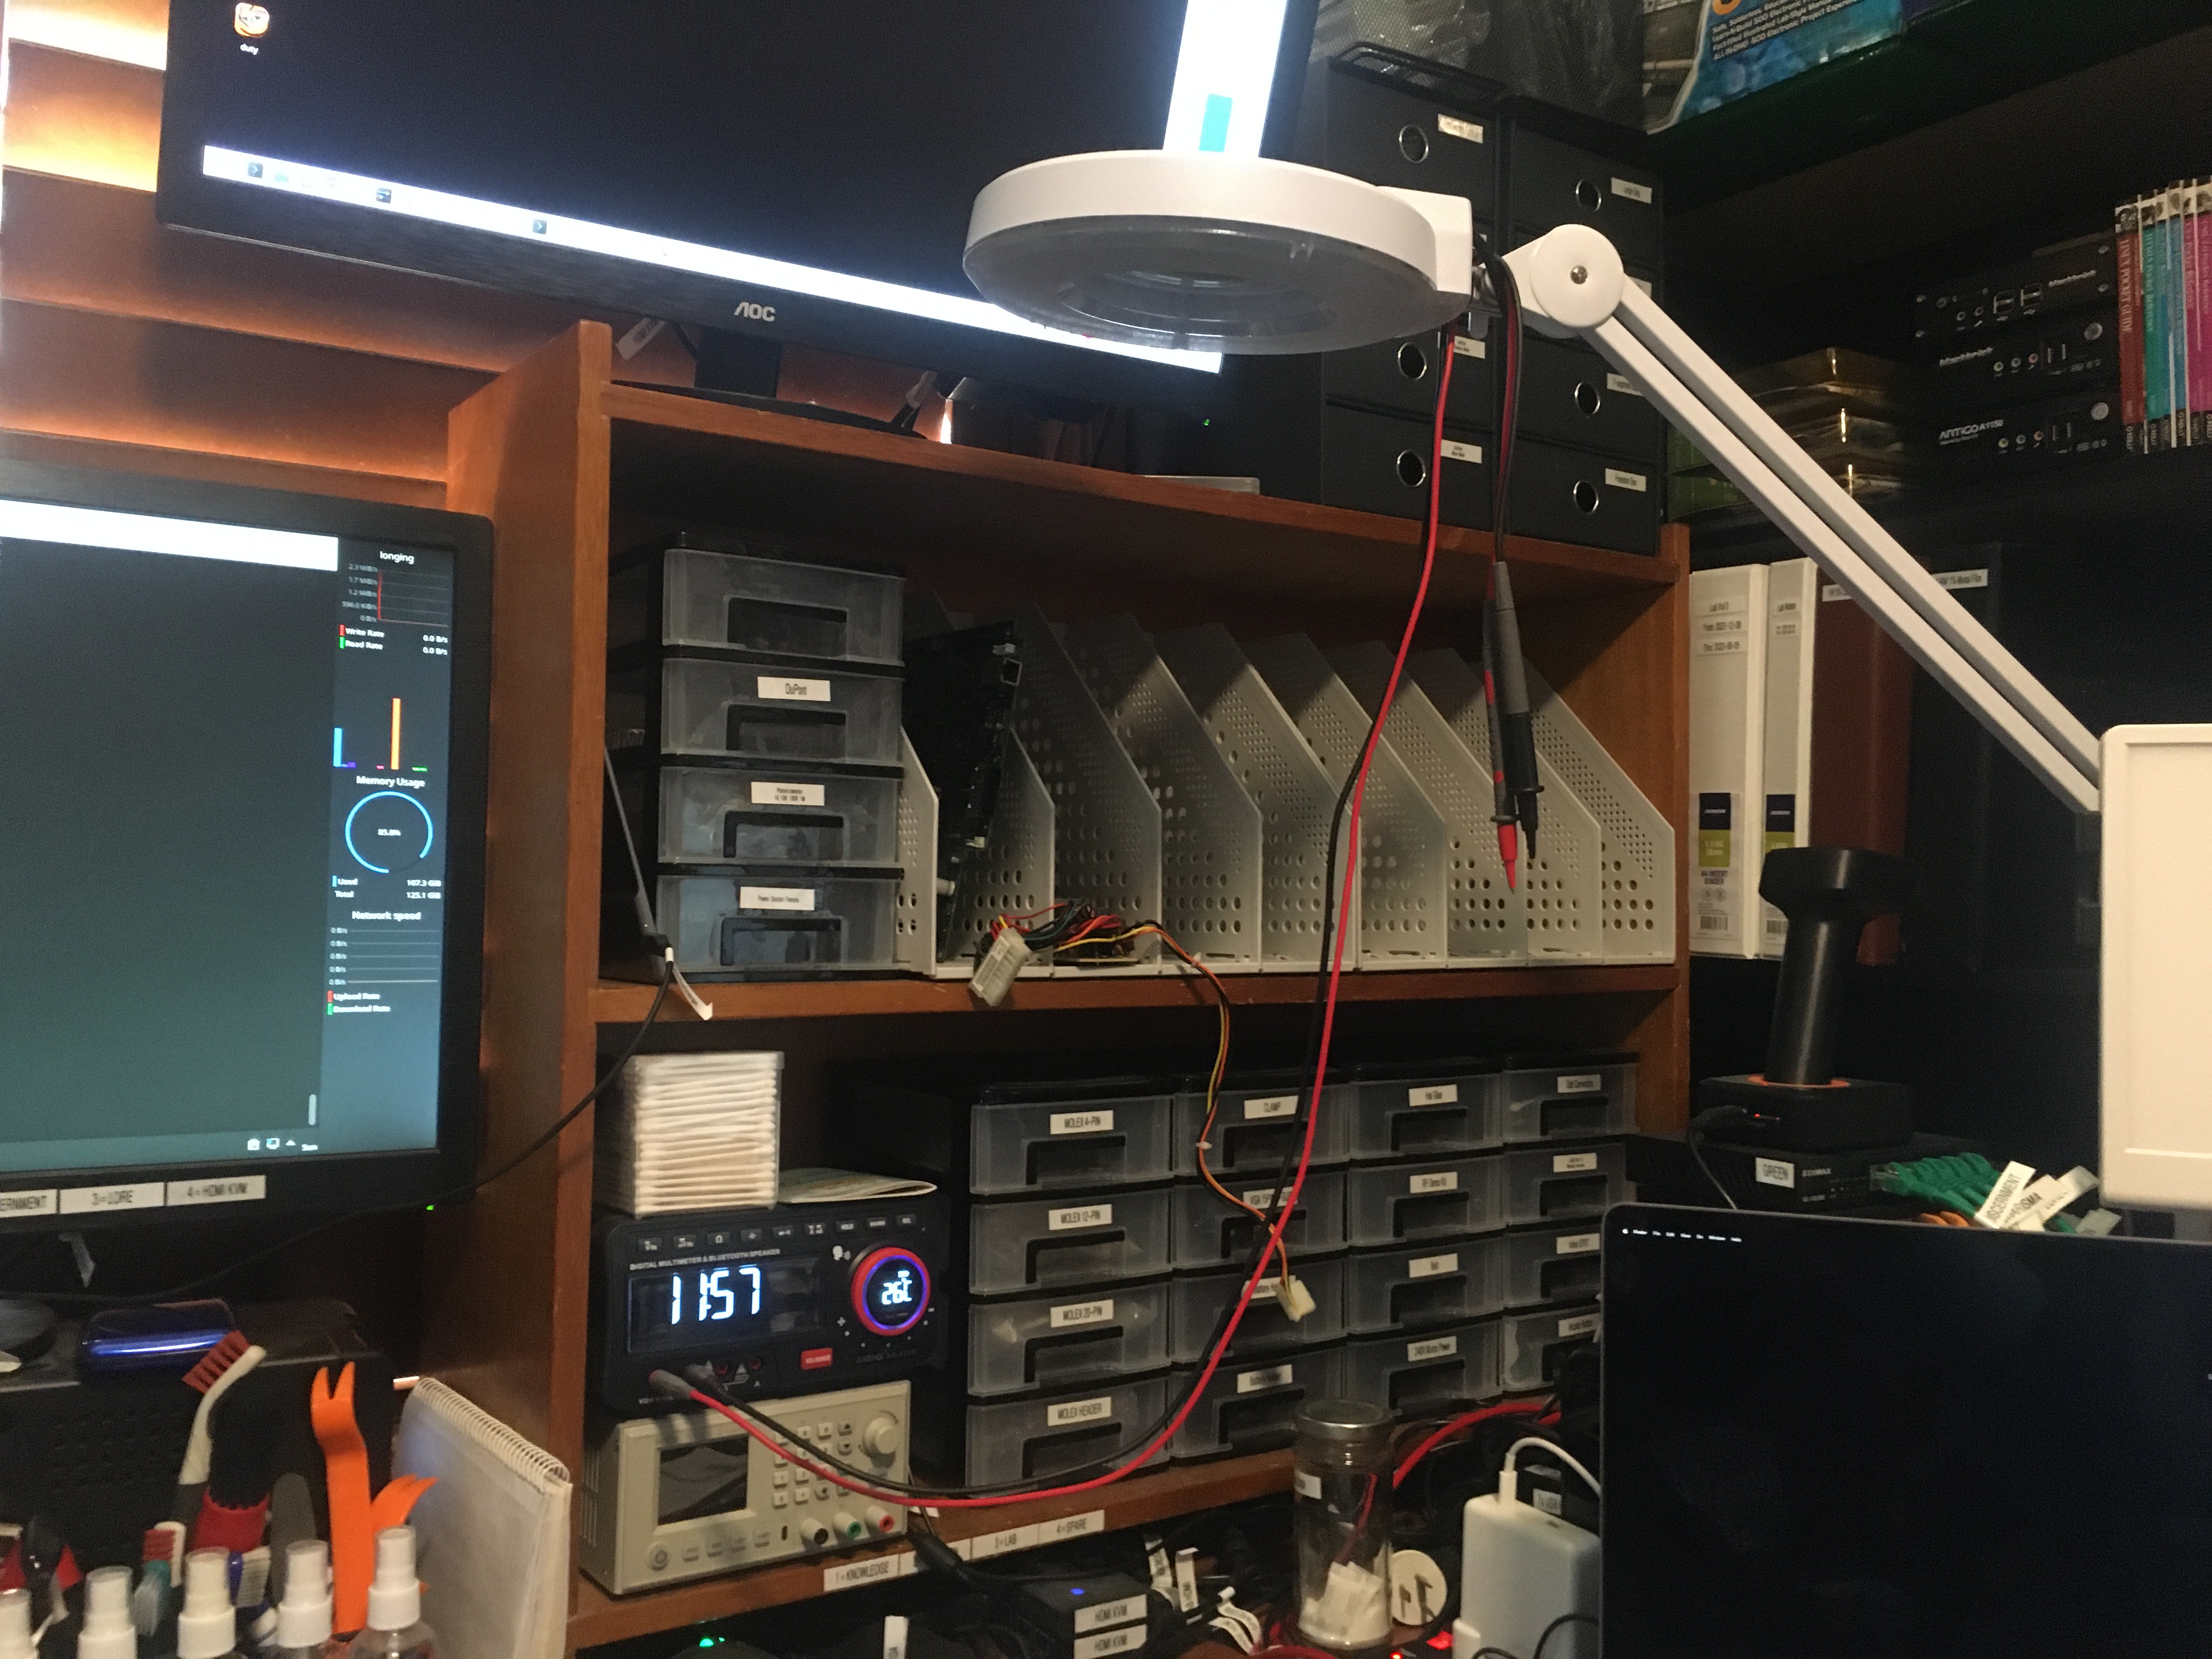
I got my new UNI-T UTi260B thermal imager installed on my bench: