Costume

I was chatting with my brother about my new video blog and he said I should do something to make myself distinctive, so I thought a lab coat, ID badge on lanyard, and pocket protector full of tools would do the trick.

To that end I got myself a lab coat, set of five multicolored lanyards, a pocket protector, and a screwdriver with clip.

Cosplay! I’m such a nerd. :P

My inspiration was mostly Stetmann of StarCraft II fame, although my outfit isn’t exactly the same.

I made some ID badges for myself, I figured I could give myself various job titles and choose a different one from time to time…

Studio upgrade

The computer I’m using to do the recording for In The Lab With Jay Jay is called ‘wonder‘ and it only has six USB ports. I currently have ten USB cameras, and I’m getting more, so I don’t have as many USB ports as I can use. Also ‘wonder’ only has 2TB capacity (non-RAID) for storing the videos I record, which will probably get used up fairly quickly.

So I have been planning an upgrade for ‘wonder’ known as ‘victory‘. My new studio workstation ‘victory’ will have 52TB of RAID storage for video data, 2TB of SSD RAID storage for video recording, 12x USB ports on the back panel, and 4x USB ports on the front panel.

Along with this new studio workstation I intend to get a new camera, a Canon Rebel SL3.

Now all I need to do is save up a cool eight grand!

Fuse access

I rewired my ATX power supply breakout board so that I would have ready access to the fuses. Probably gonna blow a few of those! The fuses are 5A 250V fast blow (F5A250V) so I can’t draw more than 60 Watts (at 12V). You can see in the previous post and the picture at the bottom of this post that the terminals used to be connected above the fuses, impeding access.

The ATX power supply breakout board is a Geekcreit® XH-M229 Desktop Computer Chassis Power Supply Module ATX Transfer Board Power Output Terminal Module.

This is the new setup:
ATX power supply breakout board with 3.3V, 5V, and 12V wiring

This is the old setup:
Previously the fuses weren't accessible

Bluetooth!

For a long while now I have been having intermittent problems with the audio in my lab. I stream the GoaPsy channel from di.fm, and I really love it, but not when there’s skipping! I figured the problem was related to latency and jitter on my broadband connection, and if so, there was little to be done, except to wait for network conditions at my ISP to change.

But this evening I noticed that when I sat close in to my workstation to type the skipping would start. Then if I moved back in my chair, it would stop. I found I could actually cause the skipping to start or stop just by moving around in my chair!

Turns out the problem wasn’t my internet connection, the problem was the bluetooth connection between my laptop and my speakers! To fix the problem I got underneath my desk and moved my sub woofer about one foot to the left. Now when I move around in my chair my music doesn’t skip anymore! Happy days!

Early Content #8: Making Input Power Cable for EBD-A20H Battery Tester | In The Lab With Jay Jay

This post is part of my video blog and you can find more information about this video on this show’s homepage which is here.

You can support this channel on Patreon: patreon.com/JohnElliotV

In this video I make an input power cable for my ZKE Tech EBD-A20H Battery Tester and Electronic Load. This power cable connects a DC female input to four male banana plugs, two positive, two negative. This power cable can be used to connect a power source for testing by the EBD-A20H.

Thanks very much for watching! And please remember to hit like and subscribe!


Following is a product I use picked at random from my collection which may appear in my videos. Clicking through on this to find and click on the green affiliate links before purchasing from eBay or AliExpress is a great way to support the channel at no cost to you. Thanks!

Yum Cha Dual-Purpose Sanding StickThis is an image of the product.notes

Let’s go shopping!

Early Content #7: Sorting Soldering Iron Tips | Learning Electronics In The Lab With Jay Jay

This post is part of my video blog and you can find more information about this video on this show’s homepage which is here.

You can support this channel on Patreon: patreon.com/JohnElliotV

I was watching EEVblog #168 – How To Set Up An Electronics Lab and Dave suggested using chisel tips instead of conical tips, which inspired me to check what I was using and also to sort the tips I presently own into three categories:

  • Chisel tips
  • Other tips
  • Conical tips

If you’re interested in soldering temperatures I wrote a follow-up post on that topic: soldering iron temperature.

Thanks very much for watching! And please remember to hit like and subscribe!


Following is a product I use picked at random from my collection which may appear in my videos. Clicking through on this to find and click on the green affiliate links before purchasing from eBay or AliExpress is a great way to support the channel at no cost to you. Thanks!

Yum Cha 10pcs Magic Foam SpongeThis is an image of the product.notes

Let’s go shopping!

Fluke VoltAlert

I was watching this old EEVBlog video: EEVblog #168 – How To Set Up An Electronics Lab and Dave recommended a Fluke VoltAlert. I discovered there are various versions, such as the 1AC and 2AC, and those alternatives are explained here: Best Non-Contact Voltage Tester.

The Fluke 1AC II Non-Contact Voltage Tester looked like a pretty good one for my purposes and I found one on eBay for AUD$35.40 so I hit the buy button.

Electronic load cables

Well I figured out how to use my new my ZKE Tech EBD-A20H Battery Tester and Electronic Load. This video was really helpful: ZKETECH EBD-A20H first look . Also I managed to find the software mentioned in the comments for that video: ftp://randomdl:randomdl@oss.quindorian.org/Random/ZKE-EB_software_1.8.5-0320.zip

The reason I had trouble configuring this electronic load is that I thought the “cutoff voltage” was a maximum setting, but in fact it means cutoff if the voltage drops below this value. That makes sense of course, especially as the main use case for this device is testing batteries. Once the voltage drops below a certain level the battery is dead and you can stop testing.

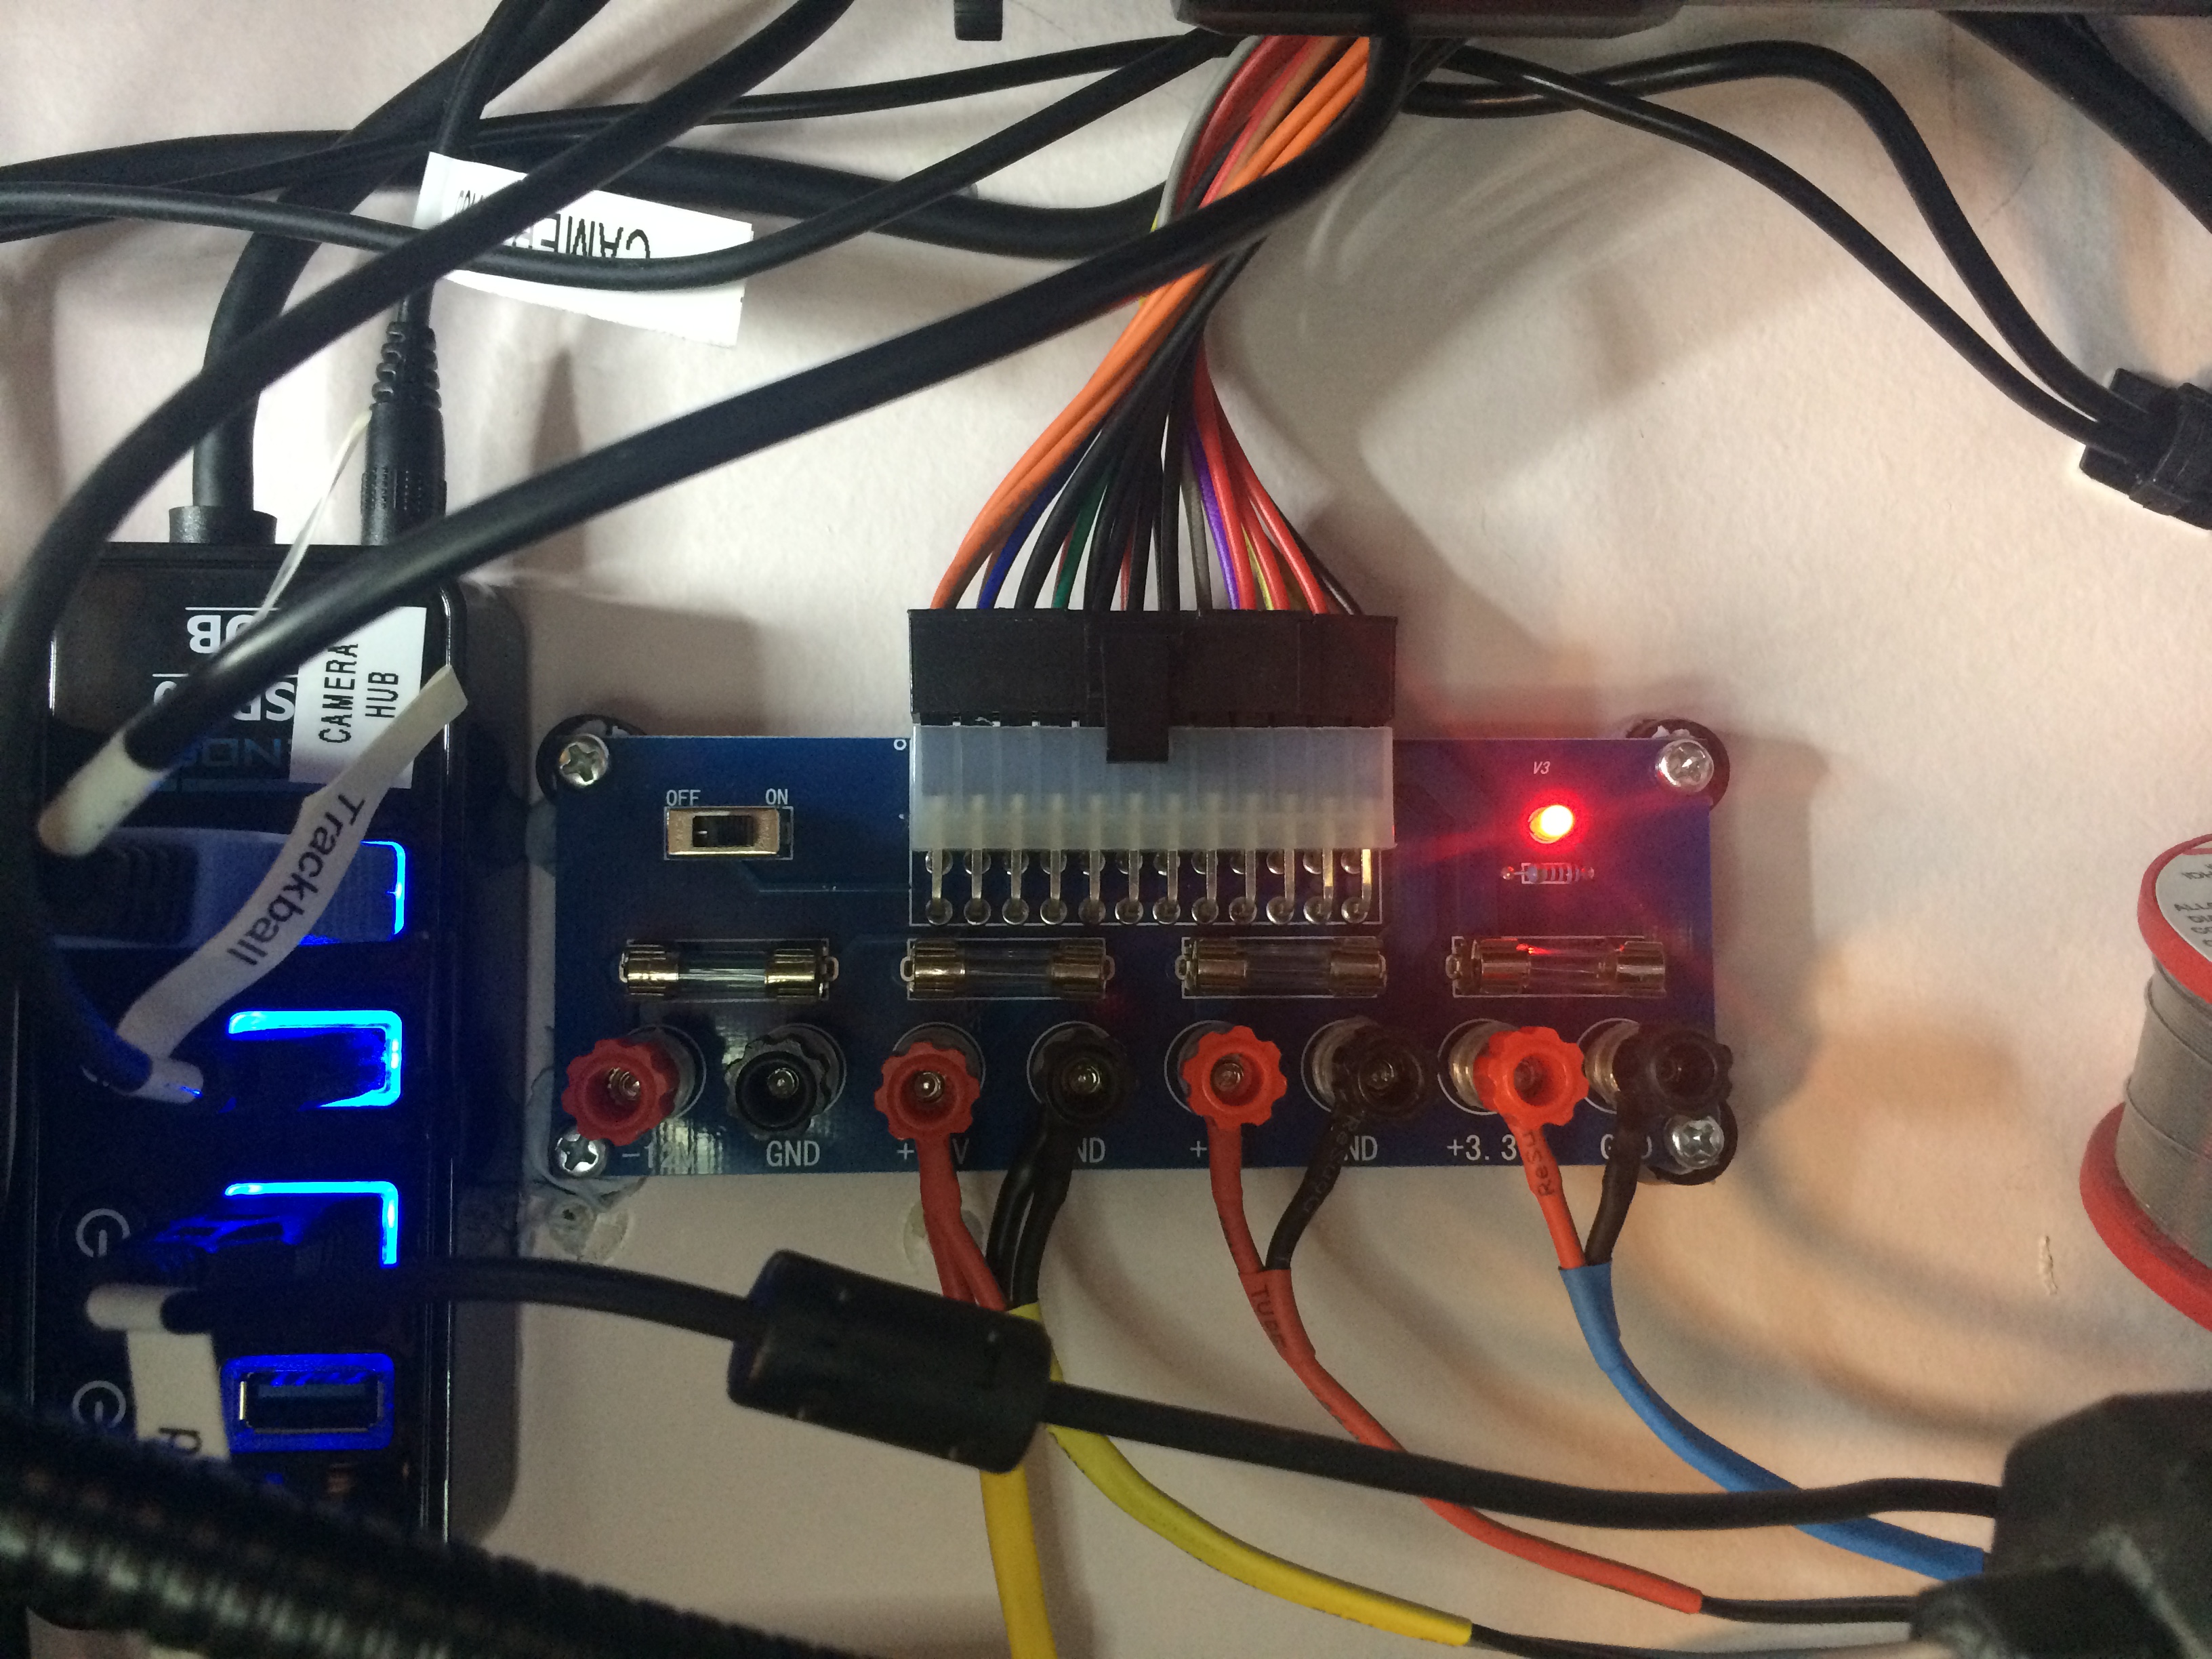
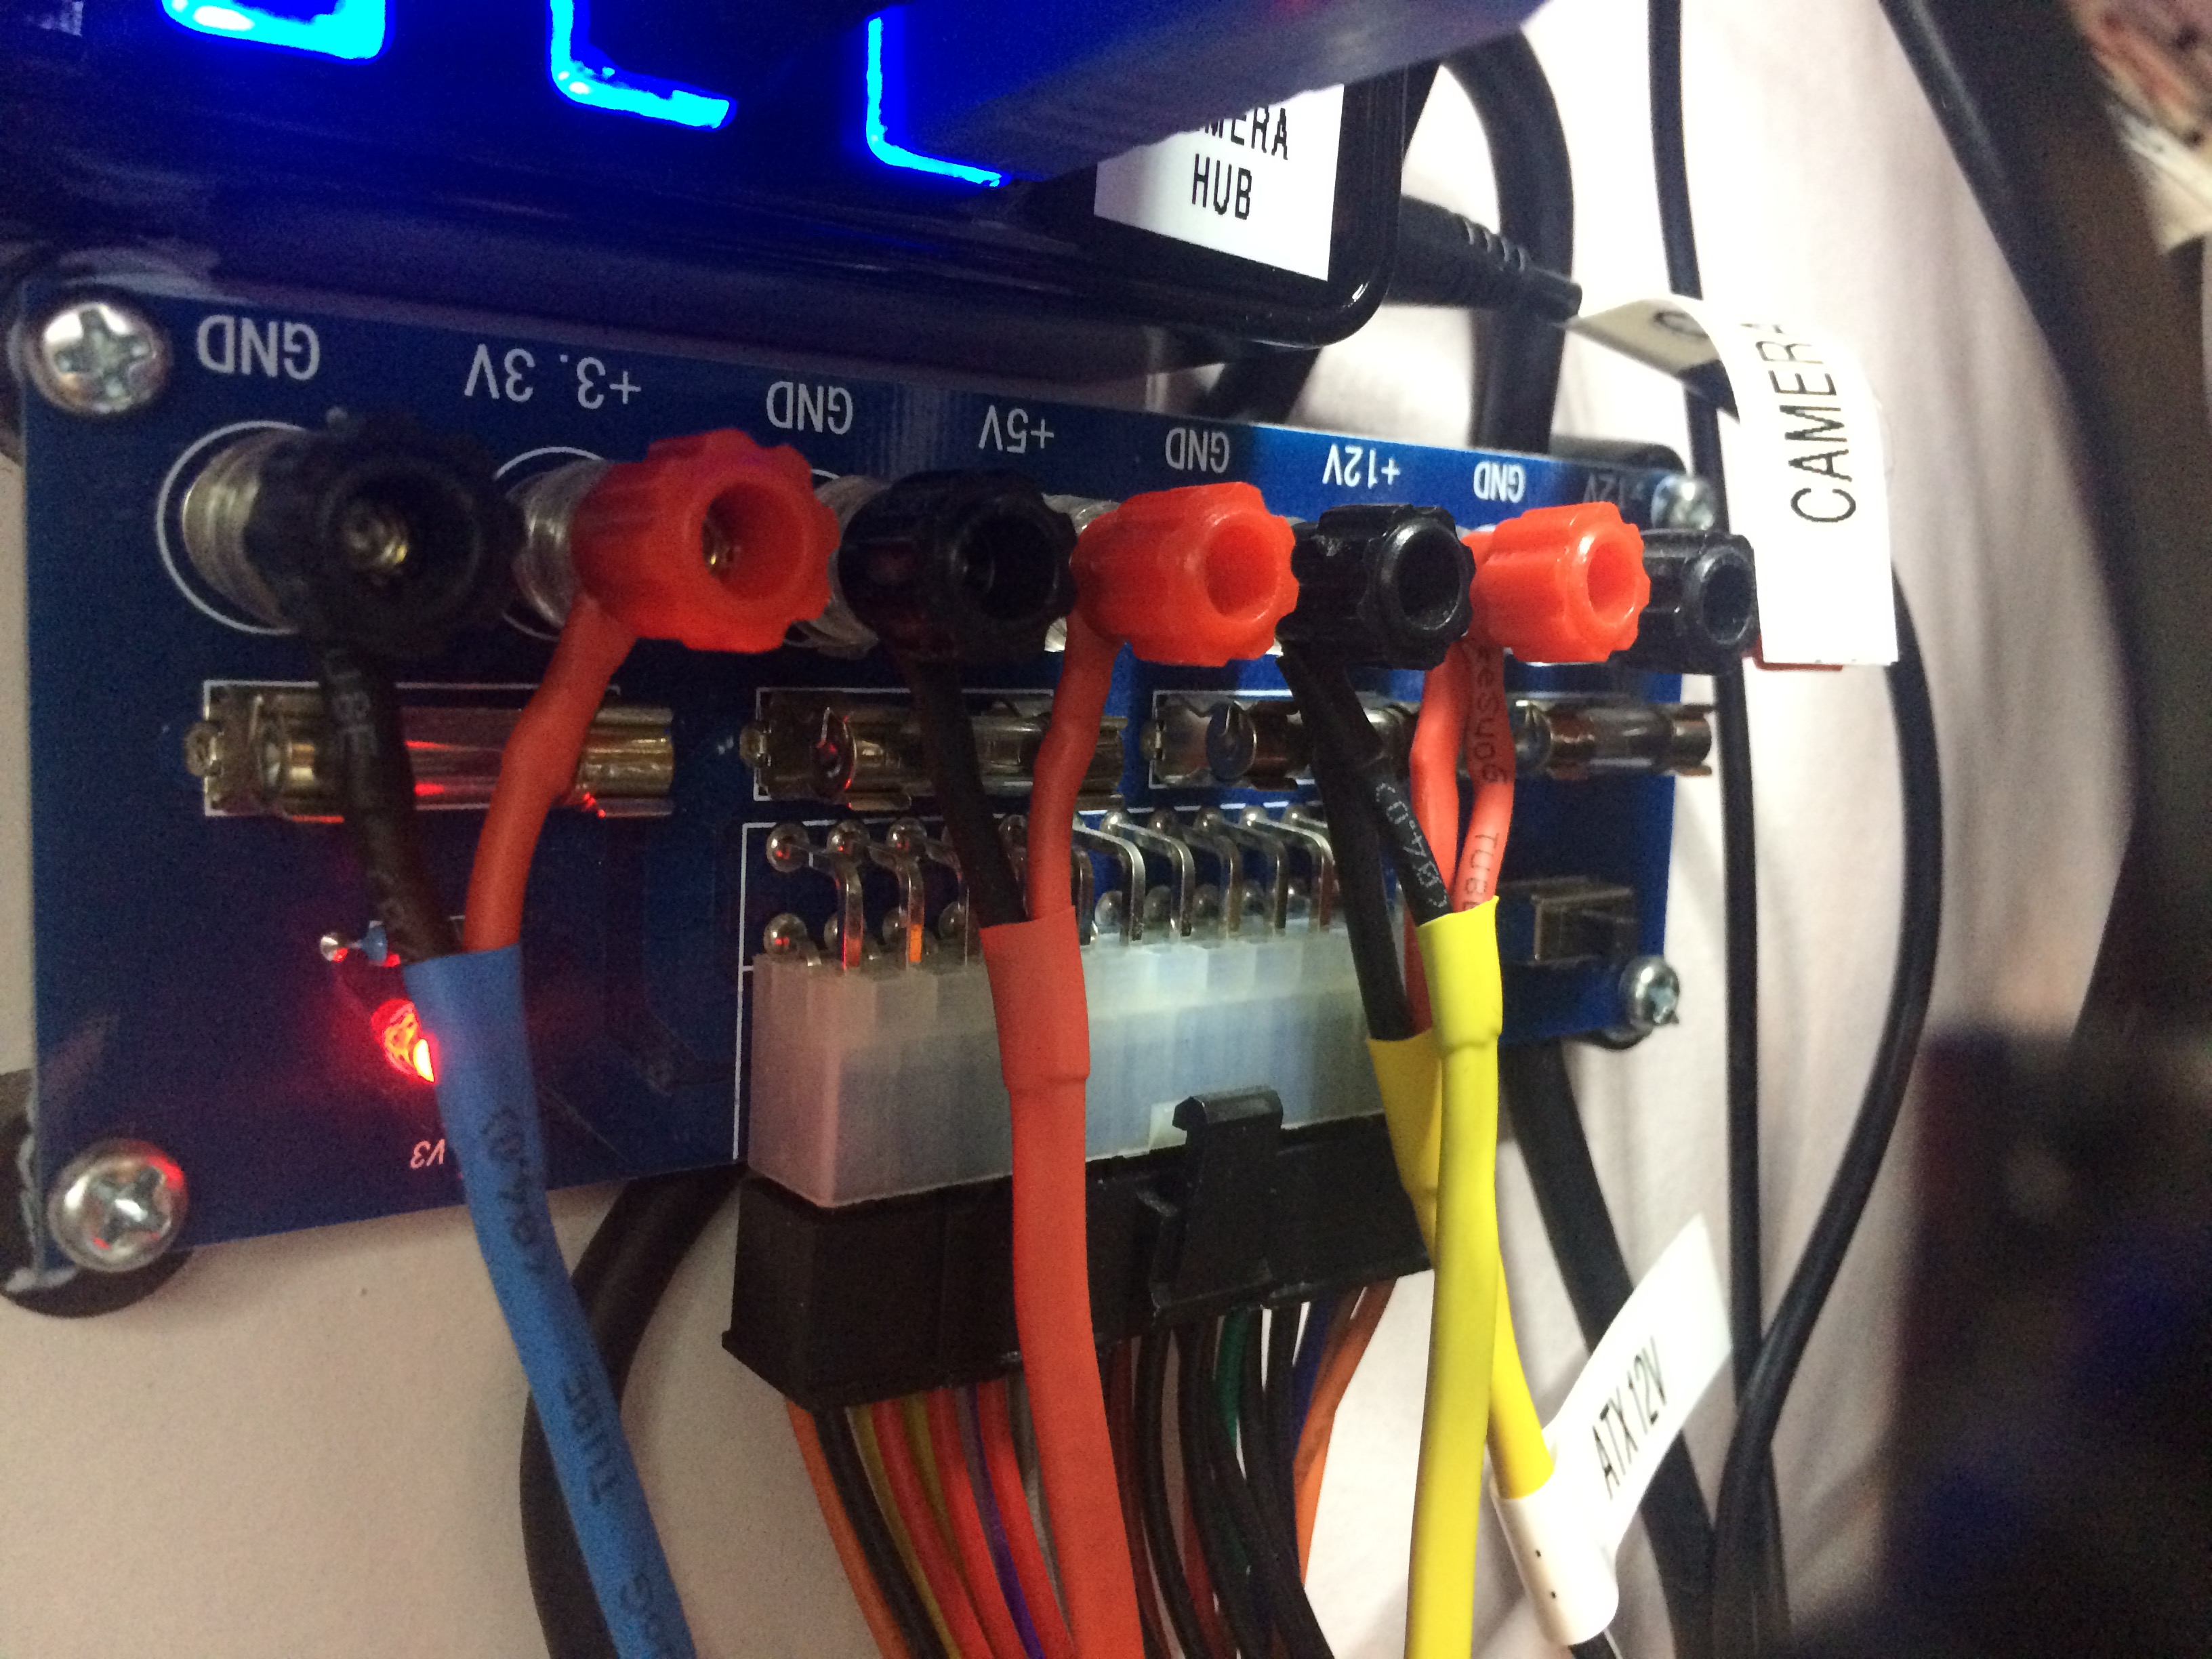
The trick with the wiring is that you can just hook the voltage and current terminals up to the battery / power supply terminals. I think the idea is that you can put the voltage and current terminals in different parts of a circuit, but I don’t really understand that, and for simple battery or power supply testing it seems you can just connect them together.

There are two modes available: Constant Current (CC) and Constant Power (CP). I have managed to get the software working and connected so that should mean I can put this up the back of my bench and control it remotely, which will be handy.

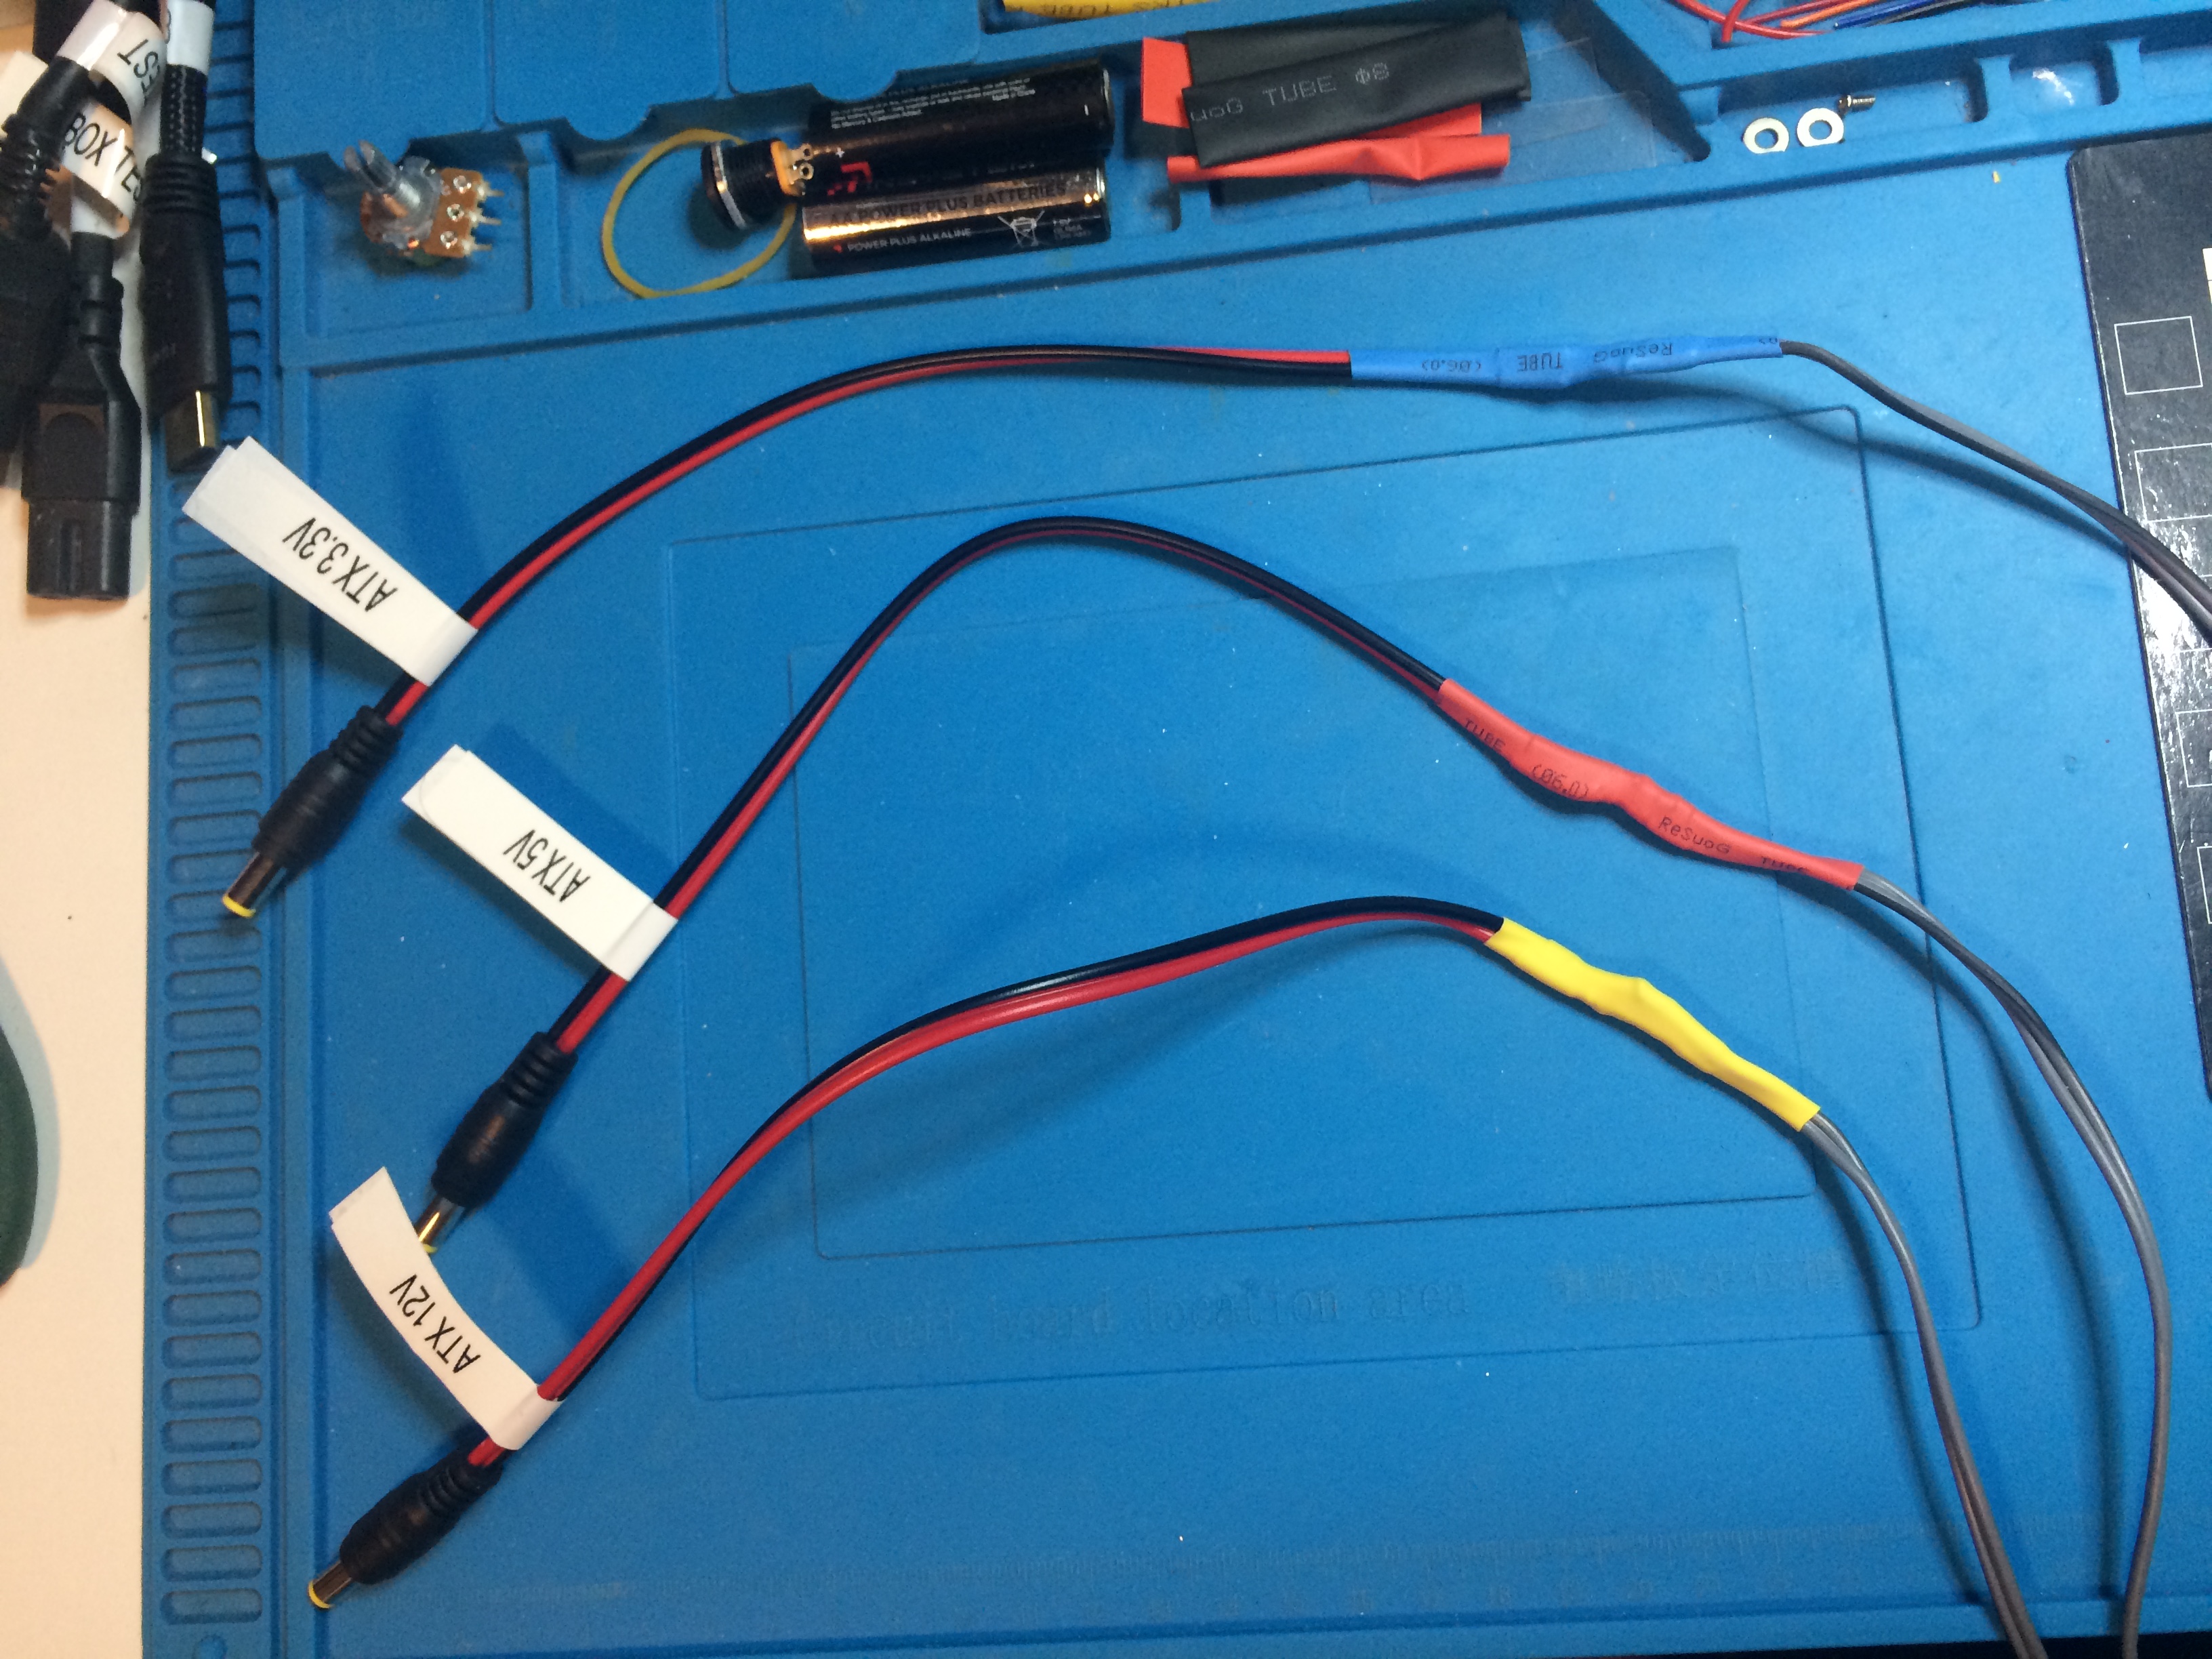
My next video will be me making a cable to fix this mess. Once I have that cable I will make a video demoing the EBD-A20H.

The cabling for the electronic load