This turned up on hacker news today: JTAG ‘Hacking’ the Original Xbox in 2023 – Using Intel CPU JTAG to dump the secret bootrom in Microsoft’s original Xbox. There’s some info being collected on github: github.com/Necrosys/x86-JTAG-Information.
Category Archives: Xbox
Organizing the lab
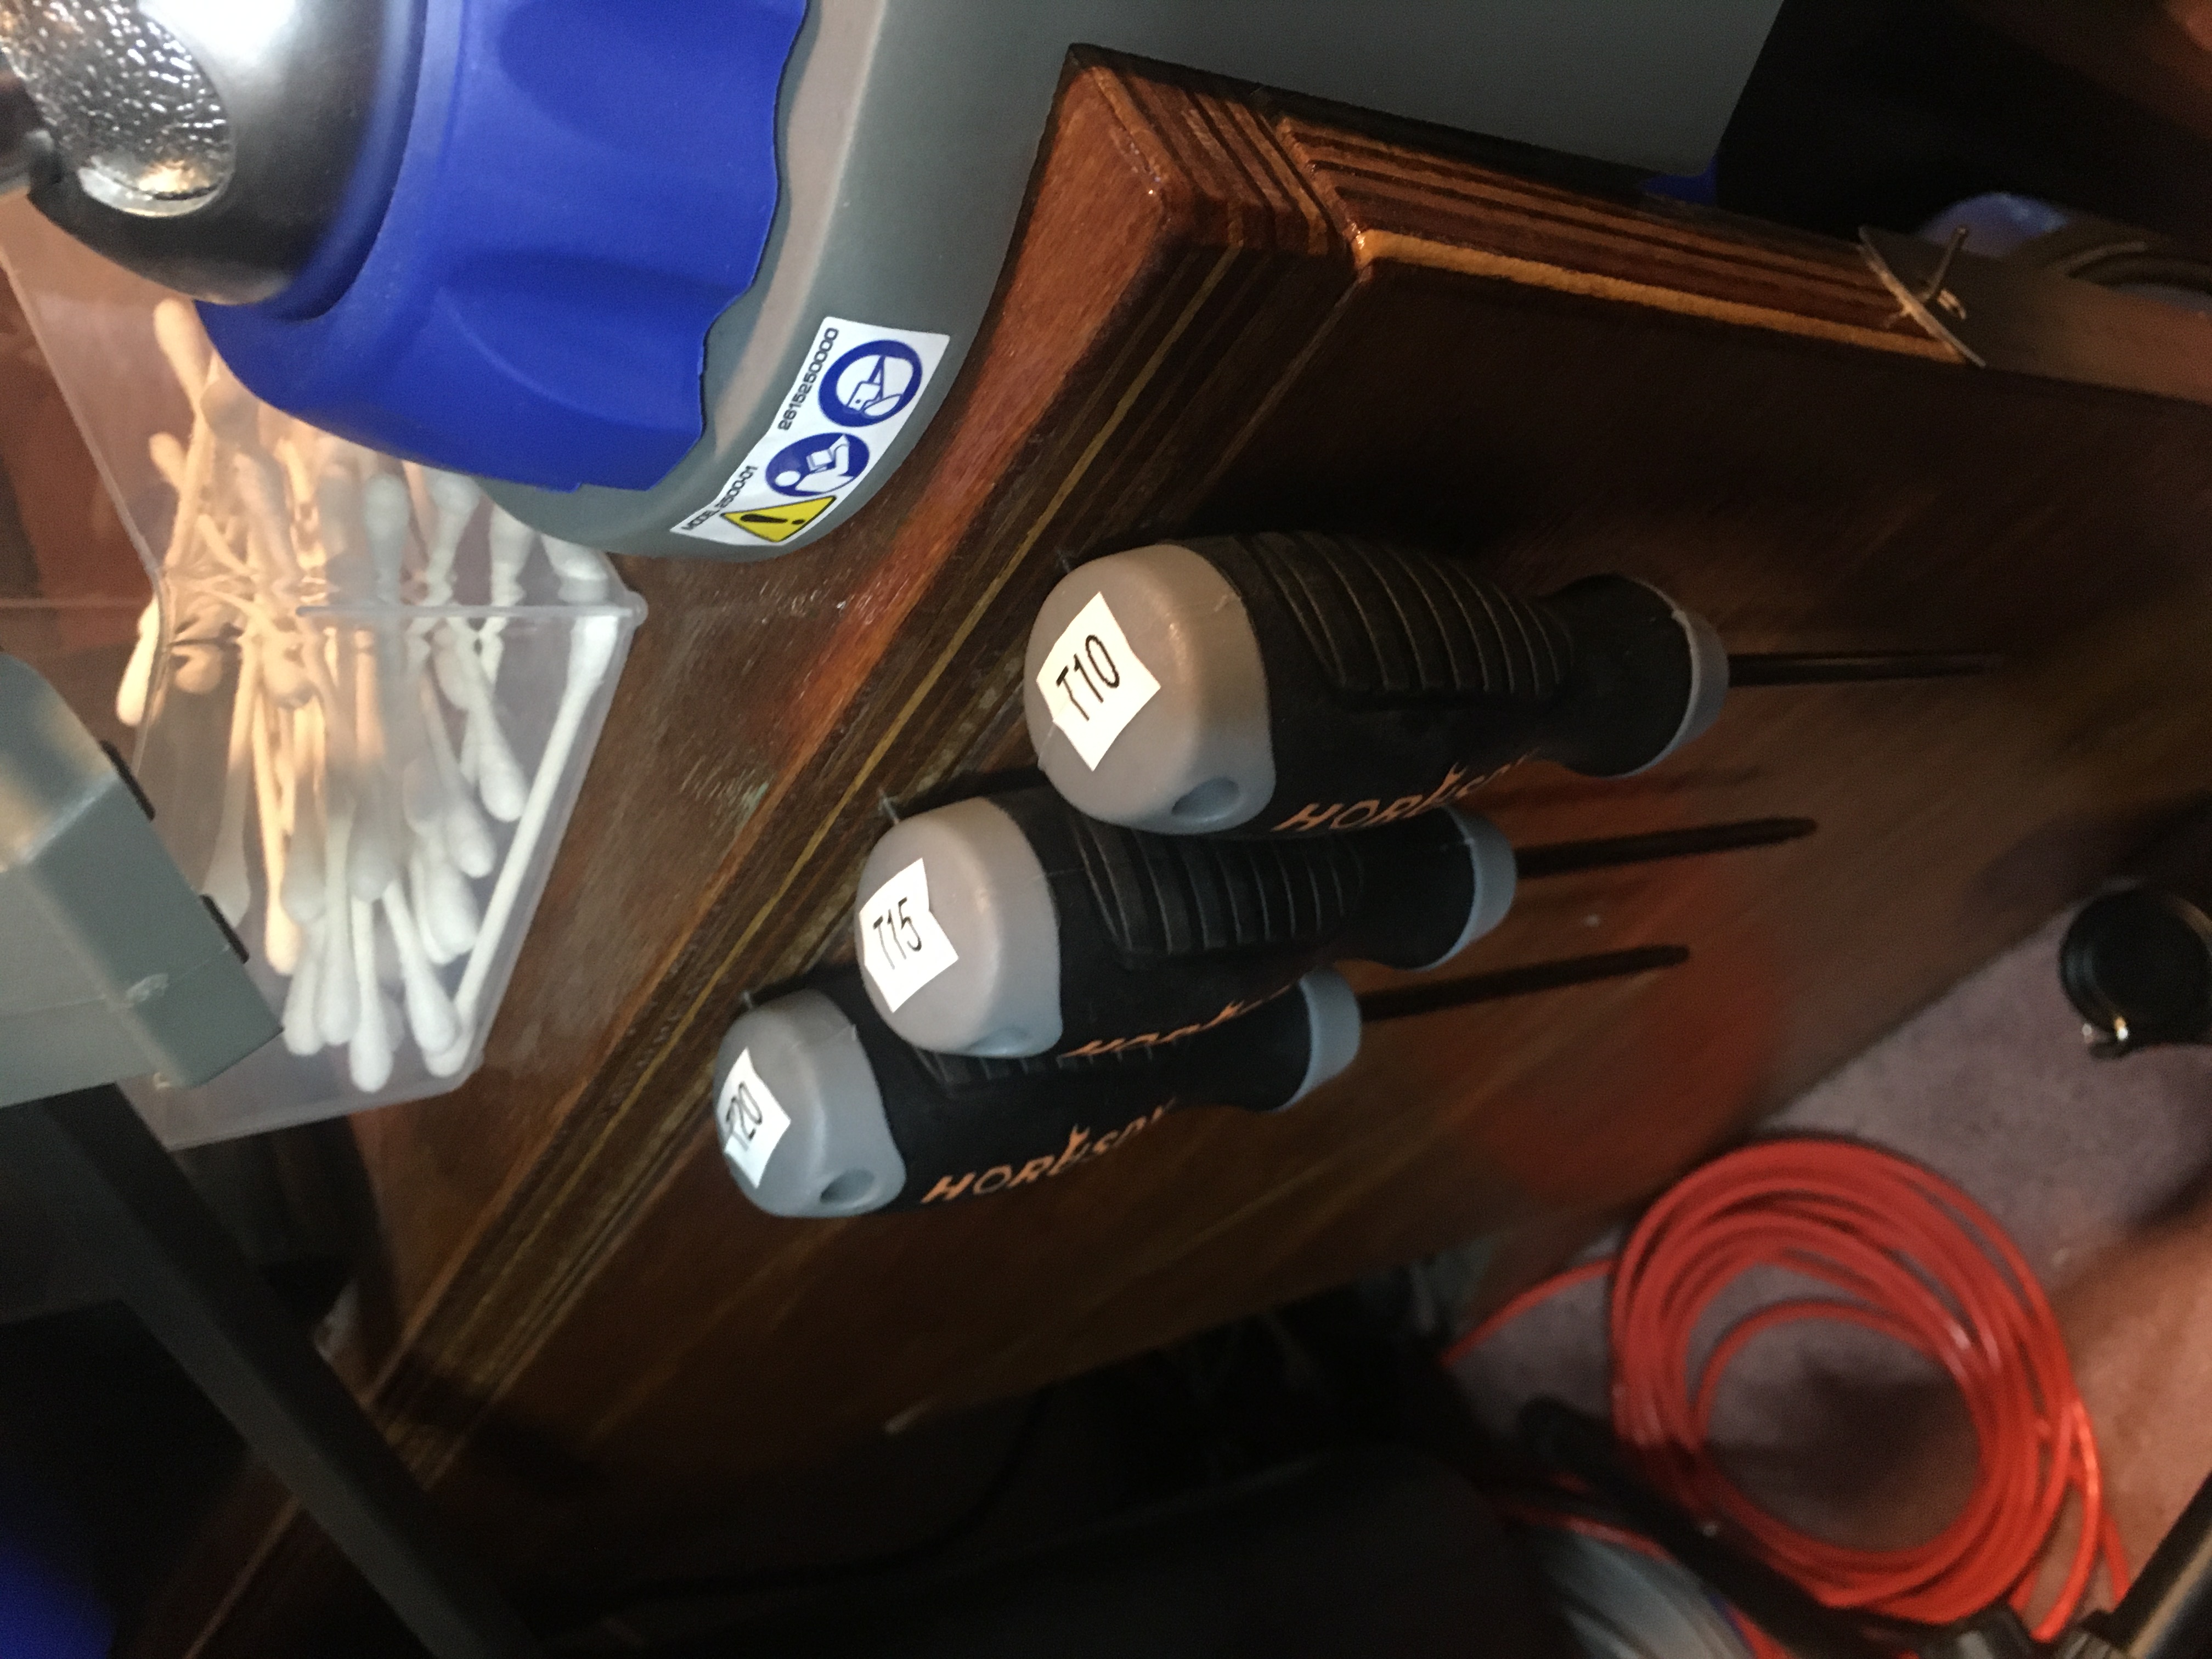
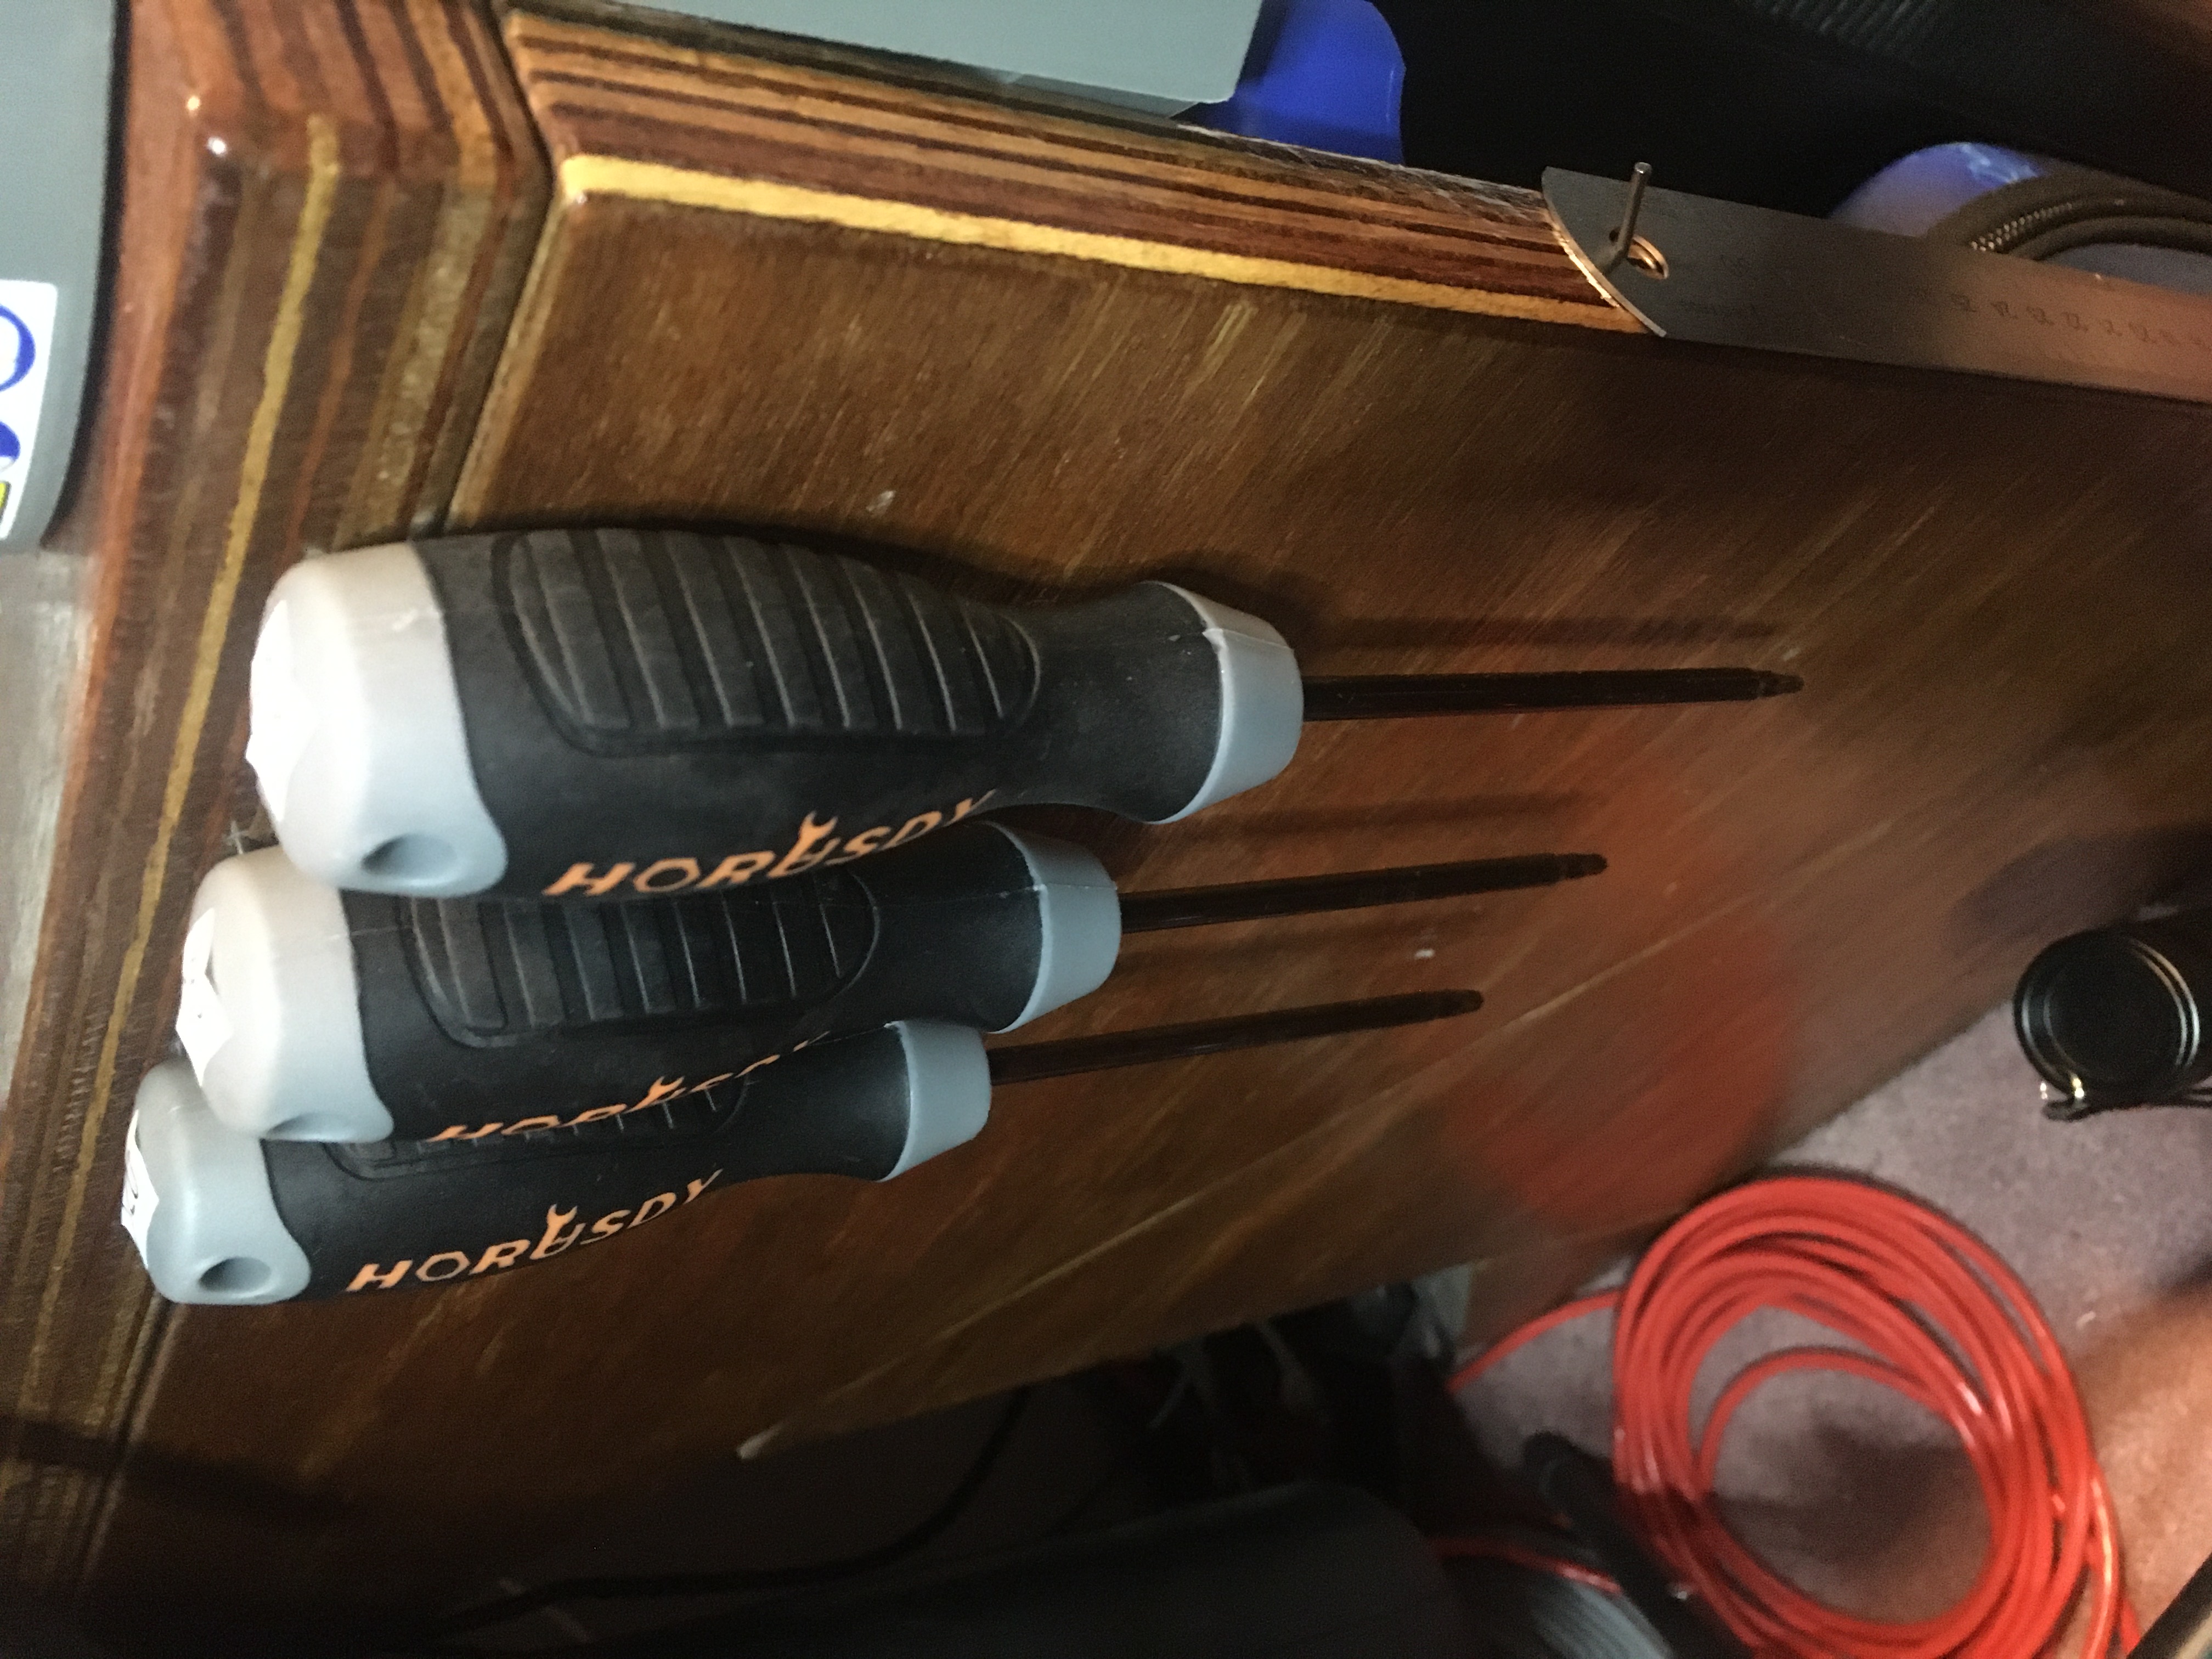
I’ve made arrangements to hang my Xbox Torx drivers (you need T10, T15, and T20 drivers, I got this HORUSDY 12-Piece Magnetic Torx Screwdrivers Set, S2 Steel T5 – T40 Torx Star Screwdrivers with Demagnetizer and Storage Pouch) on the side of my table:
I used 30mm nails but they’re not quite long enough, so I got some 40mm ones which I will upgrade to when they arrive.
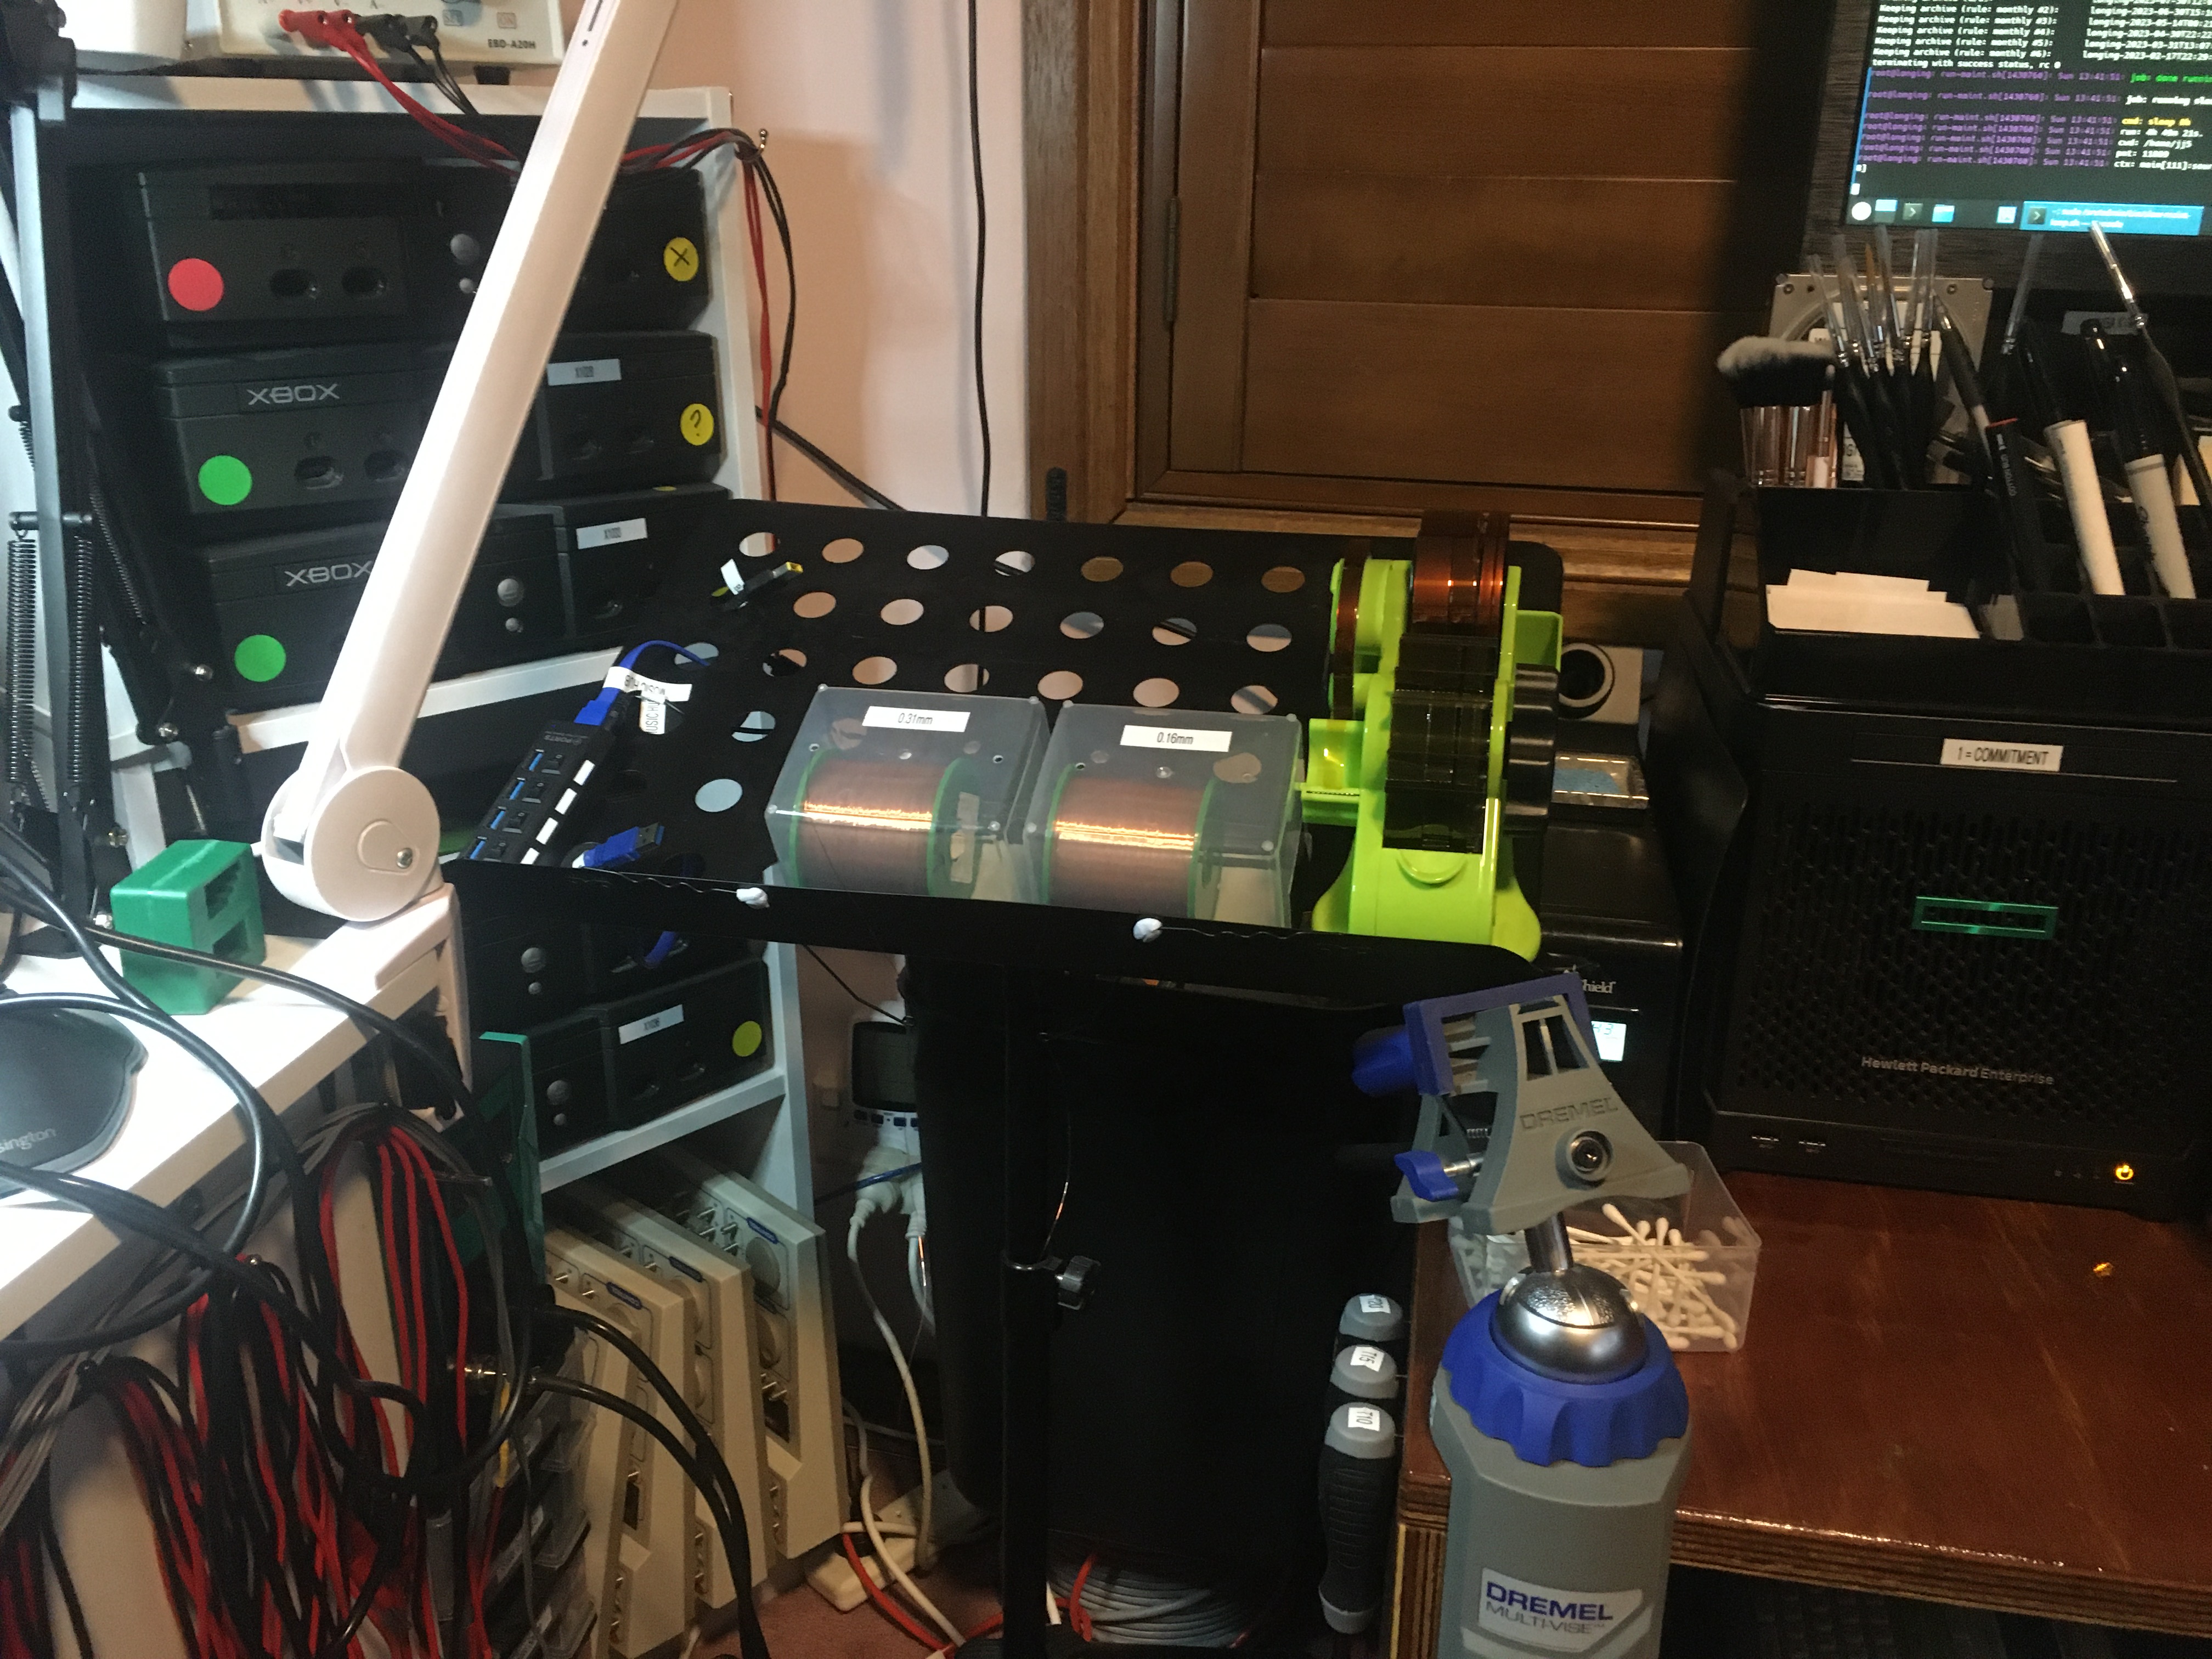
Also I moved my old laptop off the music stand to make room for my bodge wire and Kapton tape dispenser:
Xbox DVD capacitors
Have been researching Xbox DVD capacitors.
Making Xbox cables
This morning I was fooling with cables for my Xbox. I want to make some breakout boards with controllers and front-panel buttons and LEDs that I can install in my bench and simply plug in when I’m working on a board.
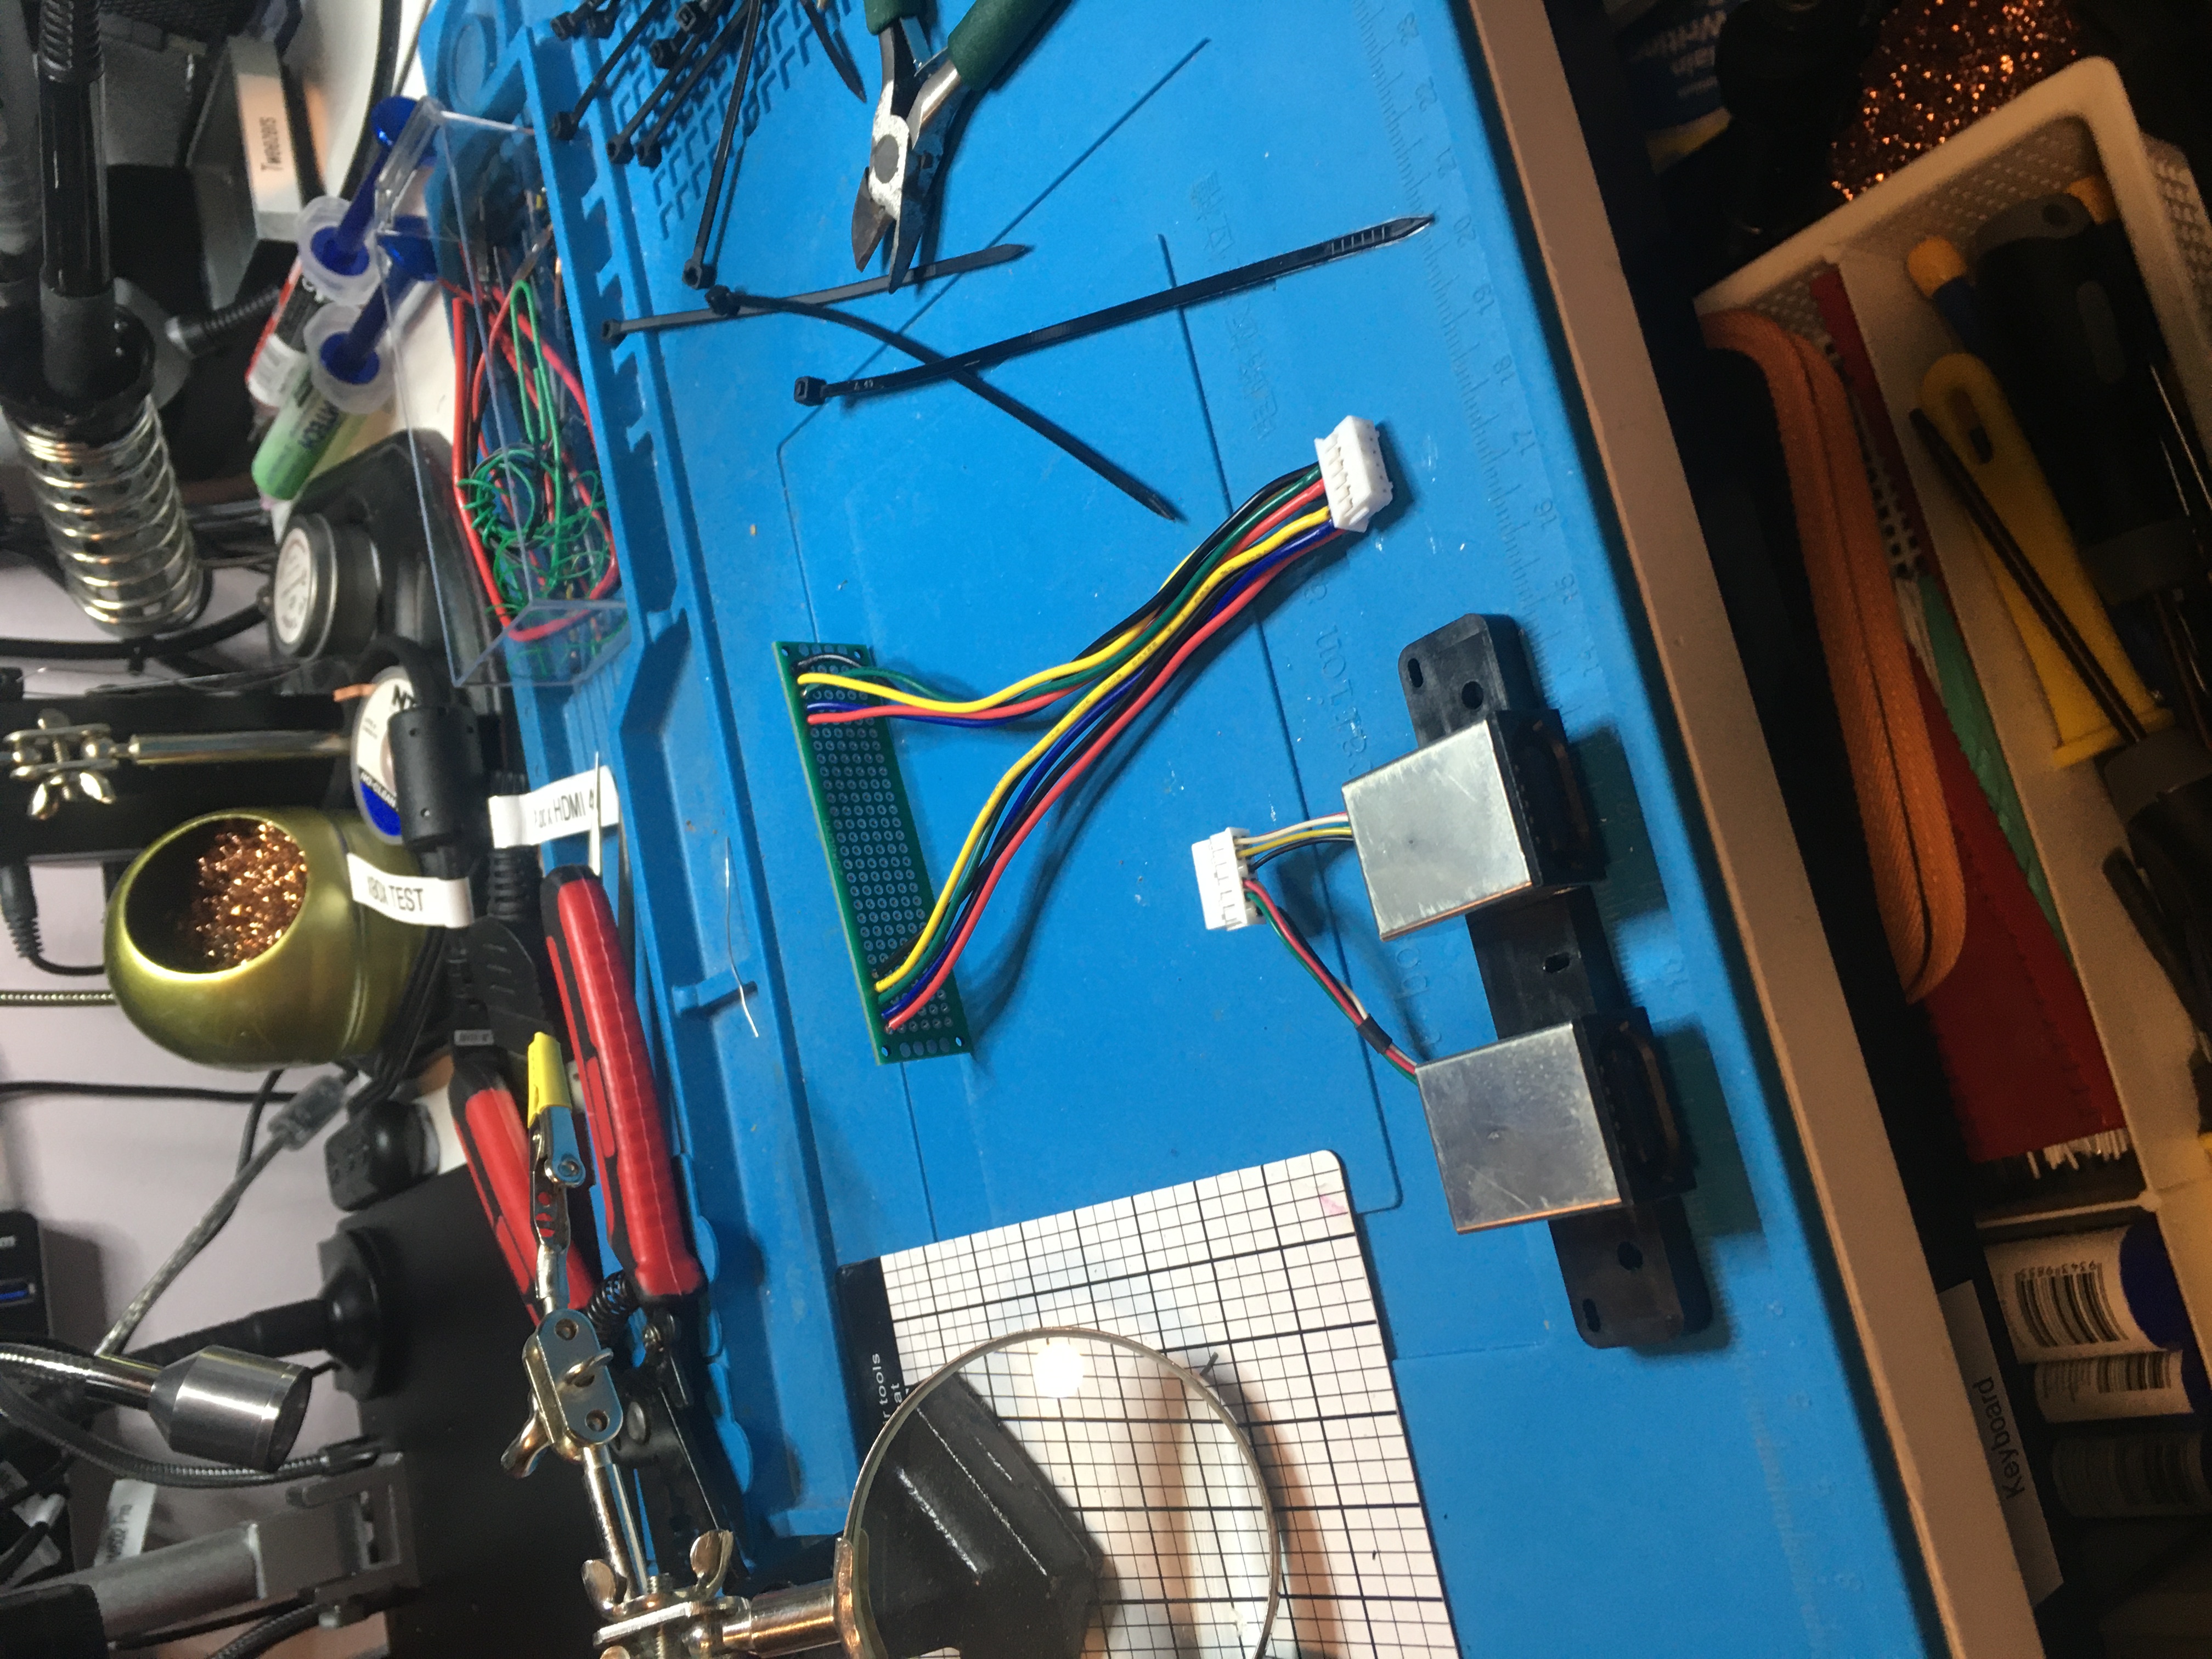
I had a play with what I had in stock and built the cable you can see below. In the bottom of the frame is the Xbox controller connectors for two controllers, and in the top of the frame is my 10 pin JST PHD connector which I wired up just to make sure I had the right components and everything was working.
It works, but I used 22 AWG gauge wire where I probably want 24 or 26 AWG instead, so I ordered some of that on AliExpress.
I also swung by Digi-Key and stocked up on JST PHD connectors. On an Xbox motherboard (I’ve only checked v1.6 so far, I’m just getting started) you will find a 10 pin JST PHD connector for the front LEDs and power/eject buttons, two 12 pin JST PHD connectors for the controllers, and a 14 pin JST PHD connector for the DVD ROM. I got all such things:
- PHDR-10VS
- PHDR-12VS
- PHDR-14VS
- B10B-PHDSS
- B12B-PHDSS
- B14B-PHDSS
- S10B-PHDSS
- S12B-PHDSS
- S14B-PHDSS
- SPHD-001T-P0.5
And because I seriously lack restraint I purchased a shitload of every type of USB Type A Female connector I could find on AliExpress:
- 50pcs USB 2.0 Interface Connector Socket Type A Female 180 Degree Crimping DIP Straight Vertical Bend Needle Welding Wire PCB
- 0.3m/1m/2m 5V USB Power Supply Cable 2/4 Pin USB 2.0 Type A Male Plug/Female Jack Wire Charger Charging Cord Extension Connector
- 10pcs Type A USB Female To DIP 2.54MM PCB Board Adapter Converter USB connector usb female For Arduino
- 10 Pcs/lot SMD USB Type A Female jack 4PIN AF 10.0 PCB Mount Socket Connector Black Flat Edge DIY Repair Phone Toy Parts
Also I’ve set up some storage so I can work on multiple OGXbox projects at the same time:
New kit
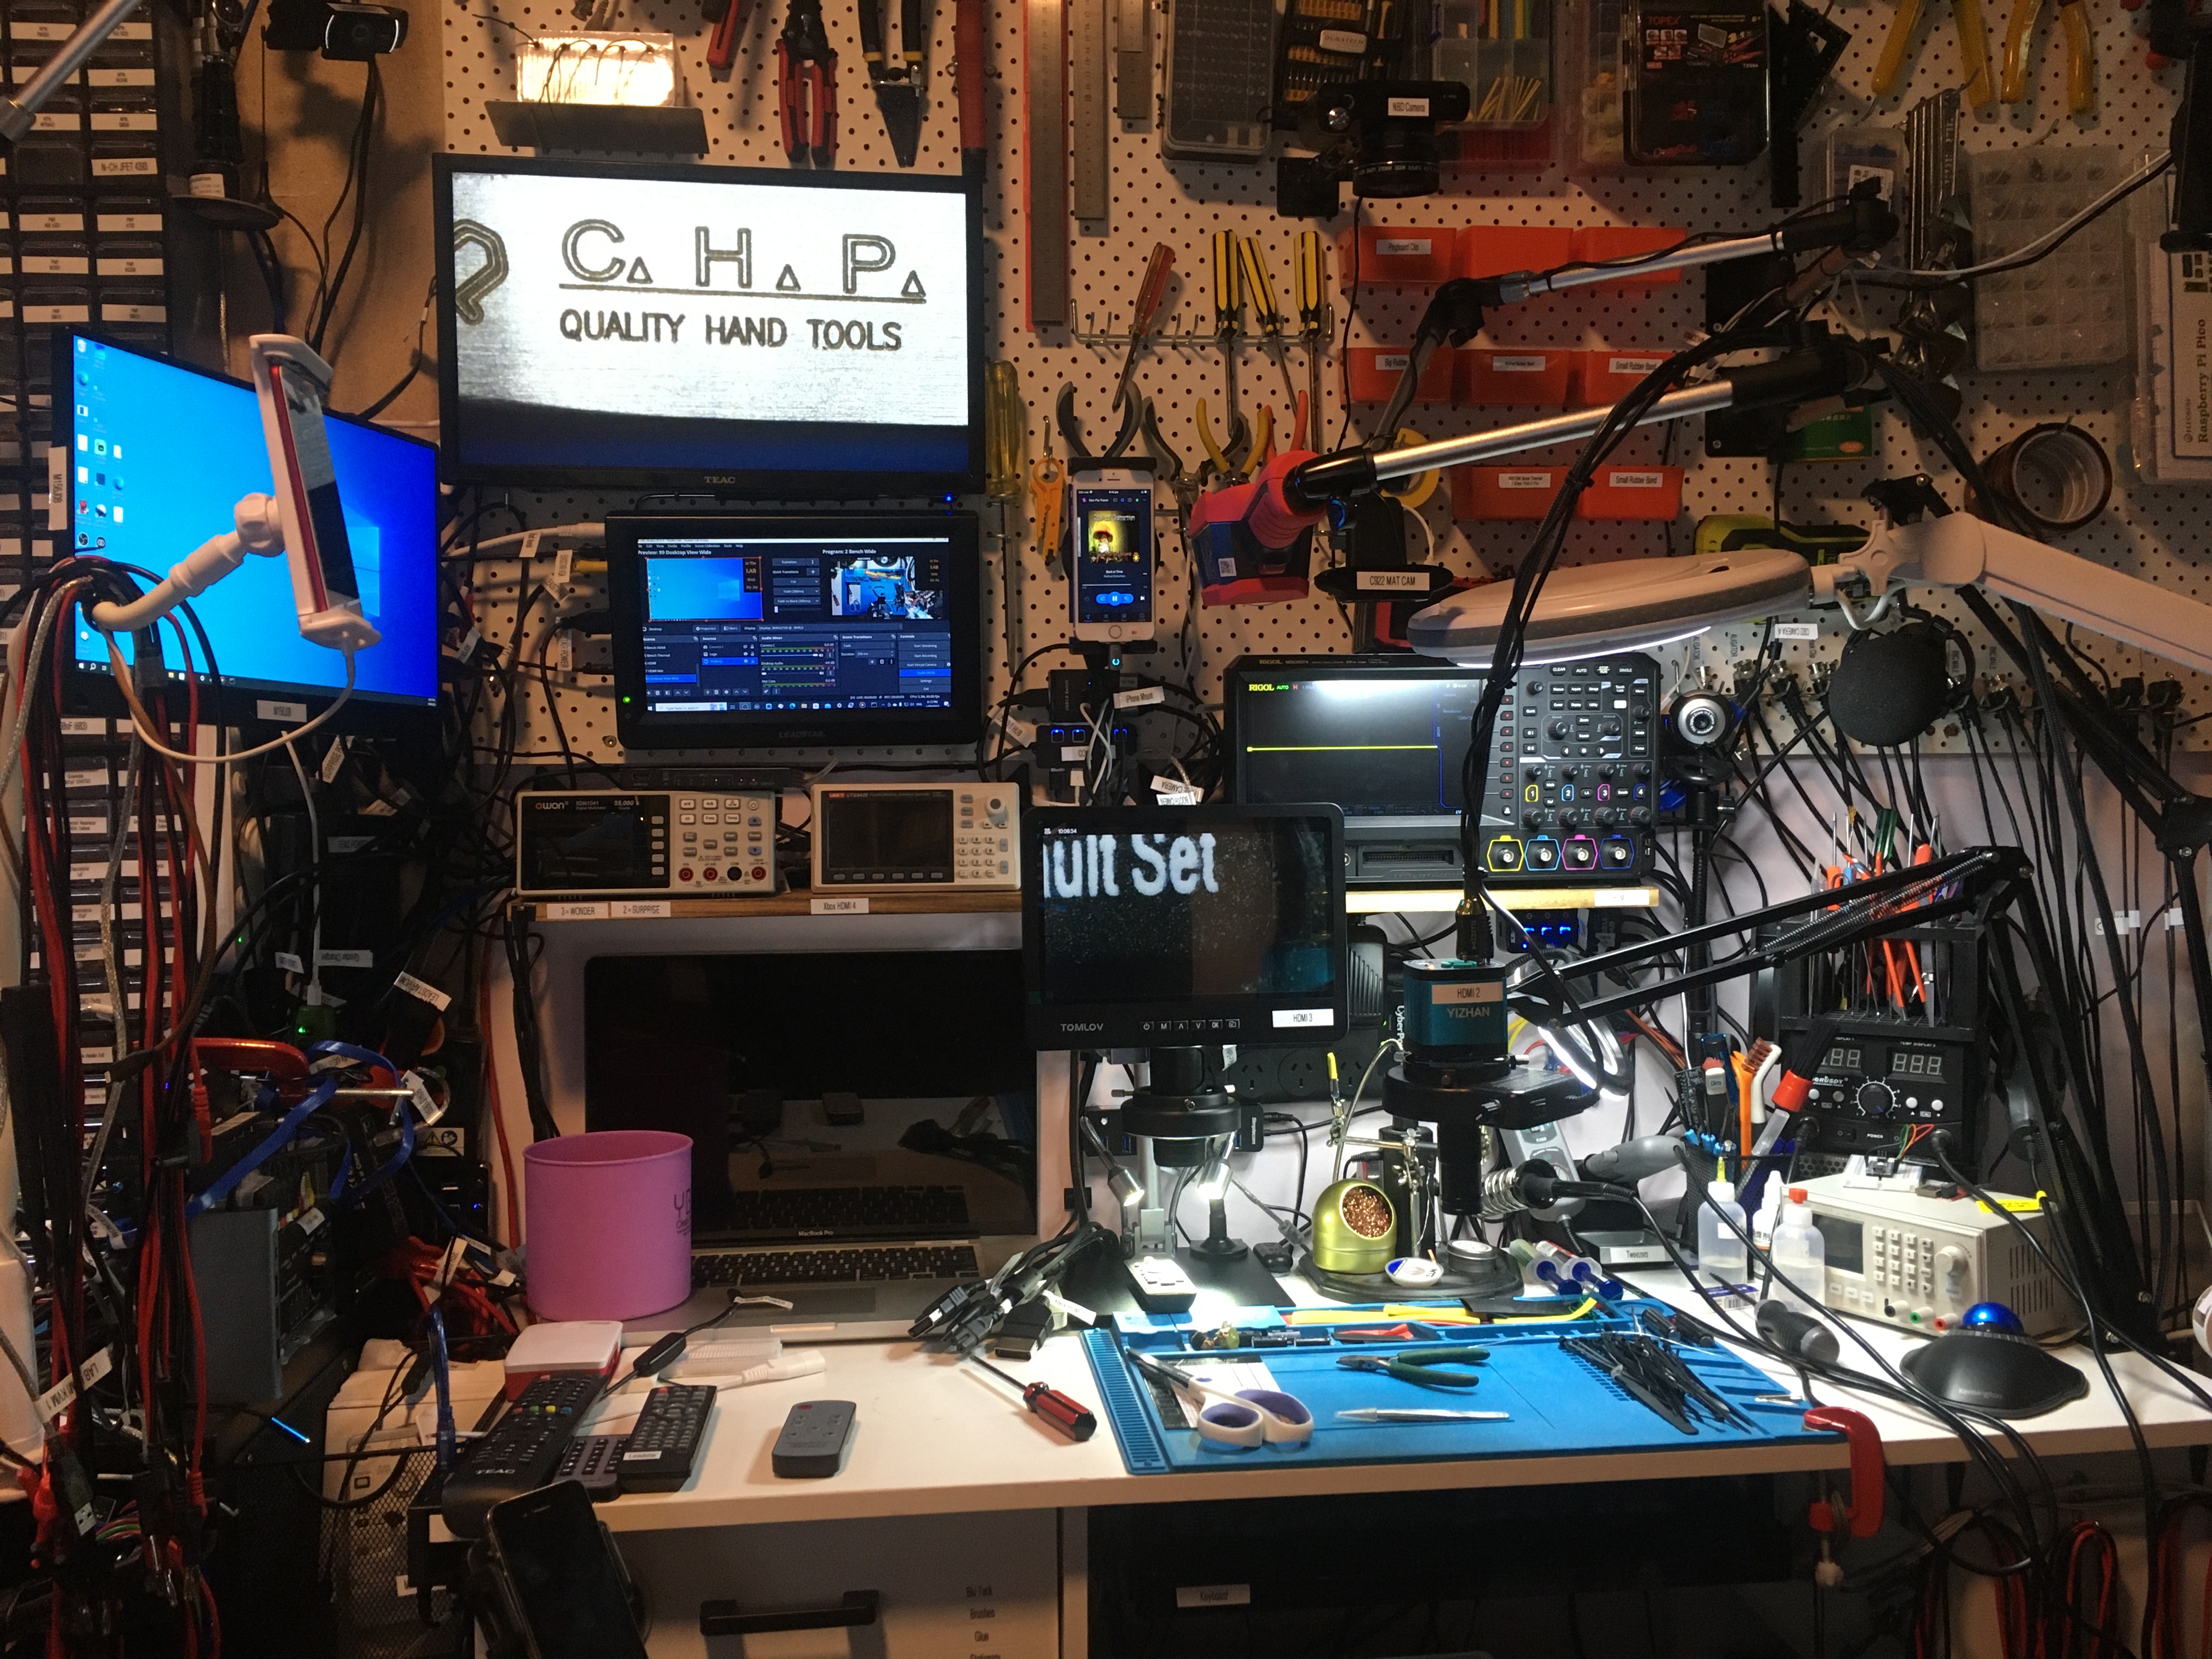
I’ve installed my two new microscopes, the TOMLOV DM602 Pro which arrived today, and the Yizhan Microscope which arrived yesterday.
Using my new 8K 5-in 1-out HDMI 2.1 Switch I can put either of the microscopes on the top display. I can also put the Rigol MSO5074 scope and an Xbox on the top display. There is one spare HDMI port which is on the front of the device which I can use for ad hoc purposes.
Before the HDMI switch output runs into the top display (a Teac TV) it runs through a 4K Audio Video Capture Device which allows me to record the output for inclusion in my videos.
Early Content #9: OGXbox Recapping, Thermal Paste and Pro’sKit SS-331 Demo | In The Lab With Jay Jay
This post is part of my video blog and you can find more information about this video on this show’s homepage which is here.
You can support this channel on Patreon: patreon.com/JohnElliotV
In this video I recap an old OGXbox. I also redo the thermal paste. I use my Pro’sKit SS-331 desoldering pump in anger for the first time. I spend an inordinate amount of time trying to figure out my new tools. In the end the Xbox is still broken!
I sold this Xbox on eBay but it was returned to me during the warranty period (one month) as it was faulty.
In this video I mention a trick you can do in your browser when you’re watching videos on YouTube. Ordinarily the YouTube user interface only allows you to set playback speed to 2x, but if you want to set it at 3x or higher you can do so by pressing F12 to bring up developer tools, then open the Console, and enter this code:
document.querySelector("video").playbackRate = 3.0;
Change the number to change the playback speed.
In this video I mention that it was in a video from Bruce from Branchus Creations that I got the recommendation to try a beveled soldering iron tip. Having given it a bit of a go and not really having great luck with it I am going back to a small chisel bit instead.
I comment in the video about how you don’t need to replace the clock capacitor on a v1.6 board, but Harcroft on the ConsoleMods.org original-xbox Discord forum reminded me that sometimes you do need to replace this capacitor.
The capacitors I use for this recapping are Chong 6.3V 3300μF Low ESR caps. Of course the board didn’t work after recapping so it’s possible these are dodgy caps.
I’m pretty sure I did damage the tip on my desoldering pump by putting the temperature all the way up to 480°C. Maybe don’t do that yourself. I believe anything over 380°C can damage iron tips (basically they melt!).
Thanks very much for watching! And please remember to hit like and subscribe!
Following is a product I use picked at random from my collection which may appear in my videos. Clicking through on this to find and click on the green affiliate links before purchasing from eBay or AliExpress is a great way to support the channel at no cost to you. Thanks!
ZKETECH EBD-A20H Electronic Load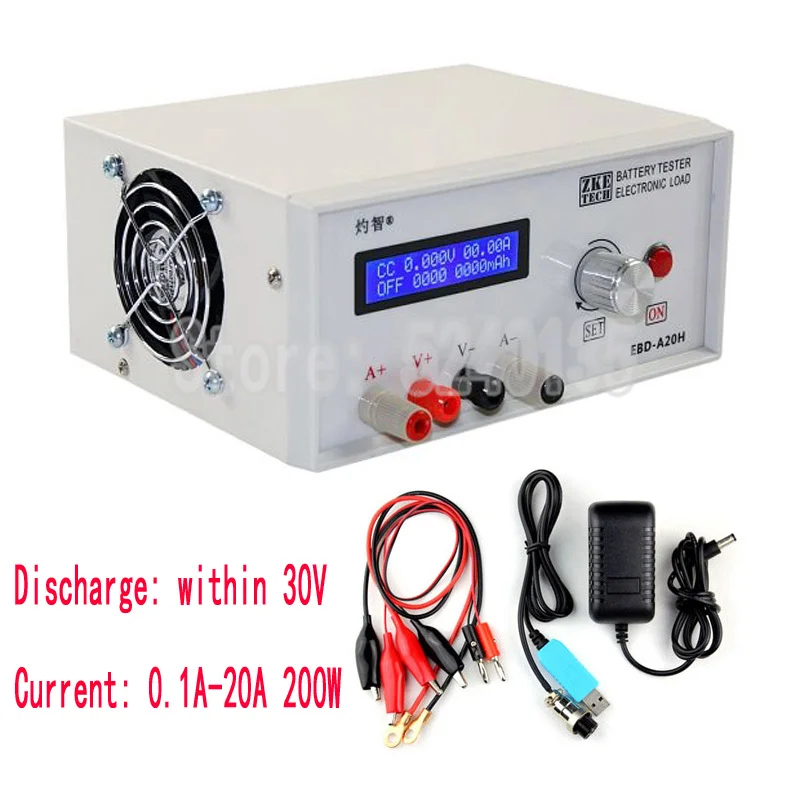 notes notes |
Let’s go shopping!
Jaycar kit: Audio Playback Adaptor for CD-ROM Drives
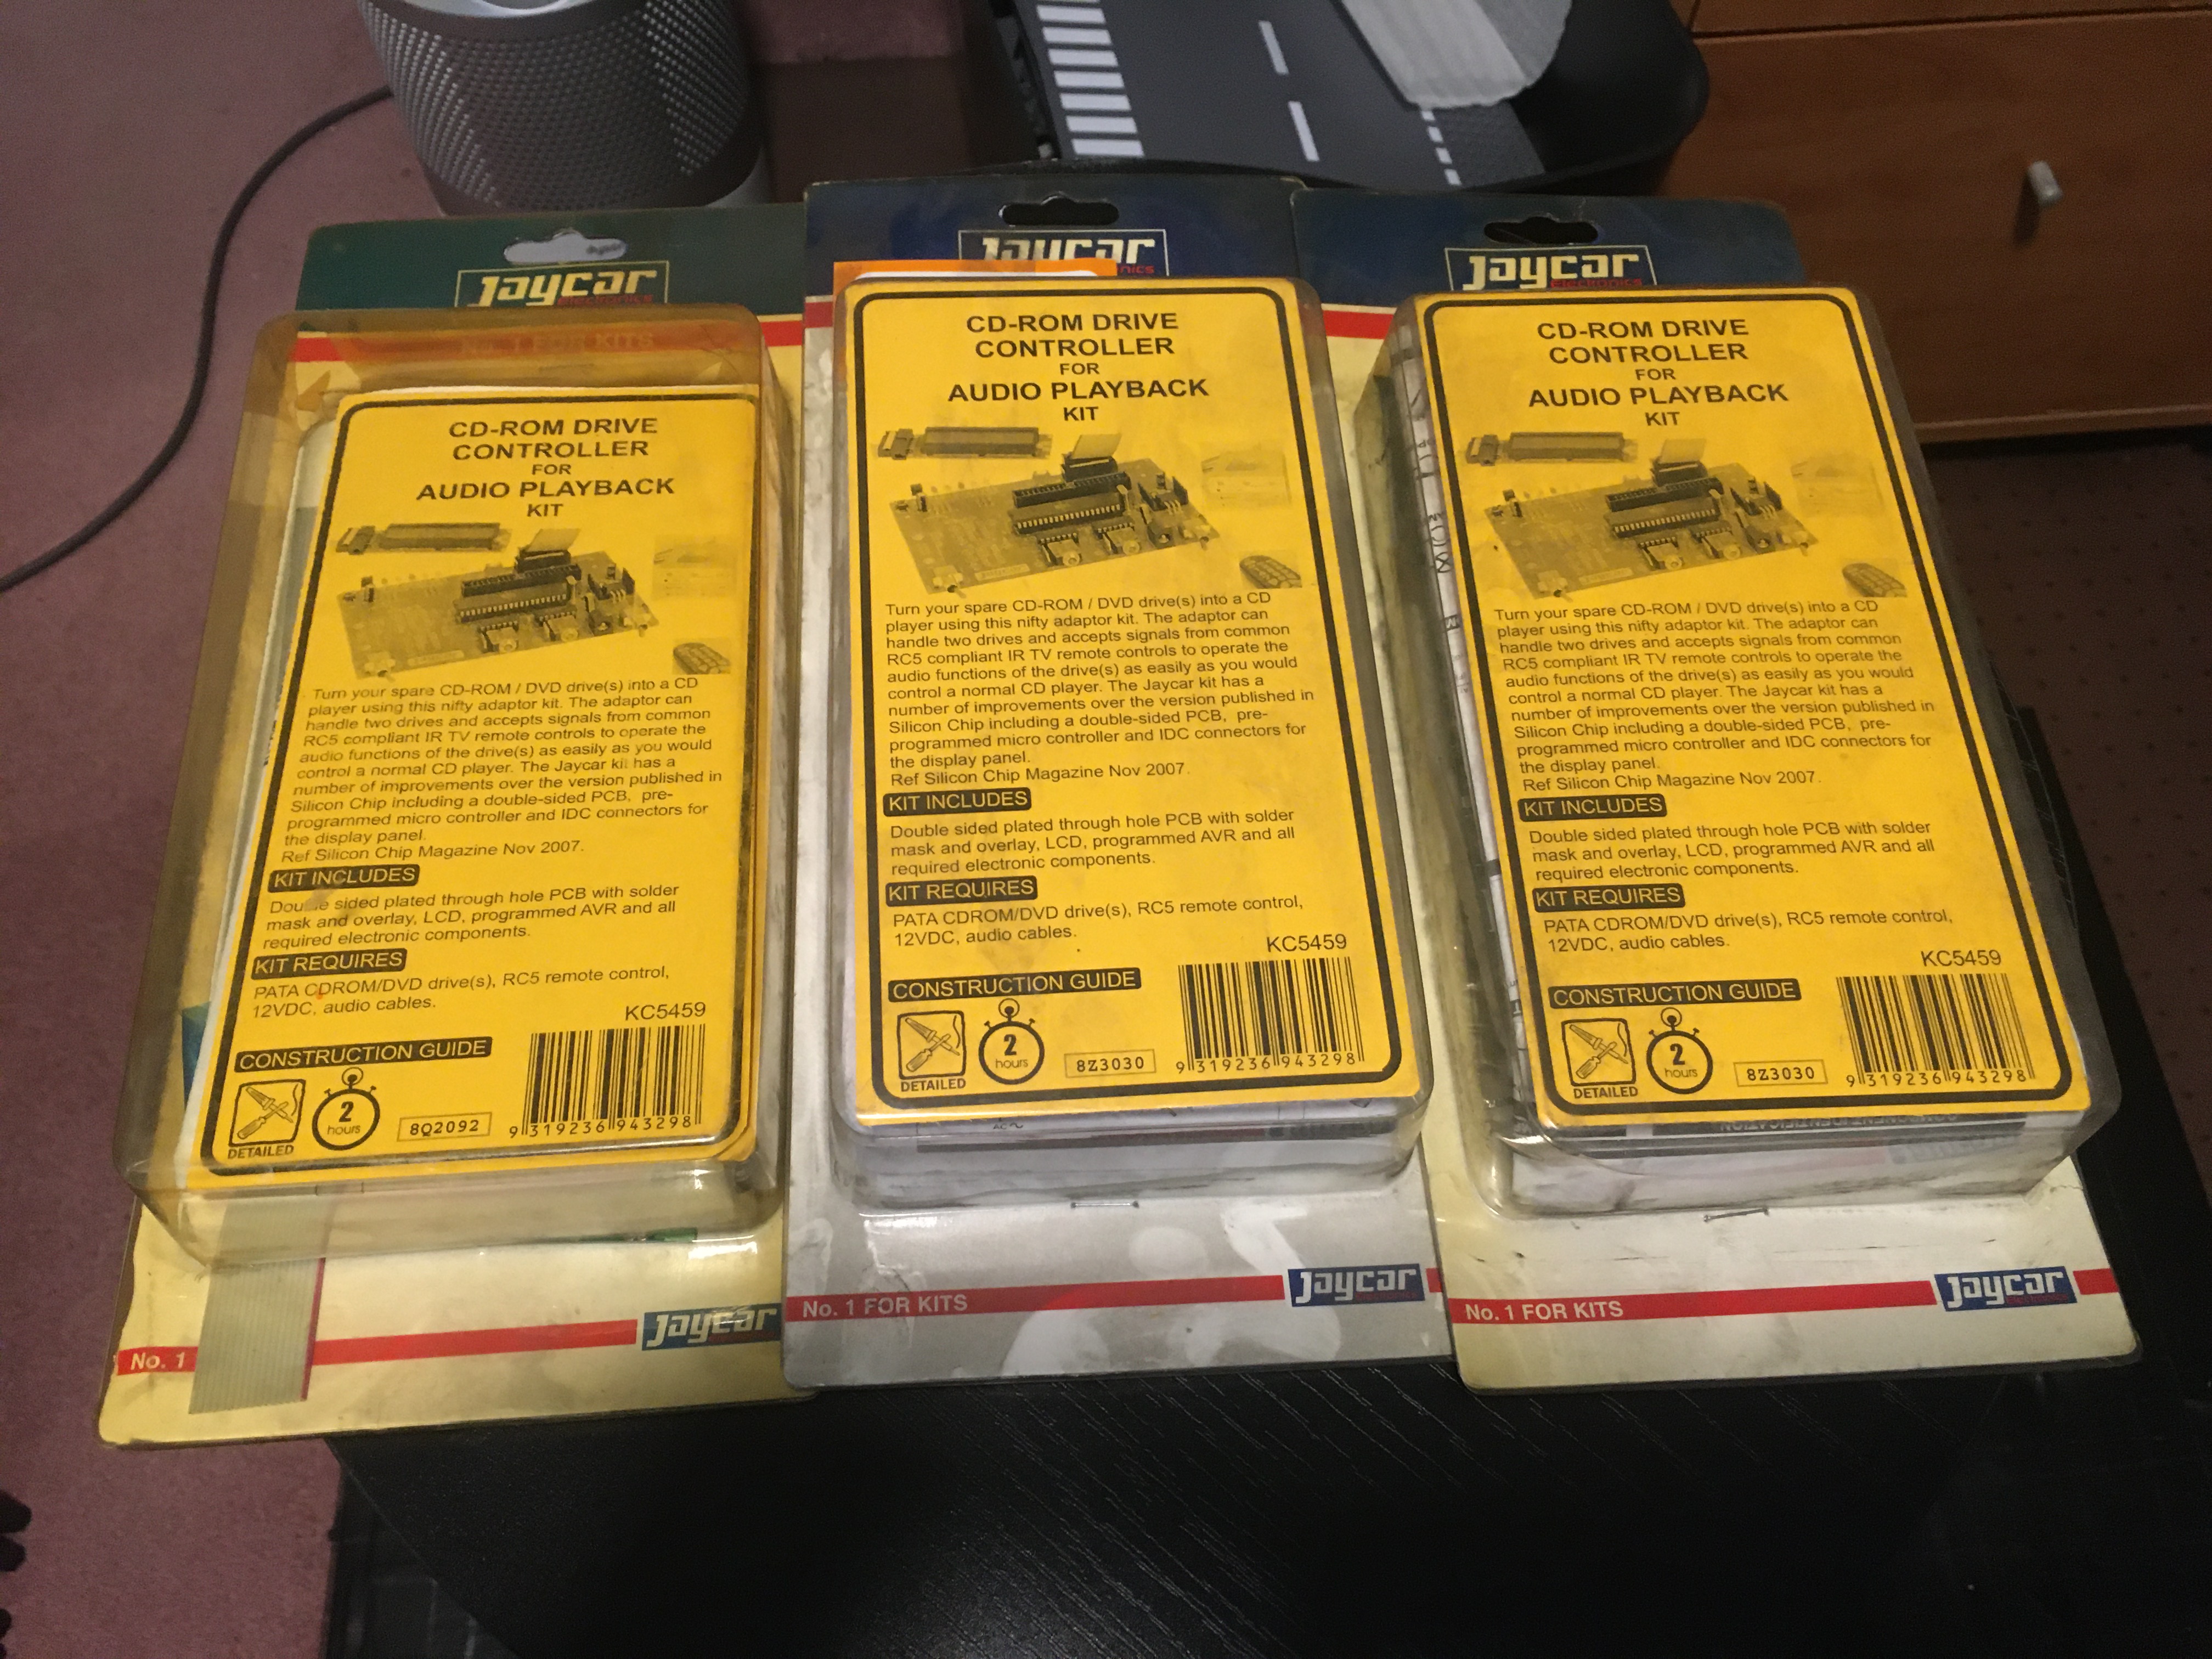
This Audio Playback Adaptor for CD-ROM Drives was released with a Silicon Chip article back in November 2007, approaching two decades ago.
I just purchased the last two available from Jaycar, they no longer have any stock.
I now own three of these babies, and it is my hope that I can use their components to build some electronics that implements enough of the ATA protocol to unlock OG Xbox hard drives. I reckon my chances of success are pretty slim, but it will be fun trying!
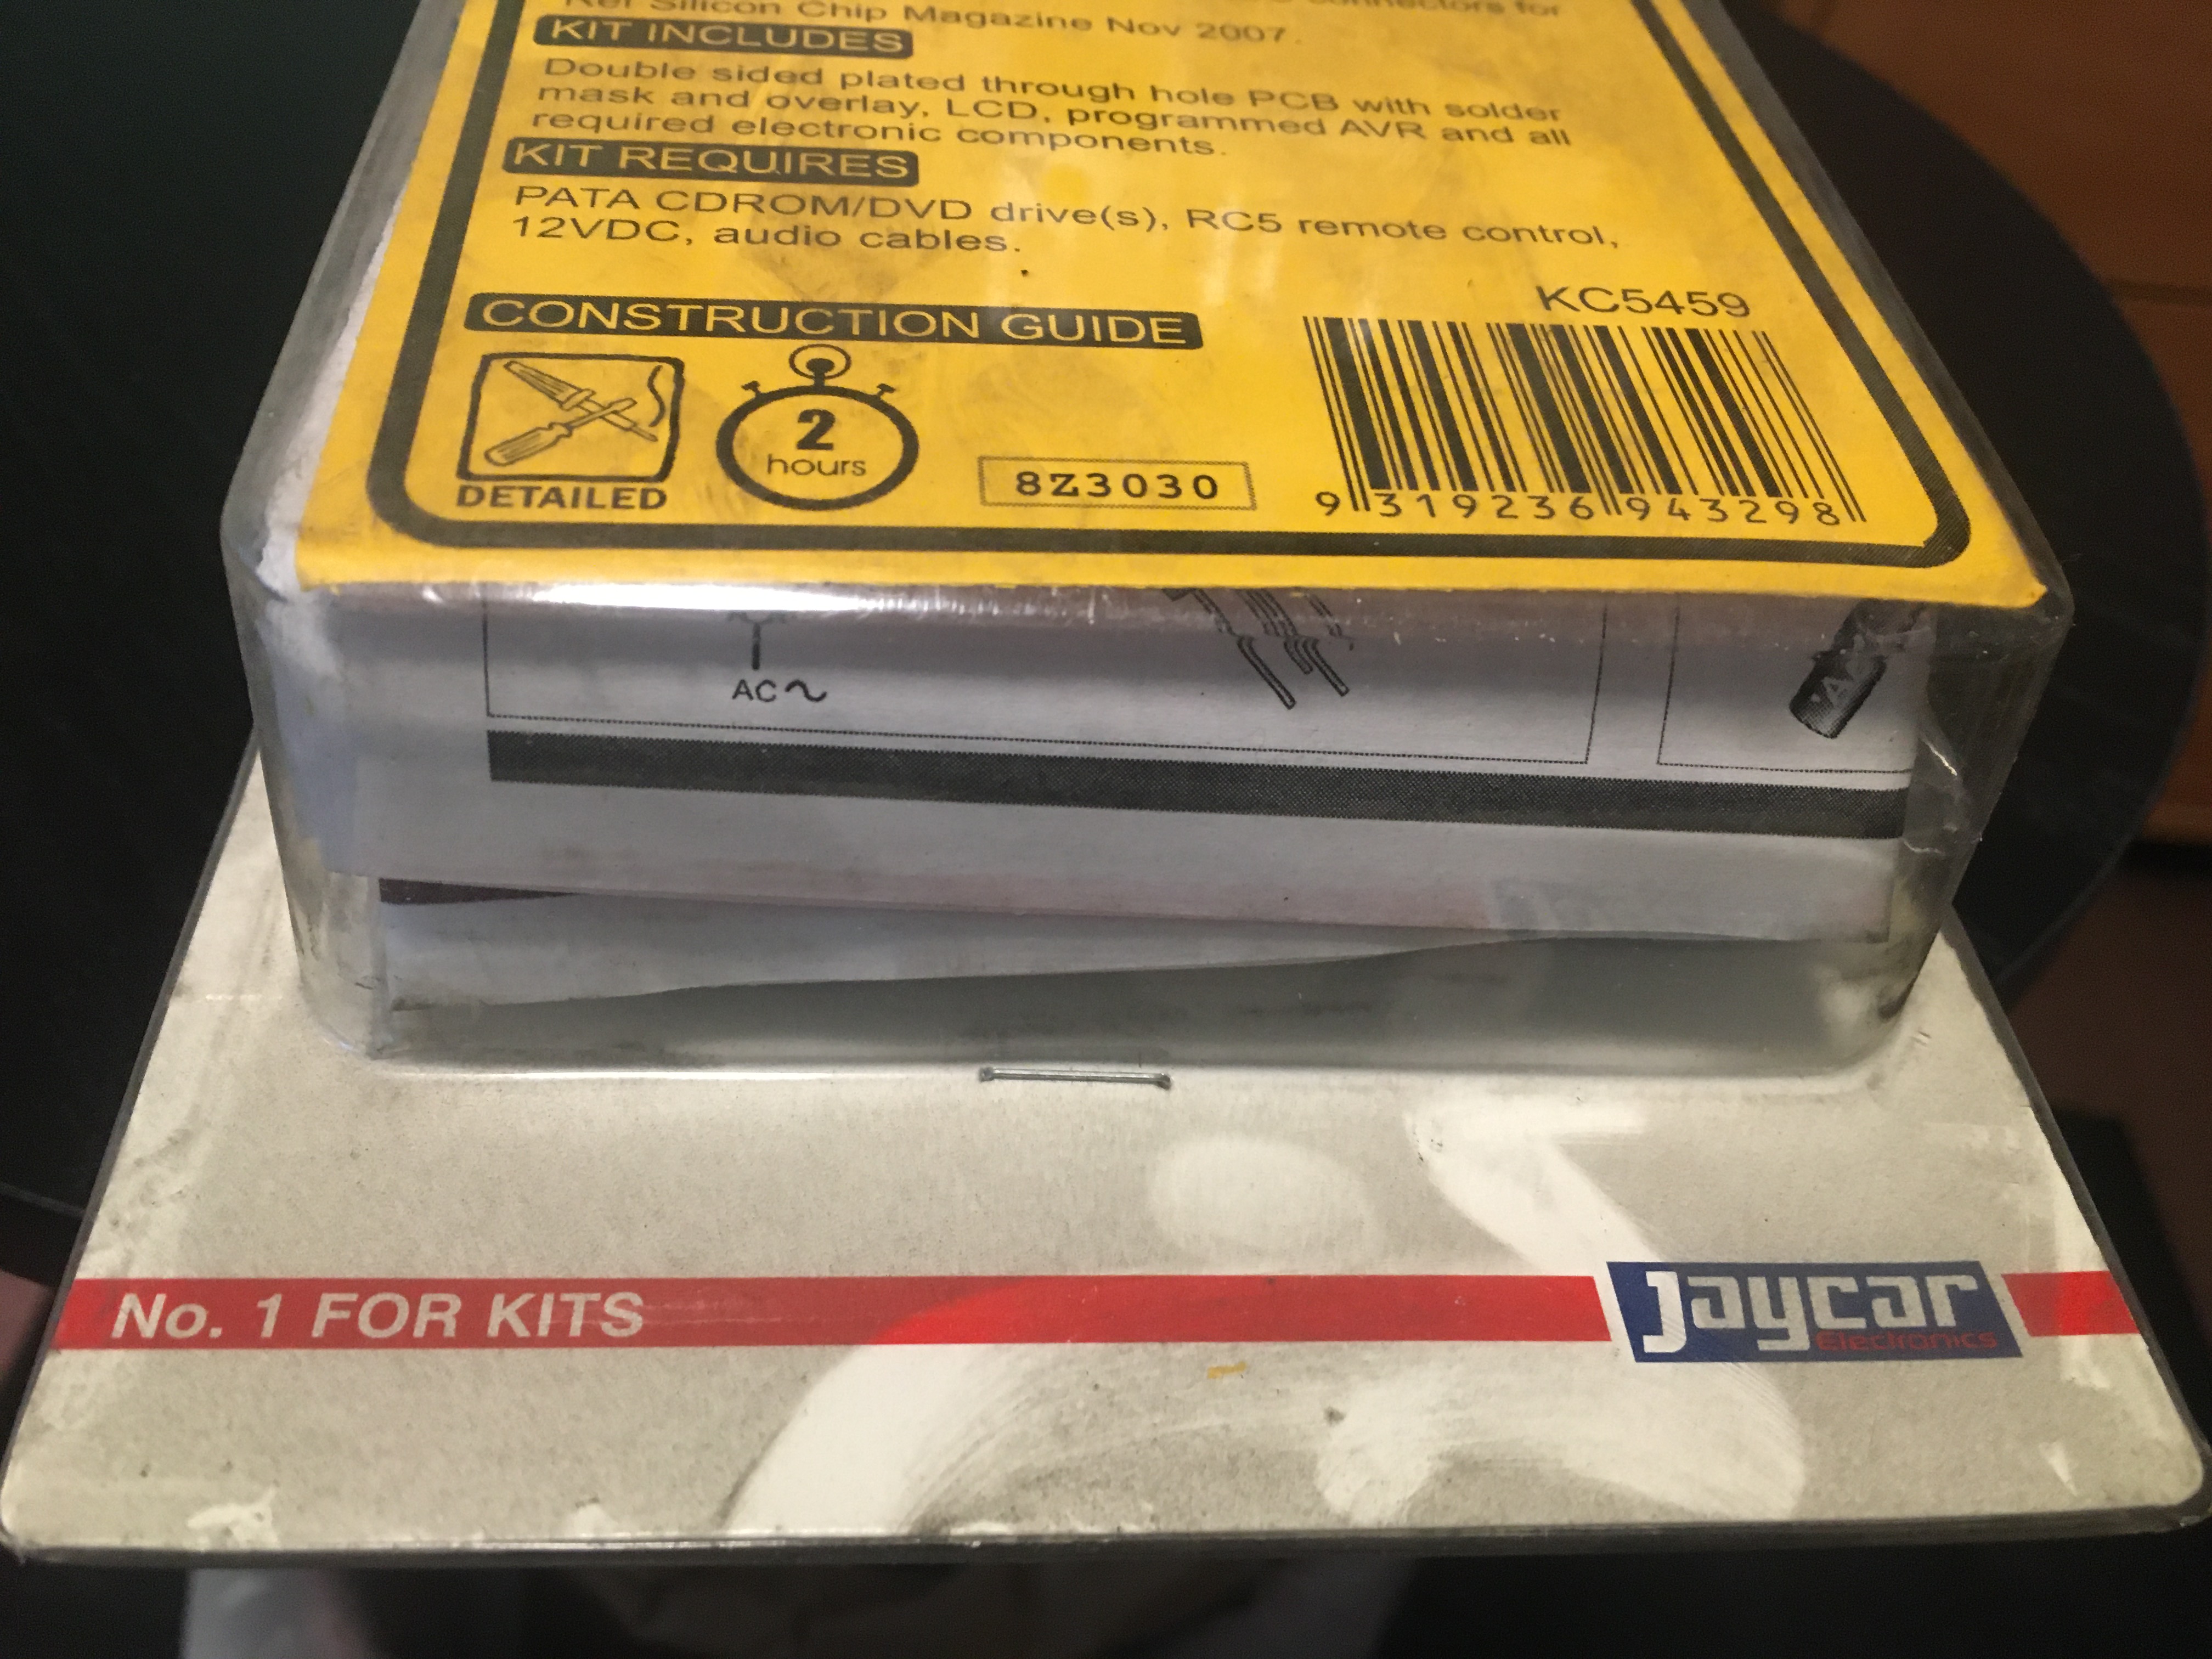
They’ve been on the shelf in a warehouse for years, check out how dirty they were:
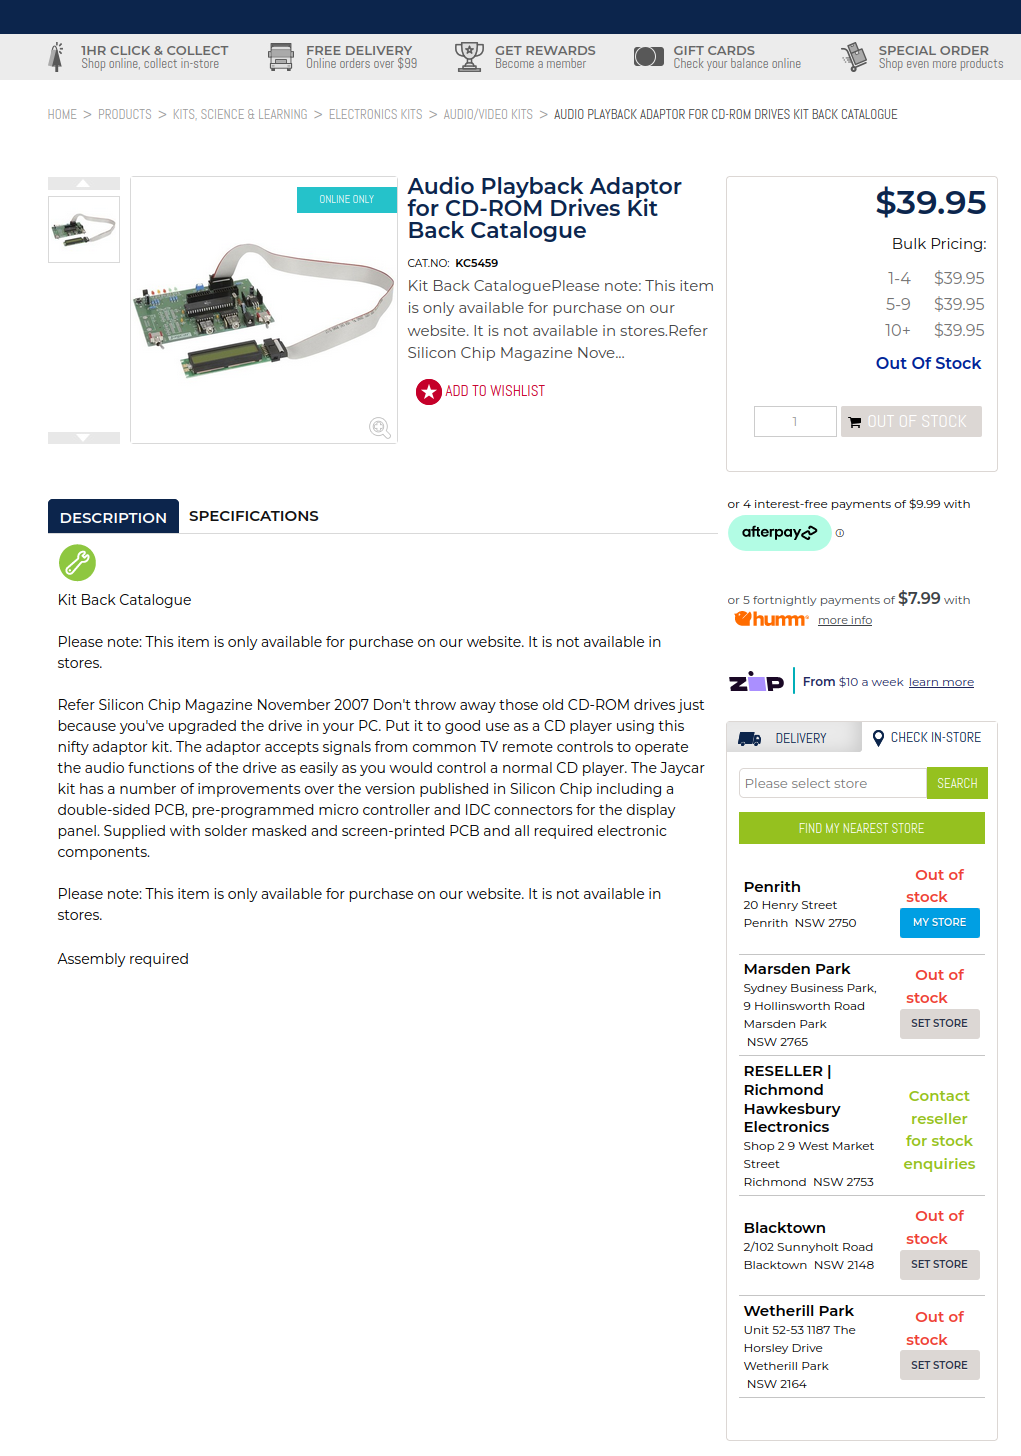
For the record here is a screenshot of this item on the Jaycar website after I purchased all their stock:
Playing Xbox
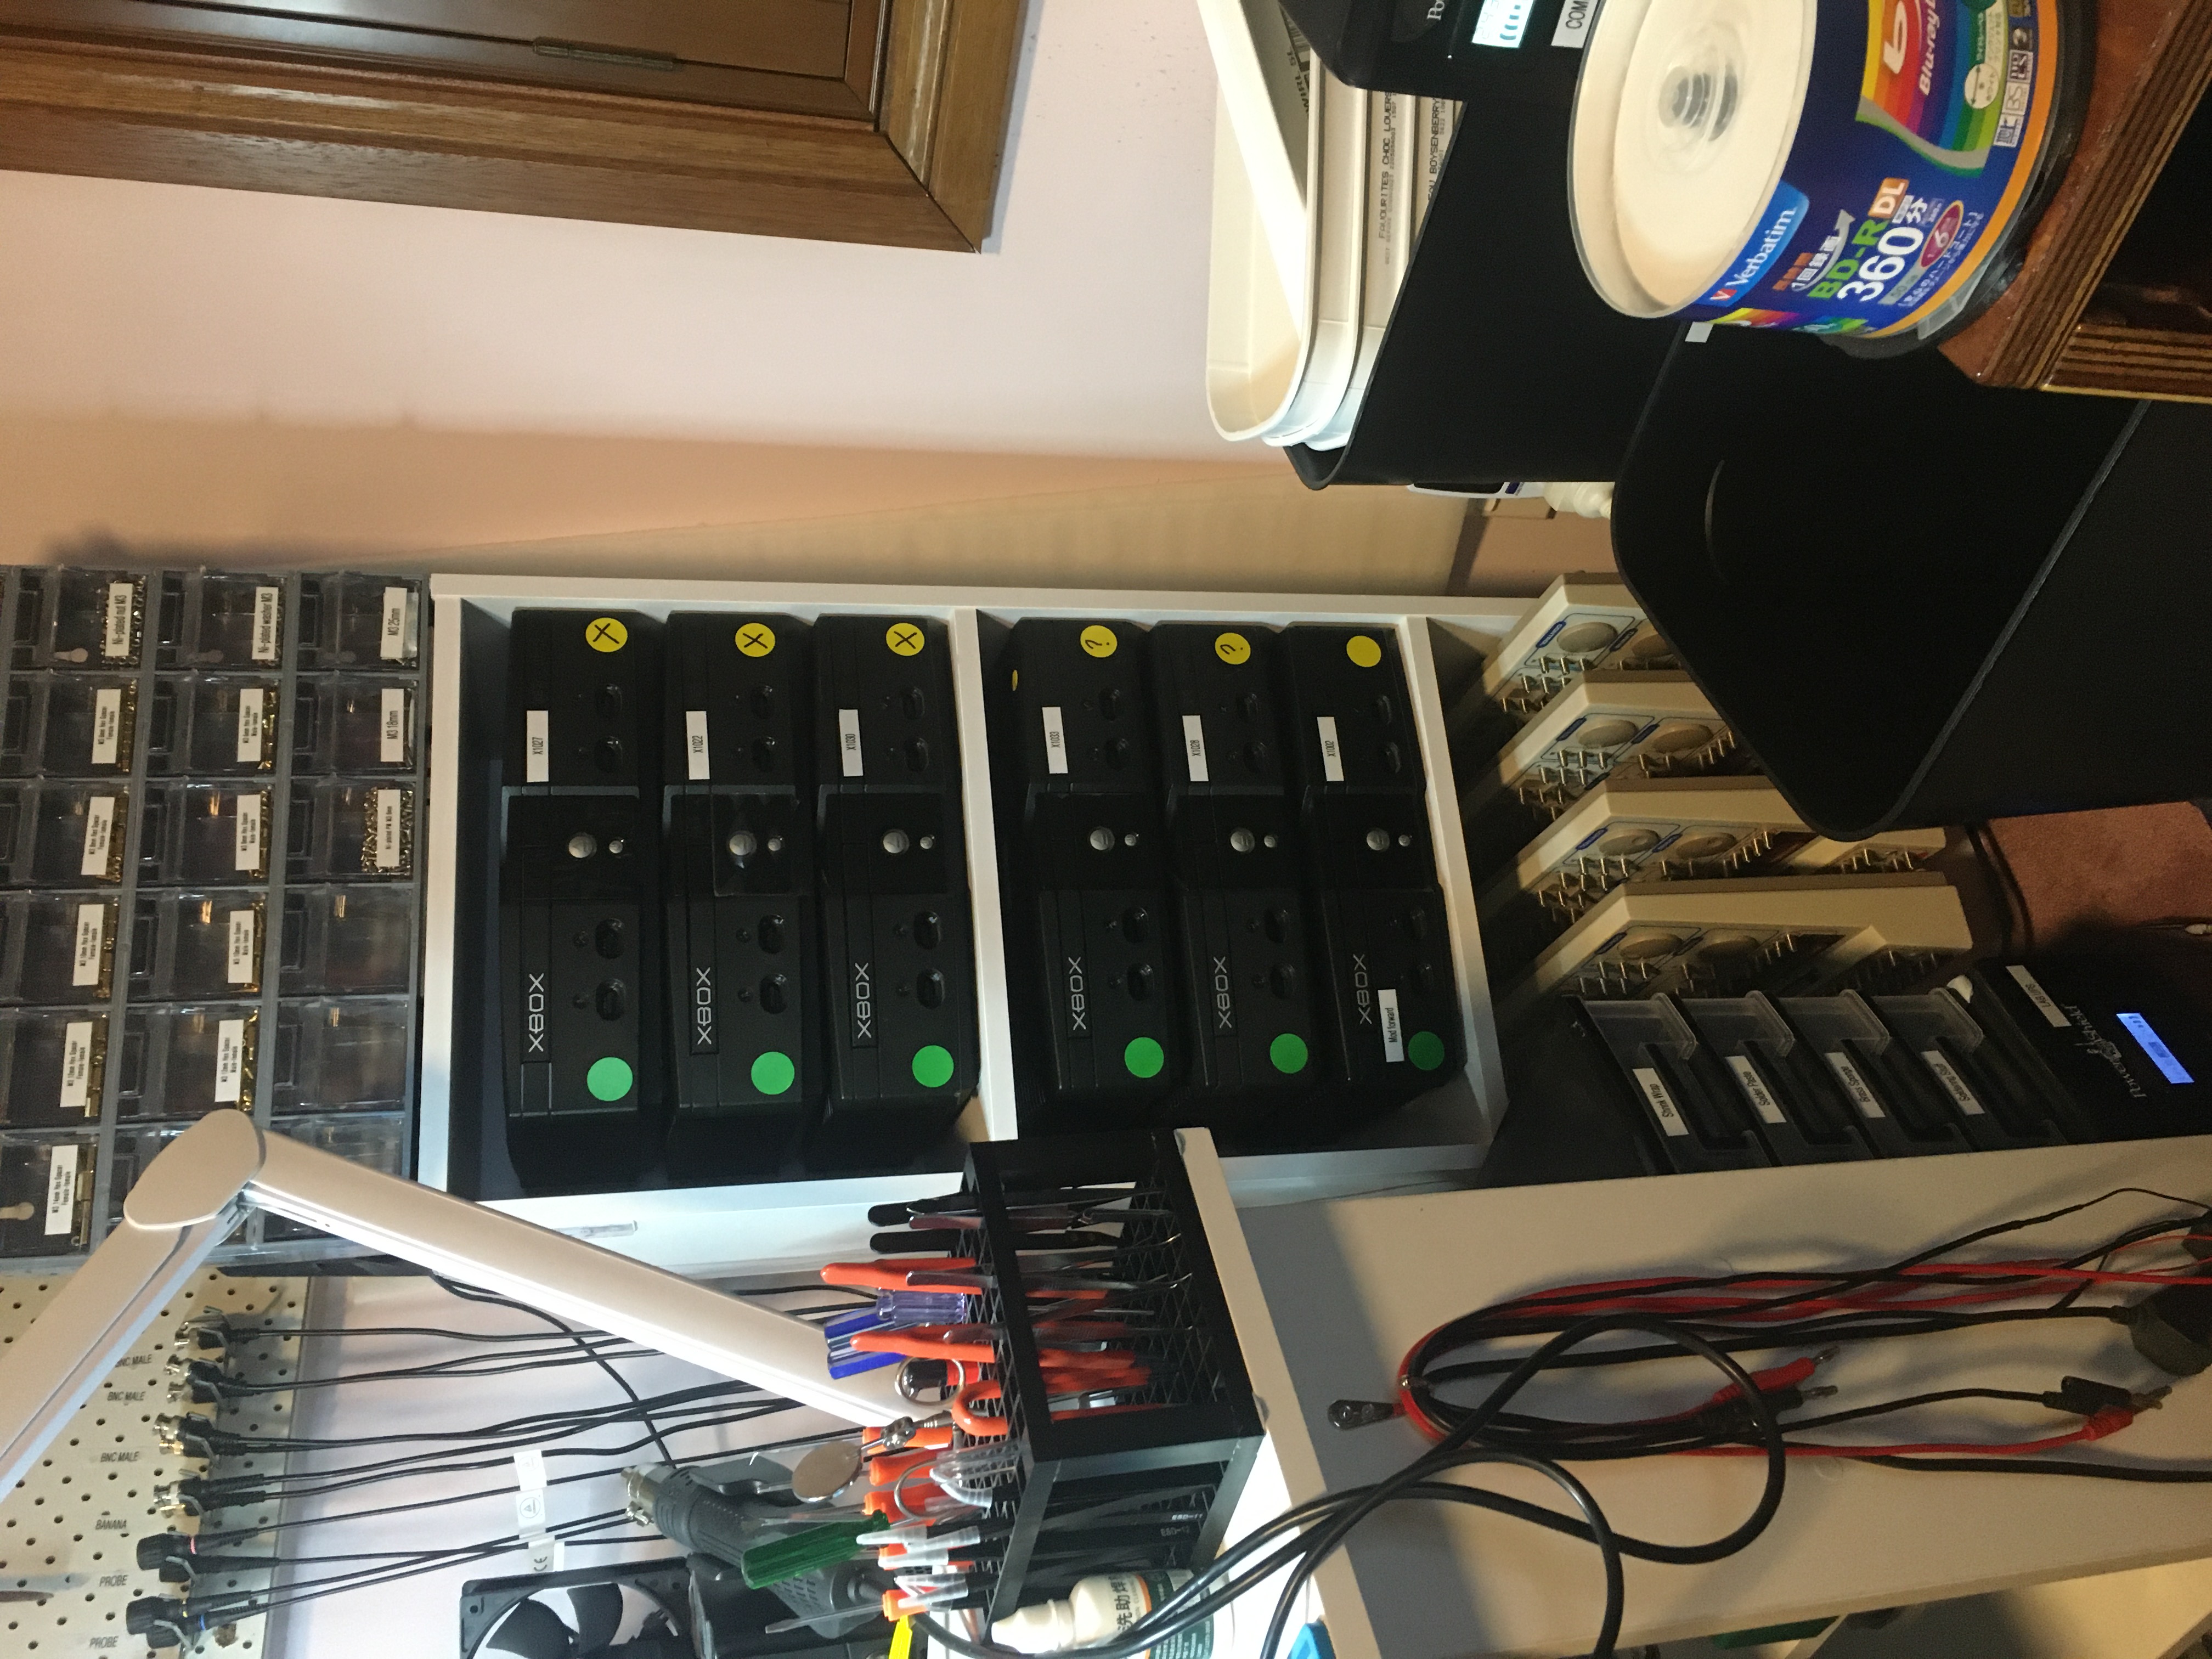
So I sorted my Xboxes today. I have owned 36. I sold 2. I turned one into my bench testing system. I have 26 which are in various forms of broken. That’s anything from a dicky DVD drive, to error screen, to FRAGing, to won’t even power on. Then I have 7 which are working. Of those 2 are chipped, 3 aren’t chipped, and 2 I’m not sure about yet.
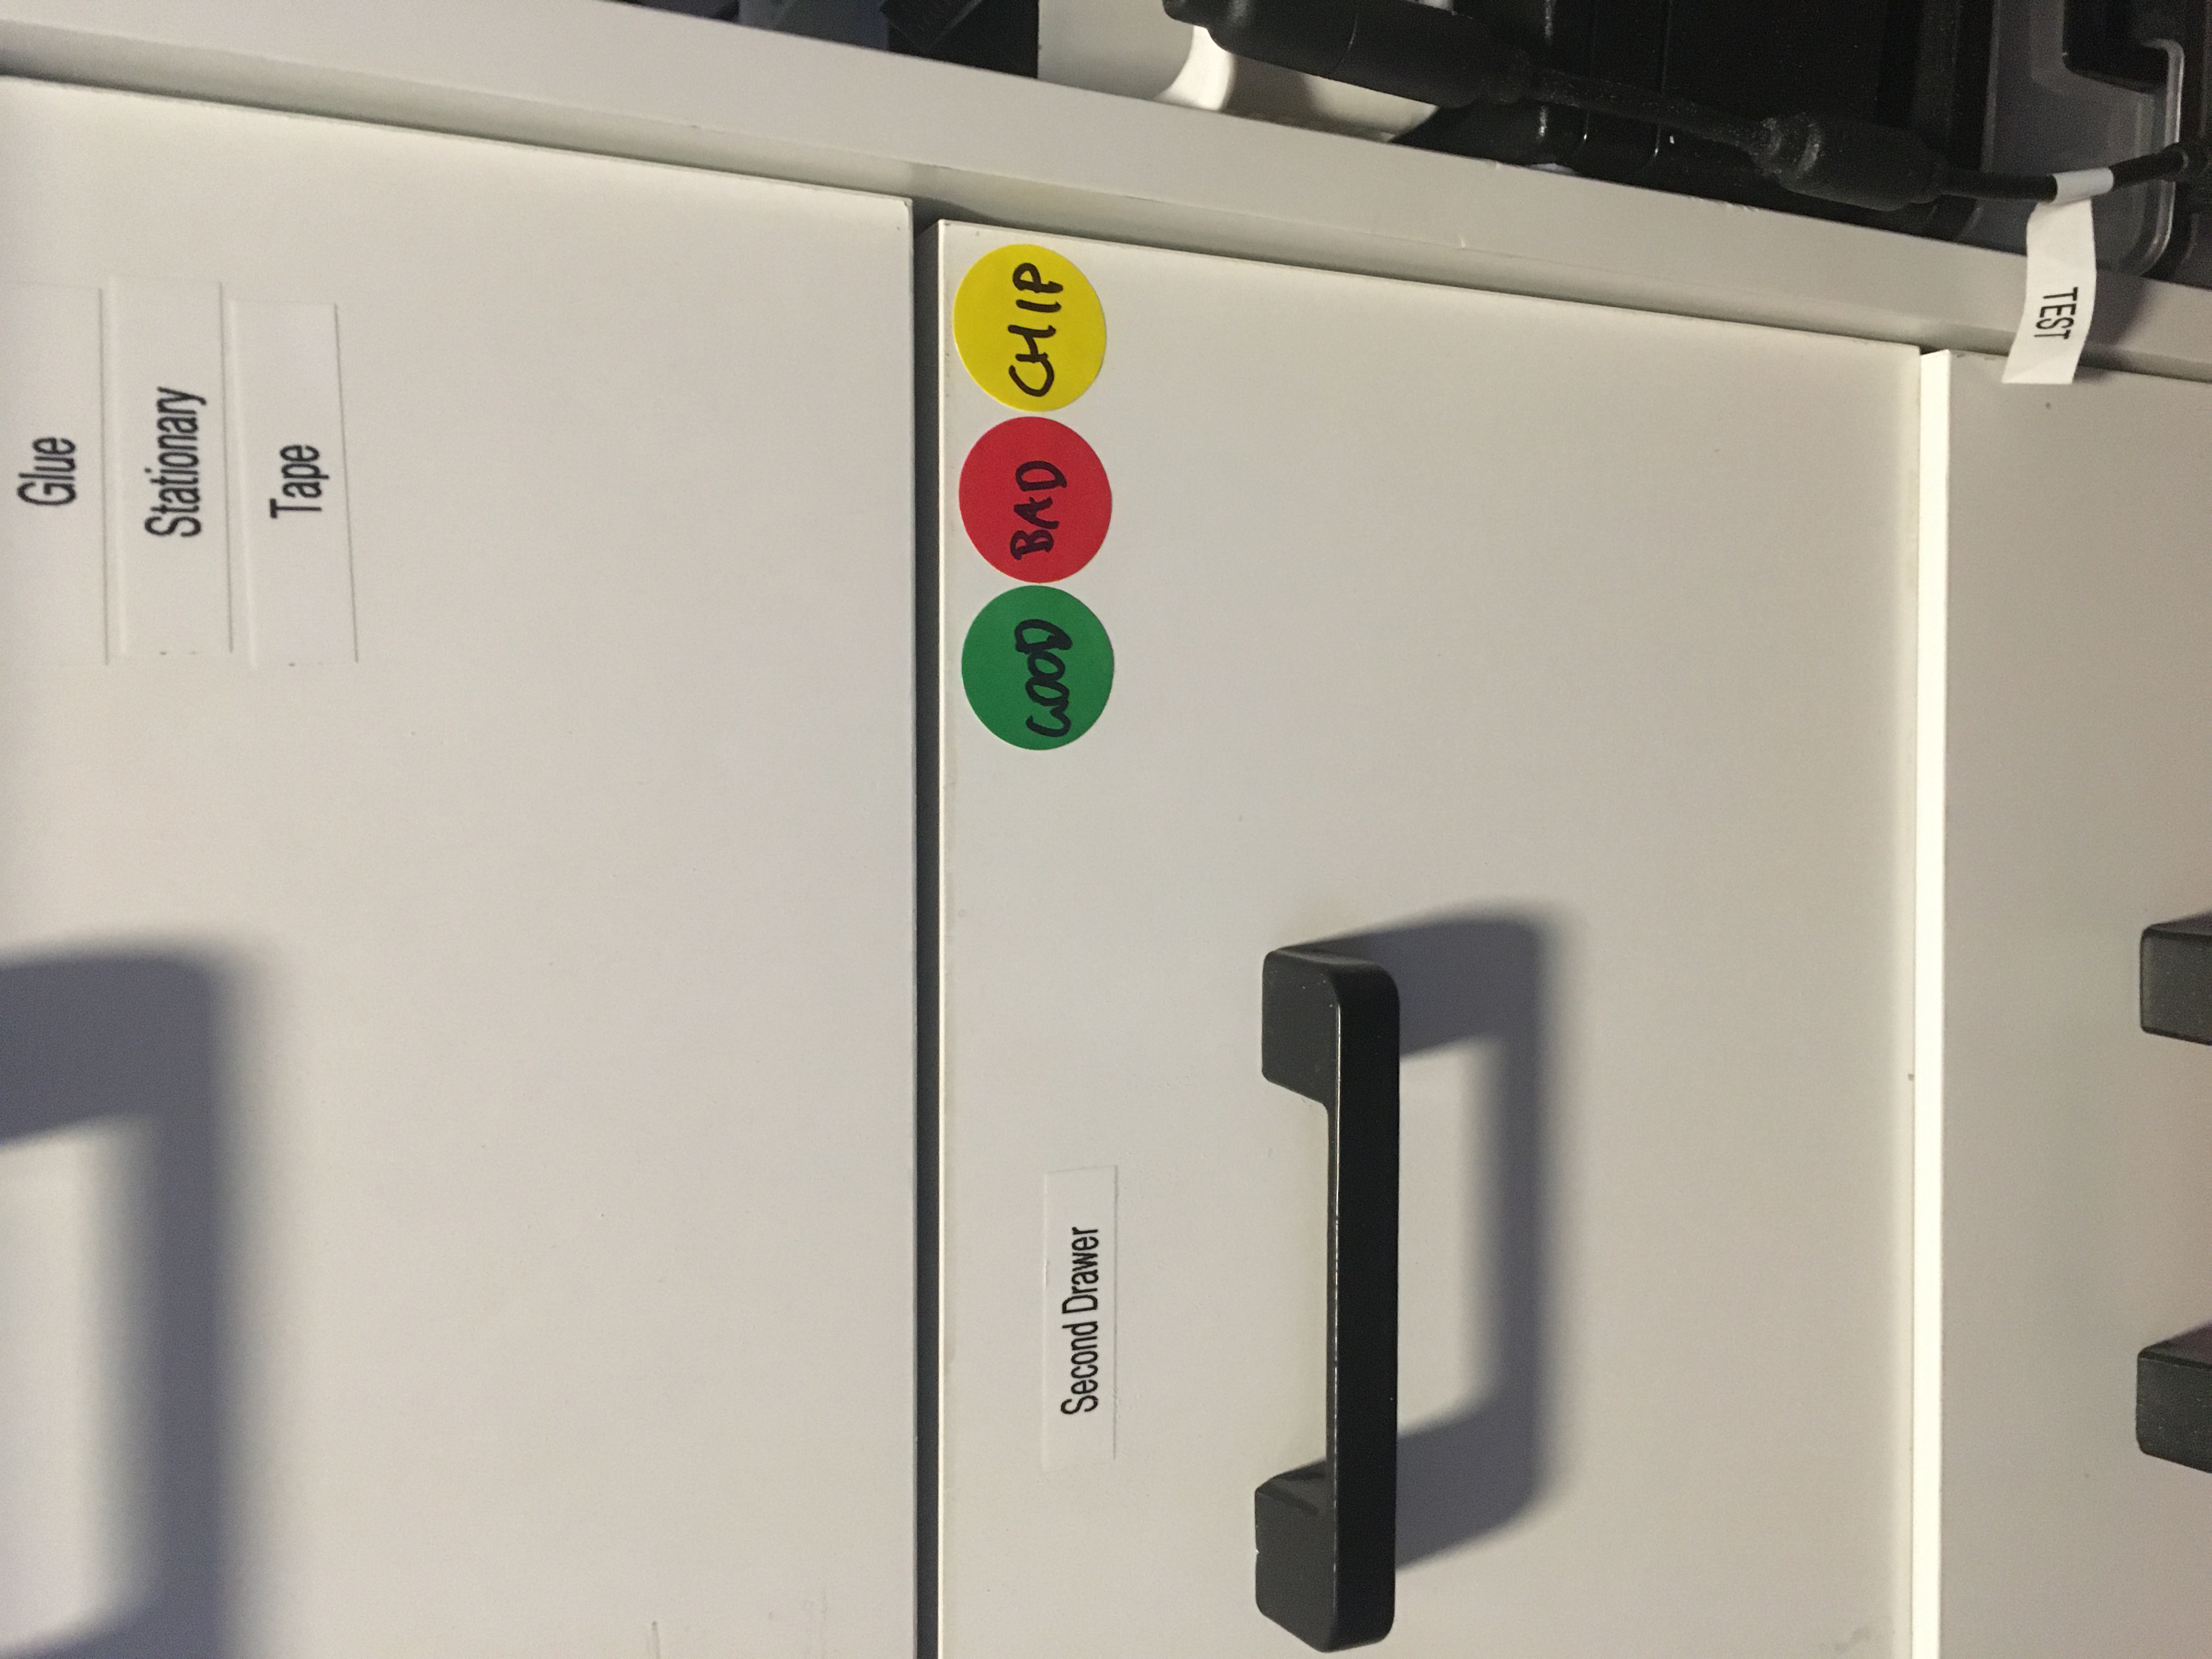
I’ve introduced a colour coding system. On the left is a red sticker if the Xbox is broken or a green sticker if it works. On the right is a yellow sticker which has an X in it if the Xbox is not chipped, a question mark in it if I’m not sure, and a plain yellow sticker means it’s chipped.
I stuck a reminder on the second drawer:
Xbox 1.0 GPU 40mm Fan adapter
This guy made a fan adapter for the Original Original Xbox (1.0): Xbox 1.0 GPU 40mm Fan adapter.
Power-on indicator
I’m embarrassed to report that I don’t know how to solve the problem of providing a power-on indicator on my Xbox test power supply, so I asked.

