This post is part of my video blog and you can find more information about this video.
You can support this channel on Patreon: patreon.com/JohnElliotV
Silly Job Title: Solder Soldier. I am the Solder Soldier!
In this video we make a power cable running a DC barrel female socket into hook-clips.
We use the METCAL PS-900 Soldering Station for soldering.
We use the Riden RD6006 Bench Power Supply to provide power for testing.
We use the EEVblog BM2257 Digital Multimeter to test the cable.
We use the Hakko CHP 3C-SA Precision Tweezers for tweezering.
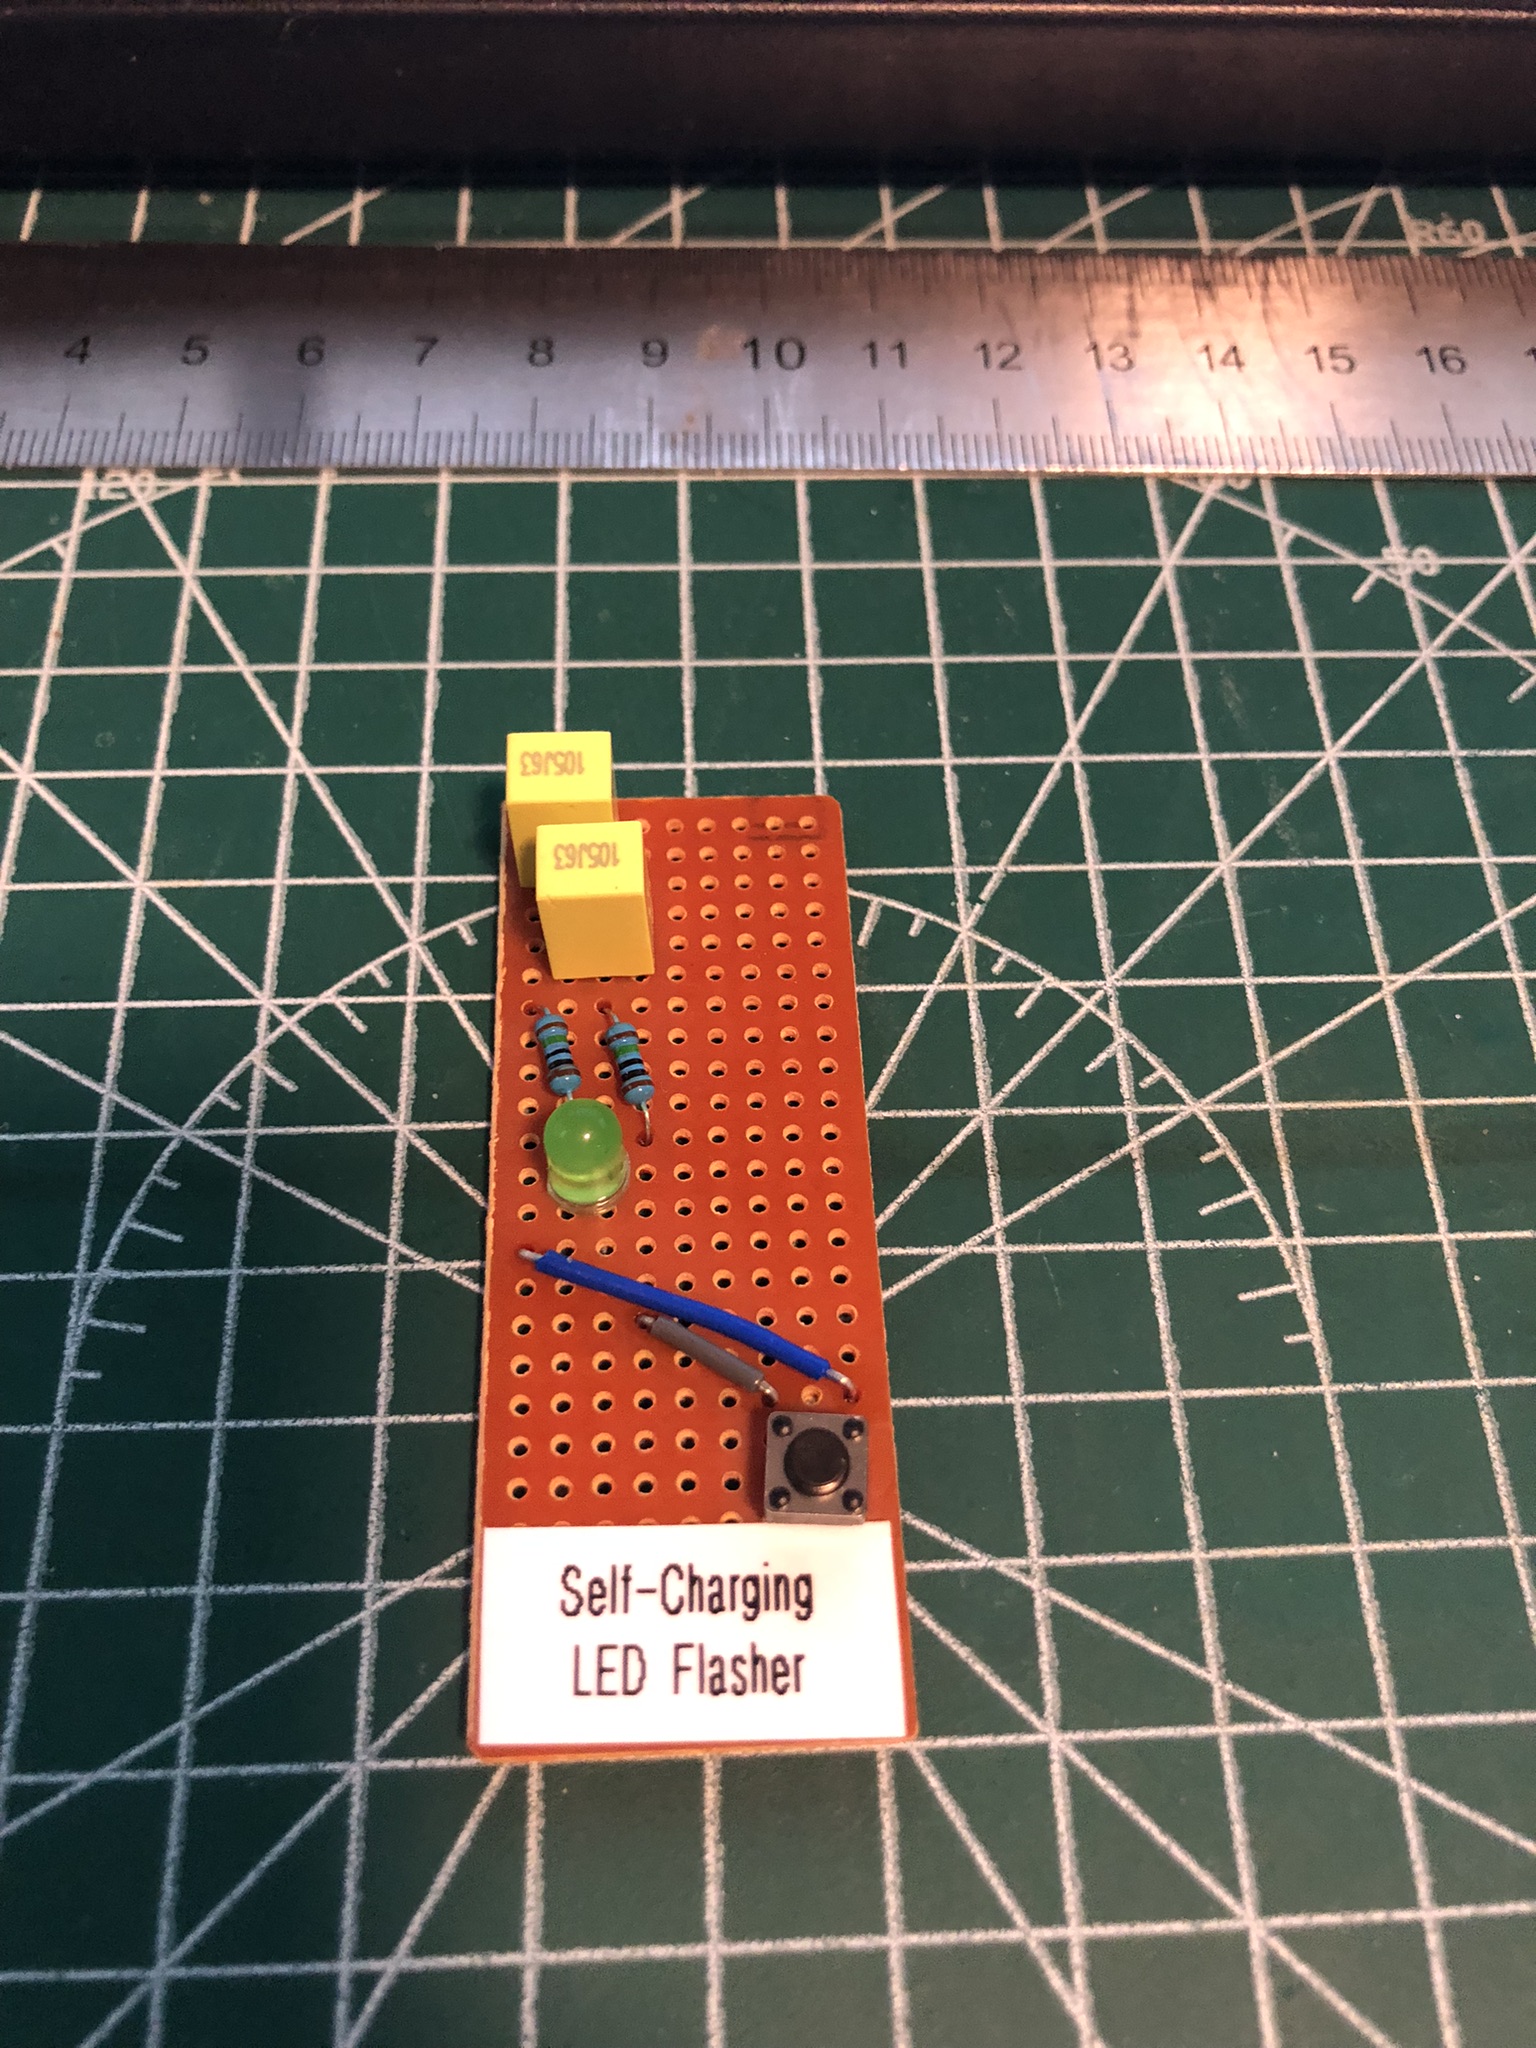
We use the Kaisi S-160 45x30cm Repair Mat as our workspace.
Thanks very much for watching! And please remember to hit like and subscribe! :)
Following is a product I use picked at random from my collection which may appear in my videos. Clicking through on this to find and click on the green affiliate links before purchasing from eBay or AliExpress is a great way to support the channel at no cost to you. Thanks!
Yum Cha Octopus Soldering Third Hand |
Let’s go shopping!