Thanks very much for watching! And please remember to hit like and subscribe! :)
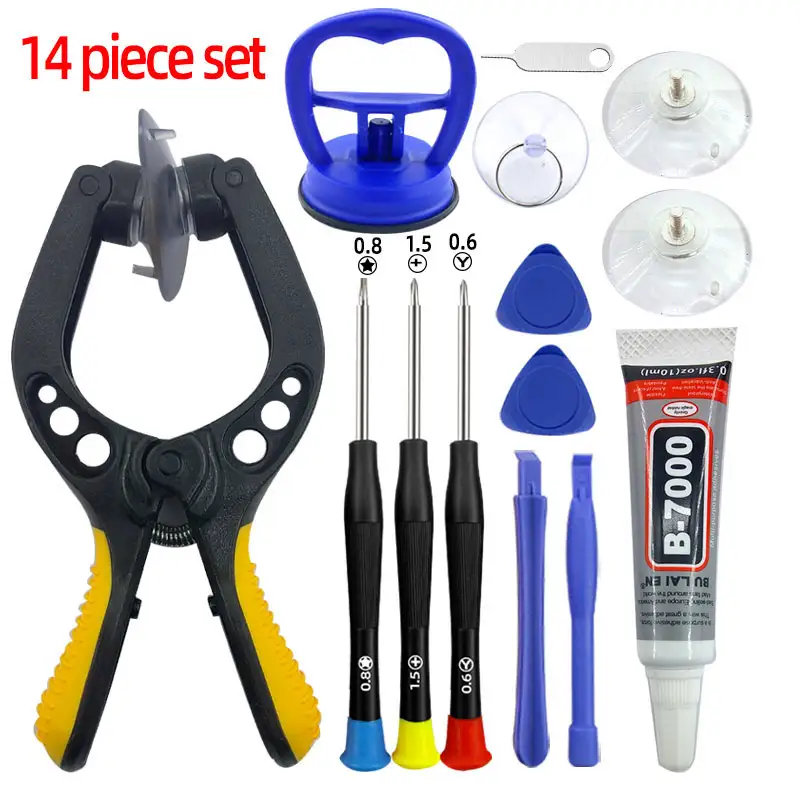
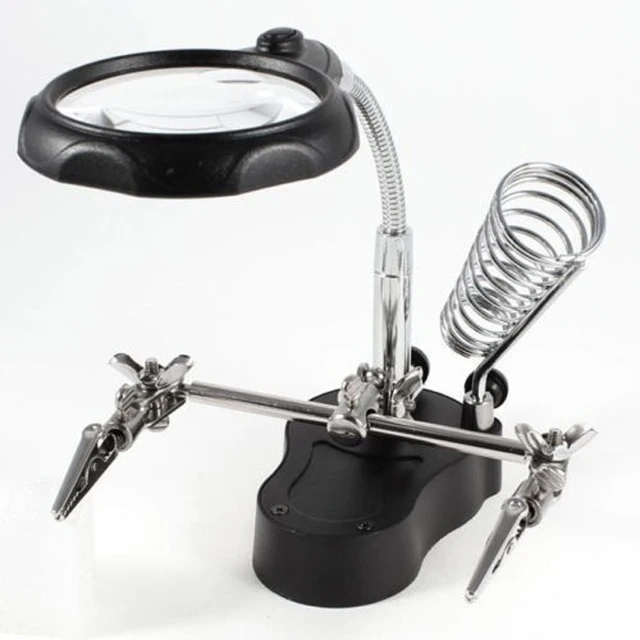
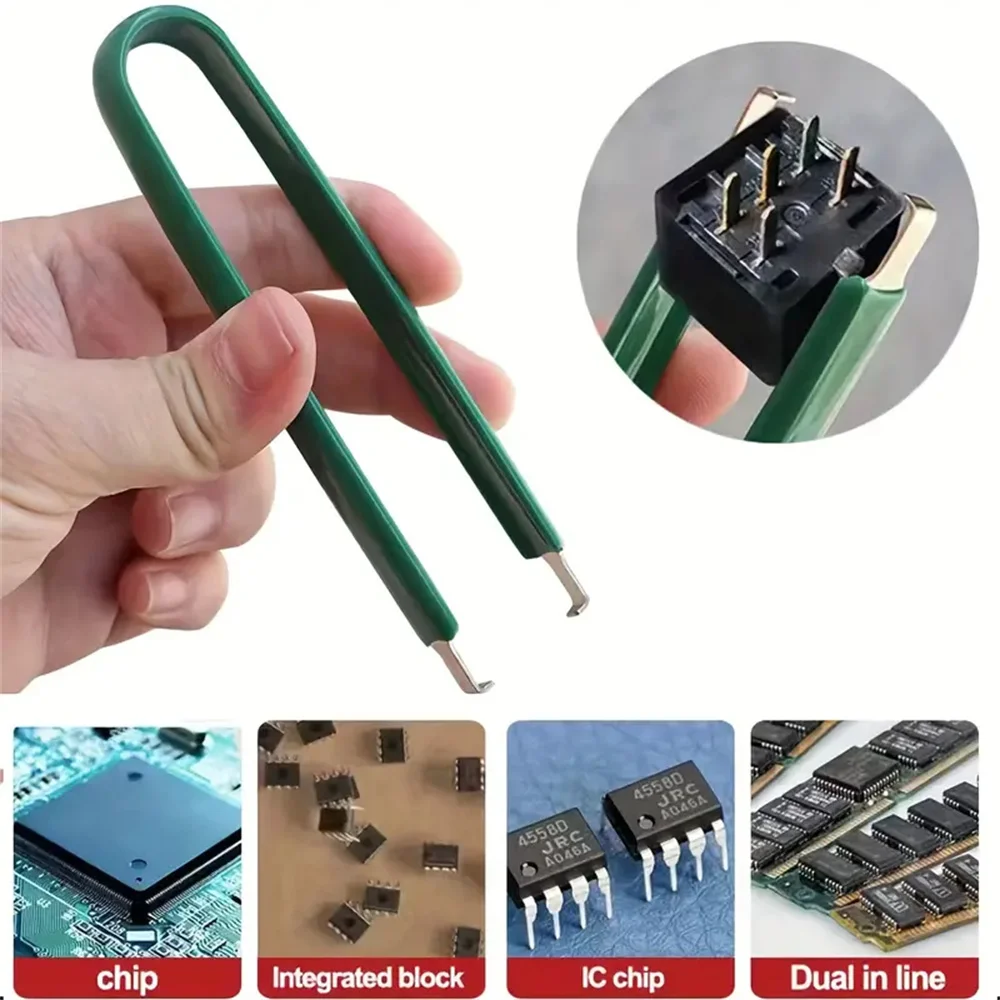
Following is a product I use picked at random from my collection which may appear in my videos. Clicking through on this to find and click on the green affiliate links before purchasing from eBay or AliExpress is a great way to support the channel at no cost to you. Thanks!
Over on the EEVblog forum I ask What’s special about the frequency 14.9254 kHz? The answer seems to be that this is 1/67th of 1 MHz, which is probably as precise as the microcontroller they’re using can go.
Thanks very much for watching! And please remember to hit like and subscribe! :)
Following is a product I use picked at random from my collection which may appear in my videos. Clicking through on this to find and click on the green affiliate links before purchasing from eBay or AliExpress is a great way to support the channel at no cost to you. Thanks!
We had some trouble getting this circuit to work. It turned out that the instructions omitted one necessary wire. After we added that the circuit worked.
The salty water and the clean water didn’t have hugely different effects. It was hard to get a resistance reading because the resistances seemed to just continually increase. In the end I didn’t really understand that.
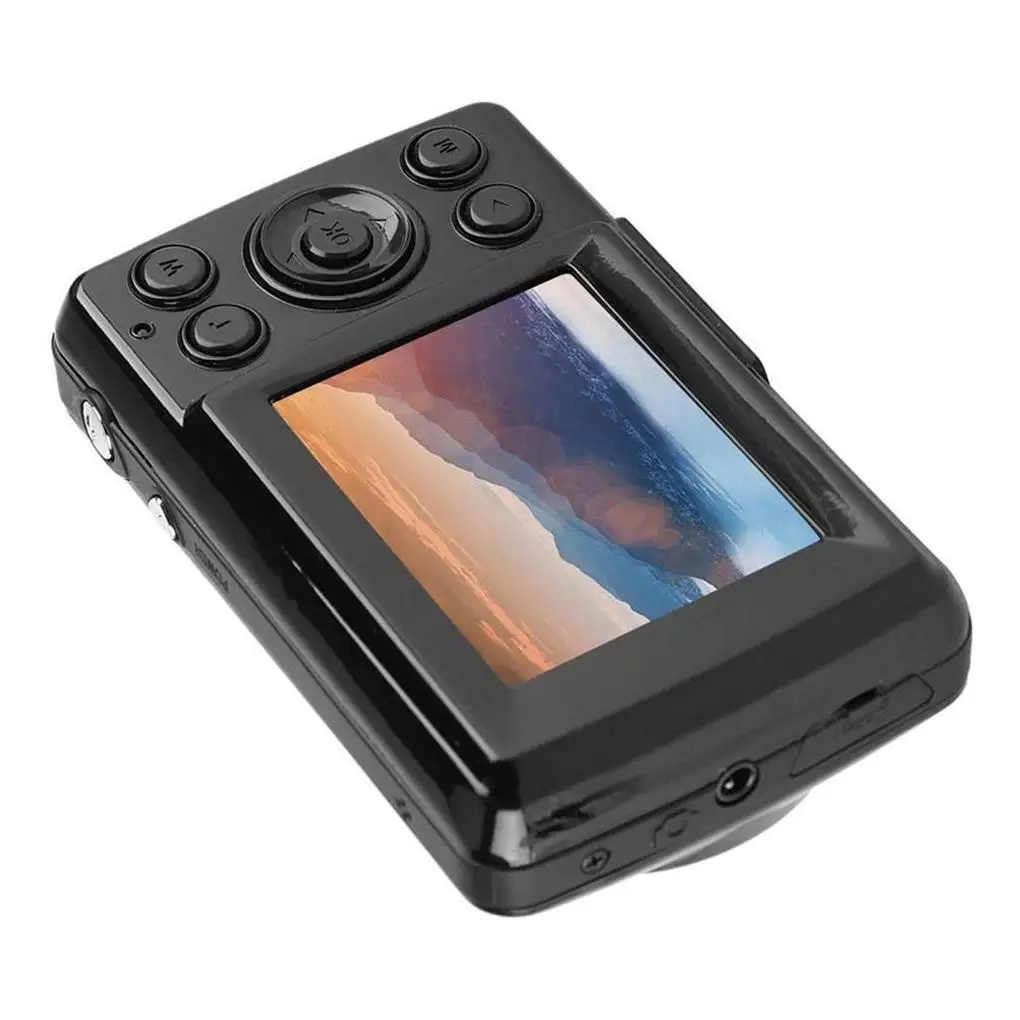
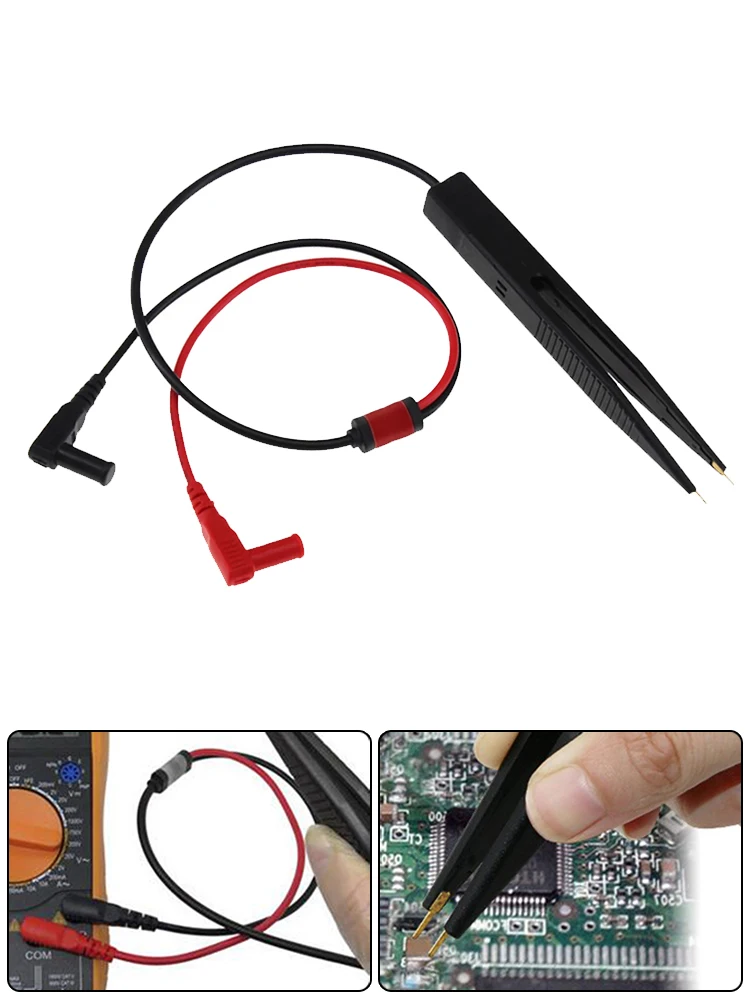
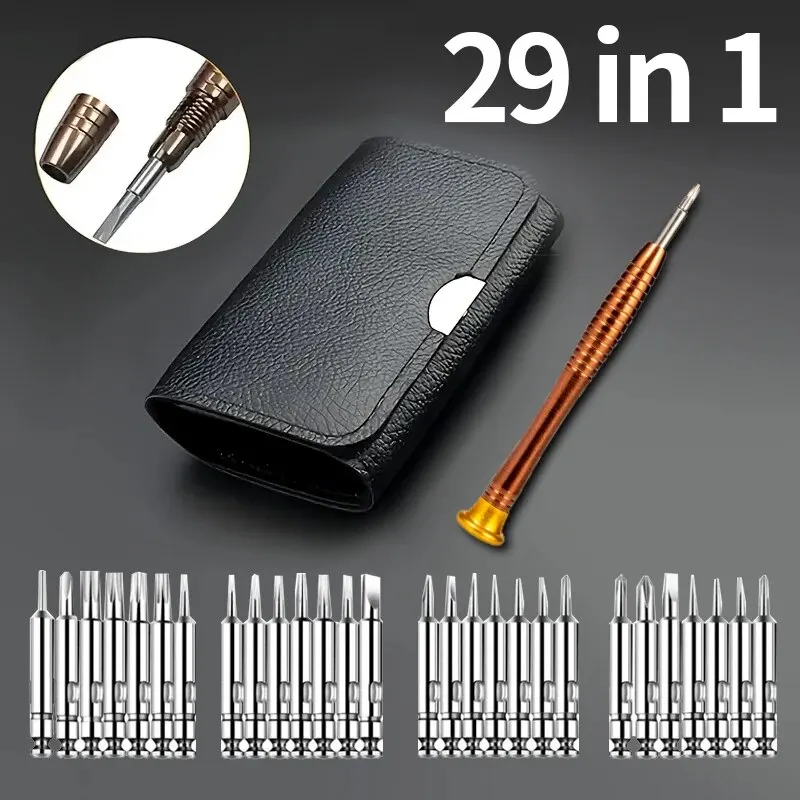
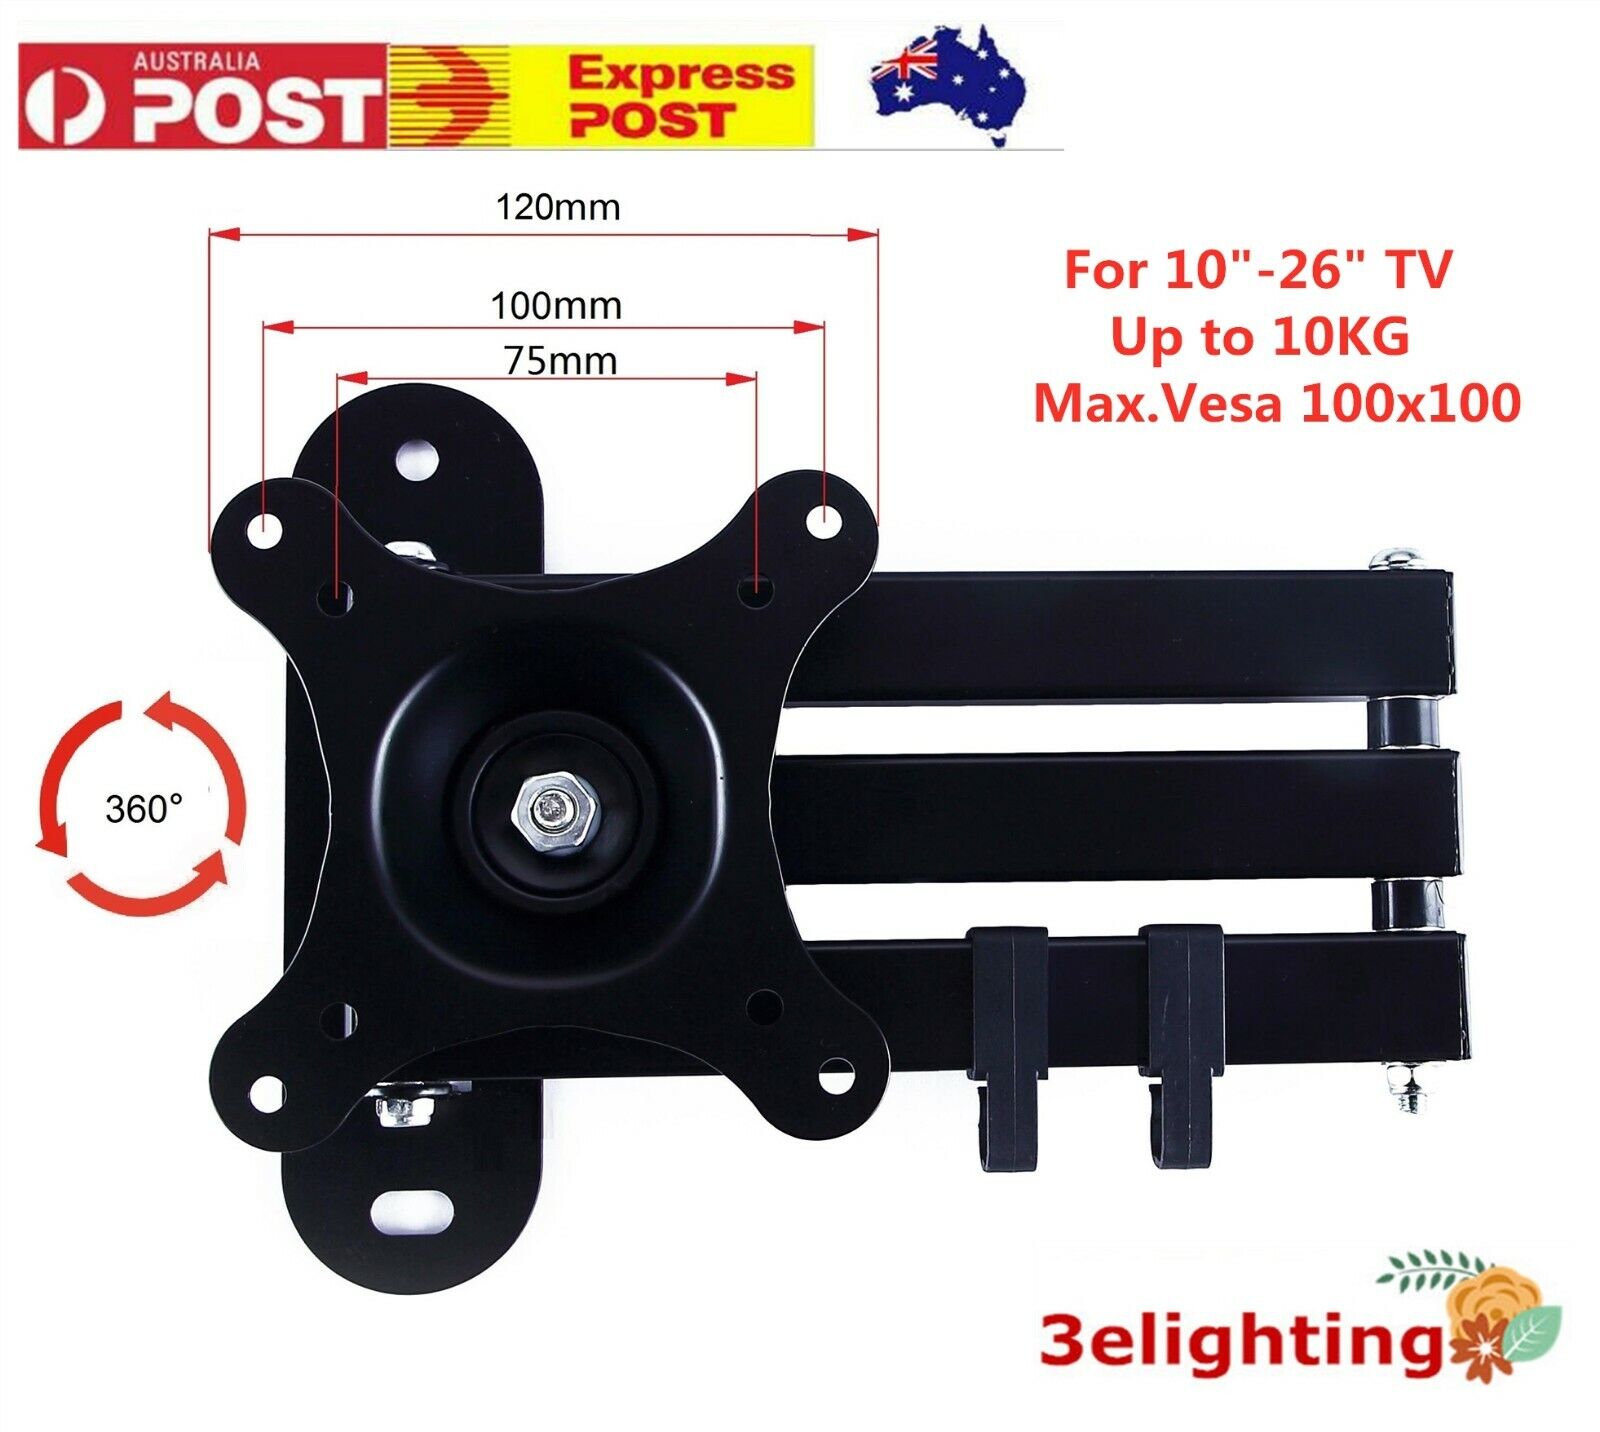
The products I purchase from AliExpress in the video are these:
We used the METCAL PS-900 Soldering Station to solder some jumpers onto a 10K potentiometer which we use to alter the frequency of the astable multivibrator.
We used the UNI-T UTi260B Thermal Imager to inspect the heat profile of the circuit. We see the resistors in the astable multivibrator get warm, along with other components.
We used the Fluke 17B+ Digital Multimeter to continuity test our point to point links, to test various resistances, to check for capacitance (there was none), and to measure the current draw. It was interesting to see the current draw increase with frequency.
The Goo & Adhesive Remover product I recommend is Goo Gone.
The cheap but excellent wire cutters I mention are these. I got a five pack for ten bucks.
Thanks very much for watching! And please remember to hit like and subscribe! :)
Following is a product I use picked at random from my collection which may appear in my videos. Clicking through on this to find and click on the green affiliate links before purchasing from eBay or AliExpress is a great way to support the channel at no cost to you. Thanks!
In this video we demo the ANENG A3005 Pen Type Handheld Multimeter. This pen-type multimeter can do voltage, resistance, continuity, and diode testing, among other functions. It’s a 4000 count device, meaning it can display about three and a half significant digits, for instance values such as 3,999 or 3.999 or 0.001.
Thanks very much for watching! And please remember to hit like and subscribe! :)
Following is a product I use picked at random from my collection which may appear in my videos. Clicking through on this to find and click on the green affiliate links before purchasing from eBay or AliExpress is a great way to support the channel at no cost to you. Thanks!
We use the UNI-T UTi260B Thermal Imager to monitor the heat generated by various components. We learn that the resistors emit a lot of heat.
We use the Fluke 17B+ Digital Multimeter to measure the current drawn by the circuits in both the on and off state. The current was 15mA when the LEDs were on and zero amps when they were off.
We use the Riden RD6006 Bench Power Supply to provide 9V for our circuit. The power supply reported the current draw as 13mA which was slightly less than reported by the multimeter.
Thanks very much for watching! And please remember to hit like and subscribe! :)
Following is a product I use picked at random from my collection which may appear in my videos. Clicking through on this to find and click on the green affiliate links before purchasing from eBay or AliExpress is a great way to support the channel at no cost to you. Thanks!
In this video we do the 13th project from the Maxitronix 20in1 (the Sensor Robot 20): Ferromagnetic Substance Detector.
In this project we use the reed switch to detect magnetic material. We use an astable multivibrator to generate a tone which sounds when magnetic material is detected.
We use the UNI-T UTi260B Thermal Imager to inspect the circuit board during operation and see the transistors for the astable multivibrator dissipating the most heat.
We also use a breakout board to add a volume control to the buzzer and to substitute a LED for the buzzer.
I really enjoyed this project, I think it’s the best one so far!
Thanks very much for watching! And please remember to hit like and subscribe! :)
Following is a product I use picked at random from my collection which may appear in my videos. Clicking through on this to find and click on the green affiliate links before purchasing from eBay or AliExpress is a great way to support the channel at no cost to you. Thanks!
The PS Series (which I got) is the entry level system. You can spend much more than I did!
I found this document Metcal – Tip Temperature Guide which describes the various tip options (Metcal calls the tips “cartridges”) along with their temperature specifications.
Thanks very much for watching! And please remember to hit like and subscribe! :)
Following is a product I use picked at random from my collection which may appear in my videos. Clicking through on this to find and click on the green affiliate links before purchasing from eBay or AliExpress is a great way to support the channel at no cost to you. Thanks!