In this video I have a third go at my Maker Faire “Here There Be Makers” badge. You can see my previous attempts here and here
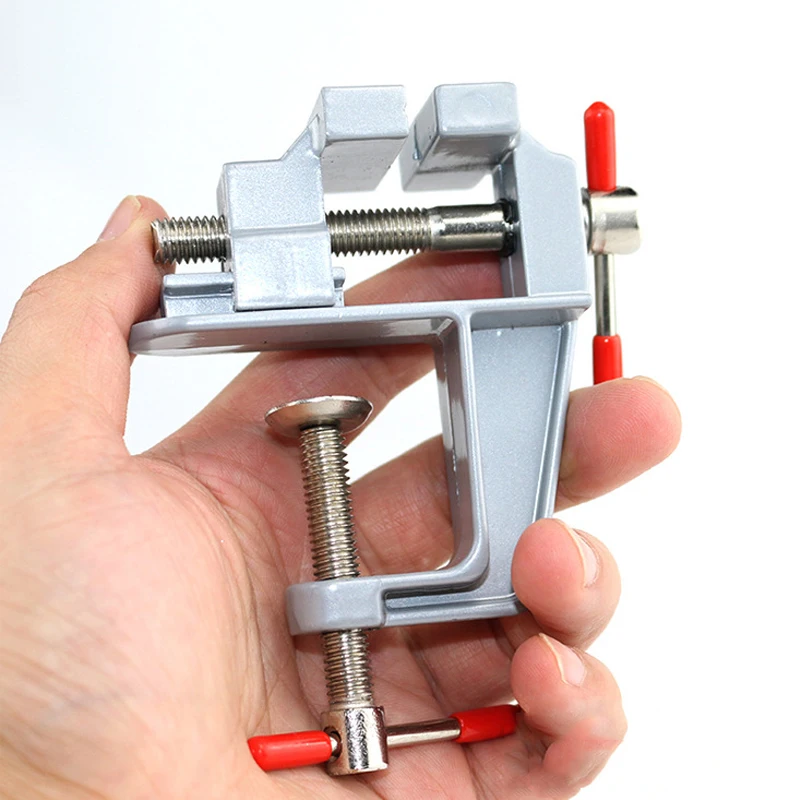
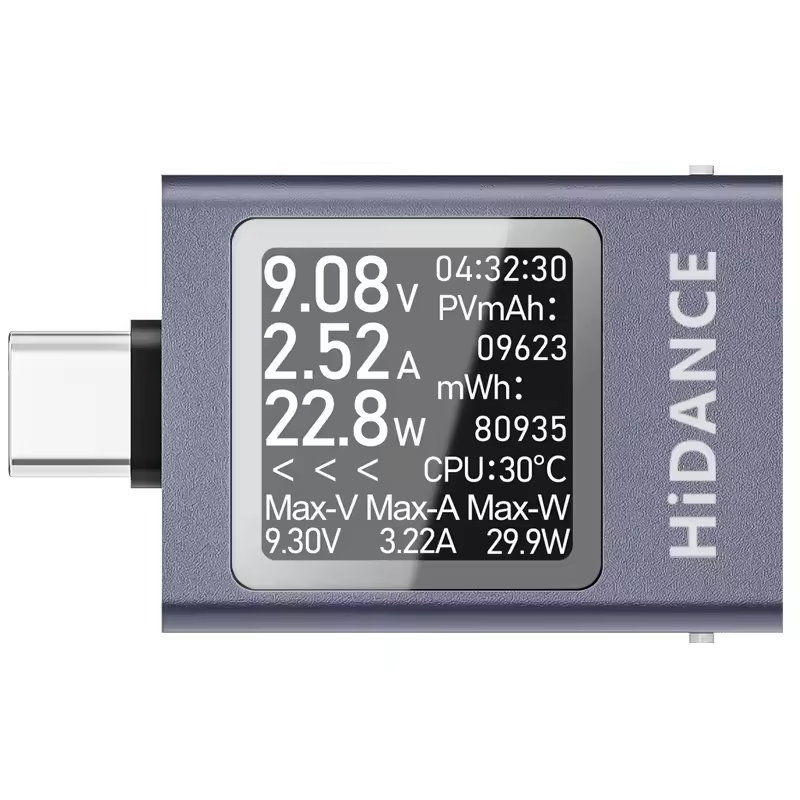
Following is a product I use picked at random from my collection which may appear in my videos. Clicking through on this to find and click on the green affiliate links before purchasing from eBay or AliExpress is a great way to support the channel at no cost to you. Thanks!
In this video I make a power breakout box. This is for use in testing my new multimeter, but it will be good to have for other uses in future too.
Thanks very much for watching! And please remember to hit like and subscribe! :)
Following is a product I use picked at random from my collection which may appear in my videos. Clicking through on this to find and click on the green affiliate links before purchasing from eBay or AliExpress is a great way to support the channel at no cost to you. Thanks!
Previously I had installed a single 3mm LED in the top of this thing, but in this video I remove that (so I can use the hole to hang it) and install two 3mm LEDs on the front instead, which is my best guess as to what I was supposed to do with this thing, which didn’t come with instructions.
There is some information about their Maker Faire event on in San Fransisco later this year over here: https://make.co/welcome/
And also, yes, I should have combed my hair before making this video. :P
Thanks very much for watching! And please remember to hit like and subscribe! :)
Following is a product I use picked at random from my collection which may appear in my videos. Clicking through on this to find and click on the green affiliate links before purchasing from eBay or AliExpress is a great way to support the channel at no cost to you. Thanks!
In this video I fix up one of my Torx T15 drill bits which was damaged by corrosion.
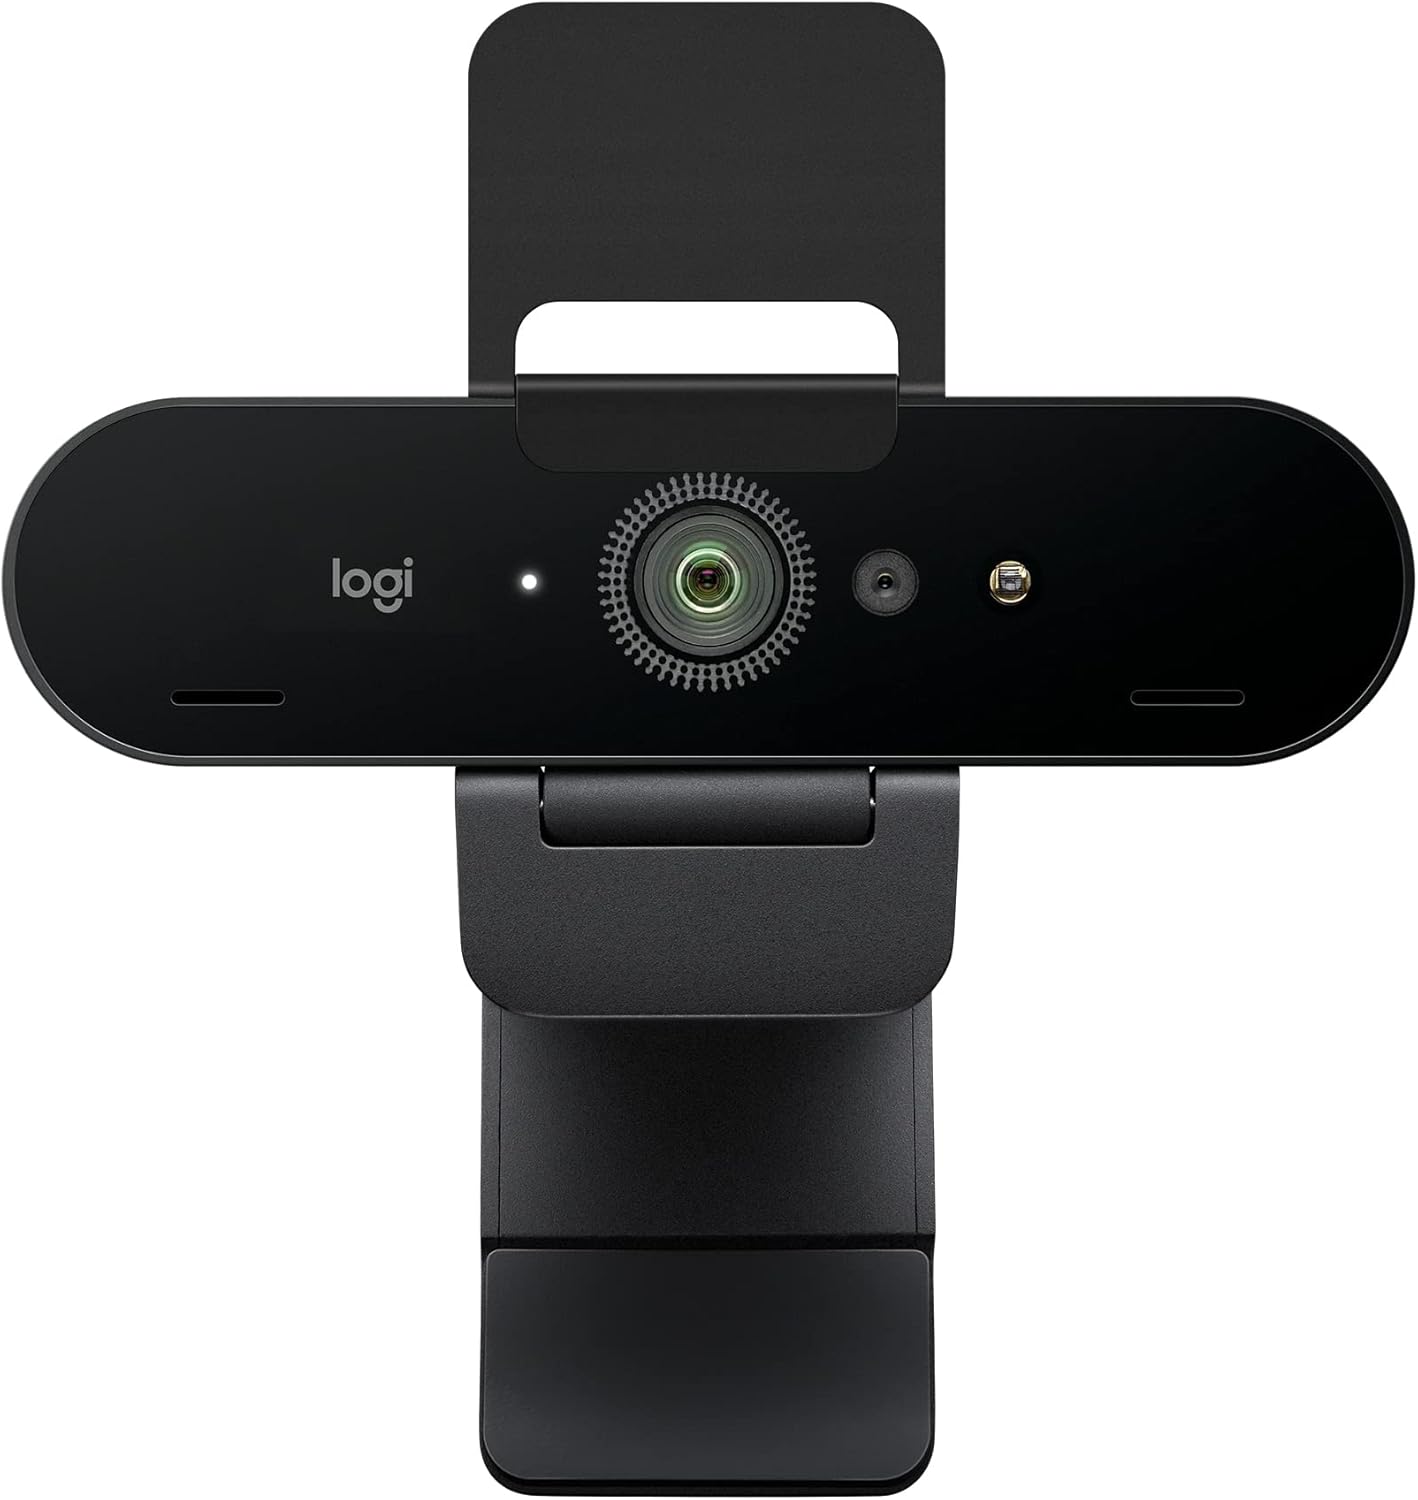
I mention about my broken Logitech C922. I have three of these. They are low resolution (1080p) cameras I use for doing low res video such as with the Welcome Cam, Wide Cam, and Lab Cam. (If you’re interested my good 4K cameras are Logitech BRIO which I use for doing high res video such as with the Bench Cam, Book Cam, and Booth Cam).
The BlueRigger active USB cable I mention is this one: BlueRigger USB 3.0 Extension Cable (32FT, Active, 5 Gbps, in-Wall CL3 Rated, Type A Male to Female Cord). An “active” cable is a powered cable which includes a signal amplifier so the cable can transmit a signal over a long distance, in this case 10 meters (32 feet). I’m not sure if this active cable somehow damaged my Logitech C922? It was working, then it stopped working, but I don’t know why. Maybe dodgy power supply, maybe dodgy cable, maybe dodgy camera, hard to say.
I mention that I’ve been working on the website for the channel. The main website is here: https://www.inthelabwithjayjay.com/ and there is a shortlink redirection service here: https://jjlab.net. You can find all my videos indexed on the site, along with RSS feeds, equipment lists, and other info.
I mention about the upcoming Jaycar / Silicon ChipMini Projects which will be coming up soon. If you’re interested in those don’t forget to subscribe!
Thanks very much for watching! And please remember to hit like and subscribe!
Following is a product I use picked at random from my collection which may appear in my videos. Clicking through on this to find and click on the green affiliate links before purchasing from eBay or AliExpress is a great way to support the channel at no cost to you. Thanks!
In this video I continue to make my first LTspice circuit simulation. I am running this software under Wine on KDE Plasma running on Debian 12 bookworm.
Thanks very much for watching! And please remember to hit like and subscribe!
Following is a product I use picked at random from my collection which may appear in my videos. Clicking through on this to find and click on the green affiliate links before purchasing from eBay or AliExpress is a great way to support the channel at no cost to you. Thanks!
In this video I begin to use LTspice for the first time. I am running this software under Wine on KDE Plasma running on Debian 12 bookworm.
This is part one of two. In the second part I will show you the answers I got from my question over on the EEVblog forum.
My first LTspice circuit is the following circuit from project 9 from the Maxitronix Sensor Robot 20, which I have code named the 20in1.
The wires, power supply, resistors, capacitors, and transistors were easy to model, but the piezo buzzer and the CdS cell were both tricky.
In the end I found the Misc/xtal.asy component to use for the piezo buzzer. I got the various parameters for it from this datasheet (I just picked that component at random, I’m not sure what actual piezo buzzer is used in the Maxitronix kit).
The answer to my question on the EEVblog included hints about how to model the CdS cell.
Armed with my new knowledge I am now prepared to make part two of this interlude, so please stand by for that.
Thanks very much for watching! And please remember to hit like and subscribe!
Following is a product I use picked at random from my collection which may appear in my videos. Clicking through on this to find and click on the green affiliate links before purchasing from eBay or AliExpress is a great way to support the channel at no cost to you. Thanks!