Electronics Project #3: USB Light Dimmer for On Air Light | In The Lab With Jay Jay

This post is part of my video blog and you can find more information about this video on this show’s homepage which is here.

You can support this channel on Patreon: patreon.com/JohnElliotV

Silly Job Title: Spark Slinger

In this video I install a potentiometer for my On Air light so I can adjust its brightness.

I apologize in advance for the camera placement in this video. A lot of the recording misses the action because of the camera angle. I will try to make sure this doesn’t happen in future videos!

Thanks very much for watching! And please remember to hit like and subscribe!


Following is a product I use picked at random from my collection which may appear in my videos. Clicking through on this to find and click on the green affiliate links before purchasing from eBay or AliExpress is a great way to support the channel at no cost to you. Thanks!

Maxitronix Crystal Radio Kit Electronics ProjectThis is an image of the product.notes

Let’s go shopping!

ChatGPT teaches me about Amplitude Modulation

I wanted to record this conversation in which ChatGPT managed to convey to me an understanding of how an AM radio wave is demodulated.

User:

in a crystal radio why have a diode and not just send the full signal to the output?

ChatGPT:

In a crystal radio, the diode plays a crucial role by acting as a detector for the radio signal. Here’s why it’s necessary instead of just sending the full signal to the output:

  1. Demodulation of the Signal: A typical radio signal is a form of amplitude-modulated (AM) wave, where the information (voice, music, etc.) is carried in the amplitude variations of a high-frequency carrier wave. The diode in a crystal radio serves to demodulate this signal. It does so by allowing current to flow in only one direction, effectively removing one half of the alternating current (AC) waveform. This rectifies the signal, leaving behind a waveform that varies in amplitude in a way that directly represents the original audio content.
  2. Detection: The process described above is also known as detection. The diode detects the audio-modulated envelope of the AM radio signal. Without the diode, the radio would be incapable of converting the high-frequency modulated signal back into audio frequencies that can be heard through the earpiece or speaker.
  3. Simplicity and Efficiency: Crystal radios are prized for their simplicity and ability to operate without an external power source. The diode, being a passive component, does not require power to operate. It efficiently performs the detection of the signal without the need for active components or power supplies.
  4. Directivity: The diode’s unidirectional current flow property also helps in filtering out noise and improving the selectivity of the receiver to some extent, though crystal radios are generally known for having broad selectivity due to the lack of an amplification stage.

The most common type of diode used in crystal radios is a germanium diode. Germanium diodes have a lower forward voltage drop compared to silicon diodes, which makes them more suitable for the weak signals typically received by crystal radios. This allows for more efficient demodulation of the signal with minimal loss, making it possible to hear the broadcast with just the energy captured from the radio waves themselves.

User:

if the diode wasn’t there you would hear the carrier frequency?

ChatGPT:

If the diode wasn’t present in a crystal radio, you would not be able to hear the carrier frequency directly, but rather, you wouldn’t hear anything intelligible through the earpiece at all. Here’s why:

  1. Frequency of Carrier Waves: The carrier frequencies used in AM radio broadcasting are typically in the range of hundreds of kilohertz to several megahertz. Human hearing, however, is limited to frequencies approximately between 20 Hz and 20 kHz. The carrier frequency itself is far beyond what the human ear can perceive.
  2. Nature of the Signal: Without the diode to demodulate the signal, the radio would attempt to pass both the carrier frequency and the audio information as a combined signal. Since the earpiece or speaker in a crystal radio is designed to reproduce audio frequencies (the modulated information), it cannot reproduce the high-frequency carrier wave itself.
  3. Role of Demodulation: The process of demodulation (achieved by the diode) strips away the carrier, leaving behind the audio frequency variations that were impressed upon the carrier wave. These variations are within the human audible range and are what you actually hear as sound from the radio. Without the diode, the modulation on the carrier wave would not be converted into an audio signal.
  4. Energy Conversion: Even if somehow the carrier frequency could be directly converted to sound, the energy of the received signal in a crystal radio is typically too low to move the speaker diaphragm enough to produce an audible sound without the signal being demodulated and amplified in some way. The diode, by rectifying the signal, effectively extracts the modulated audio signal, which can then cause the diaphragm in the earpiece to vibrate and produce sound.

In summary, without the diode to demodulate the signal, the crystal radio would fail to convert the high-frequency AM radio signal into an audio signal that can be heard. The diode is essential for extracting the audio content from the modulated carrier frequency, enabling the crystal radio to produce sound.

Introducing Maxitronix 20in1 | Maxitronix 20in1 | Learning Electronics In The Lab With Jay Jay

This post is part of my video blog and you can find more information about this video on this show’s homepage which is here.

You can support this channel on Patreon: patreon.com/JohnElliotV

In this video we introduce the Maxitronix Sensor Robot 20, known to us as the Maxitronix 20in1.

You can see the introductory manual pages below, or there is a more readable version here.


Thanks very much for watching! And please remember to hit like and subscribe!


Following is a product I use picked at random from my collection which may appear in my videos. Clicking through on this to find and click on the green affiliate links before purchasing from eBay or AliExpress is a great way to support the channel at no cost to you. Thanks!

Maxitronix 60 In 1 (60in1) Electronics Project Lab KitThis is an image of the product.notes

Let’s go shopping!

Concluding Maxitronix 10in1 | Maxitronix 10in1 | Learning Electronics In The Lab With Jay Jay

This post is part of my video blog and you can find more information about this video on this show’s homepage which is here.

You can support this channel on Patreon: patreon.com/JohnElliotV

In this video we conclude the Maxitronix 10in1 Electronic Project Lab.

Thanks very much for watching! And please remember to hit like and subscribe!


Following is a product I use picked at random from my collection which may appear in my videos. Clicking through on this to find and click on the green affiliate links before purchasing from eBay or AliExpress is a great way to support the channel at no cost to you. Thanks!

Sudake SDK07 Test ClipsThis is an image of the product.notes

Let’s go shopping!

Burglar Alarm | Project 10/10 | Maxitronix 10in1 | Learning Electronics In The Lab With Jay Jay

This post is part of my video blog and you can find more information about this video on this show’s homepage which is here.

You can support this channel on Patreon: patreon.com/JohnElliotV

In this video I do the tenth Maxitronix 10in1 Electronic Project Lab project: Burglar Alarm.

Thanks very much for watching! And please remember to hit like and subscribe!


Following is a product I use picked at random from my collection which may appear in my videos. Clicking through on this to find and click on the green affiliate links before purchasing from eBay or AliExpress is a great way to support the channel at no cost to you. Thanks!

Yum Cha 365nm UV LampThis is an image of the product.notes

Let’s go shopping!

Audio Frequency Oscillator | Project 9/10 | Maxitronix 10in1 | In The Lab With Jay Jay

This post is part of my video blog and you can find more information about this video on this show’s homepage which is here.

You can support this channel on Patreon: patreon.com/JohnElliotV

In this video I do the ninth Maxitronix 10in1 Electronic Project Lab project: Audio Frequency Oscillator.

Thanks very much for watching! And please remember to hit like and subscribe!


Following is a product I use picked at random from my collection which may appear in my videos. Clicking through on this to find and click on the green affiliate links before purchasing from eBay or AliExpress is a great way to support the channel at no cost to you. Thanks!

Yum Cha 52 in 1 Tiger WrenchThis is an image of the product.notes

Let’s go shopping!

Patrol Car Siren | Project 8/10 | Maxitronix 10in1 | Learning Electronics In The Lab With Jay Jay

This post is part of my video blog and you can find more information about this video on this show’s homepage which is here.

You can support this channel on Patreon: patreon.com/JohnElliotV

In this video I do the eighth Maxitronix 10in1 Electronic Project Lab project: Patrol Car Siren.

Thanks very much for watching! And please remember to hit like and subscribe!


Following is a product I use picked at random from my collection which may appear in my videos. Clicking through on this to find and click on the green affiliate links before purchasing from eBay or AliExpress is a great way to support the channel at no cost to you. Thanks!

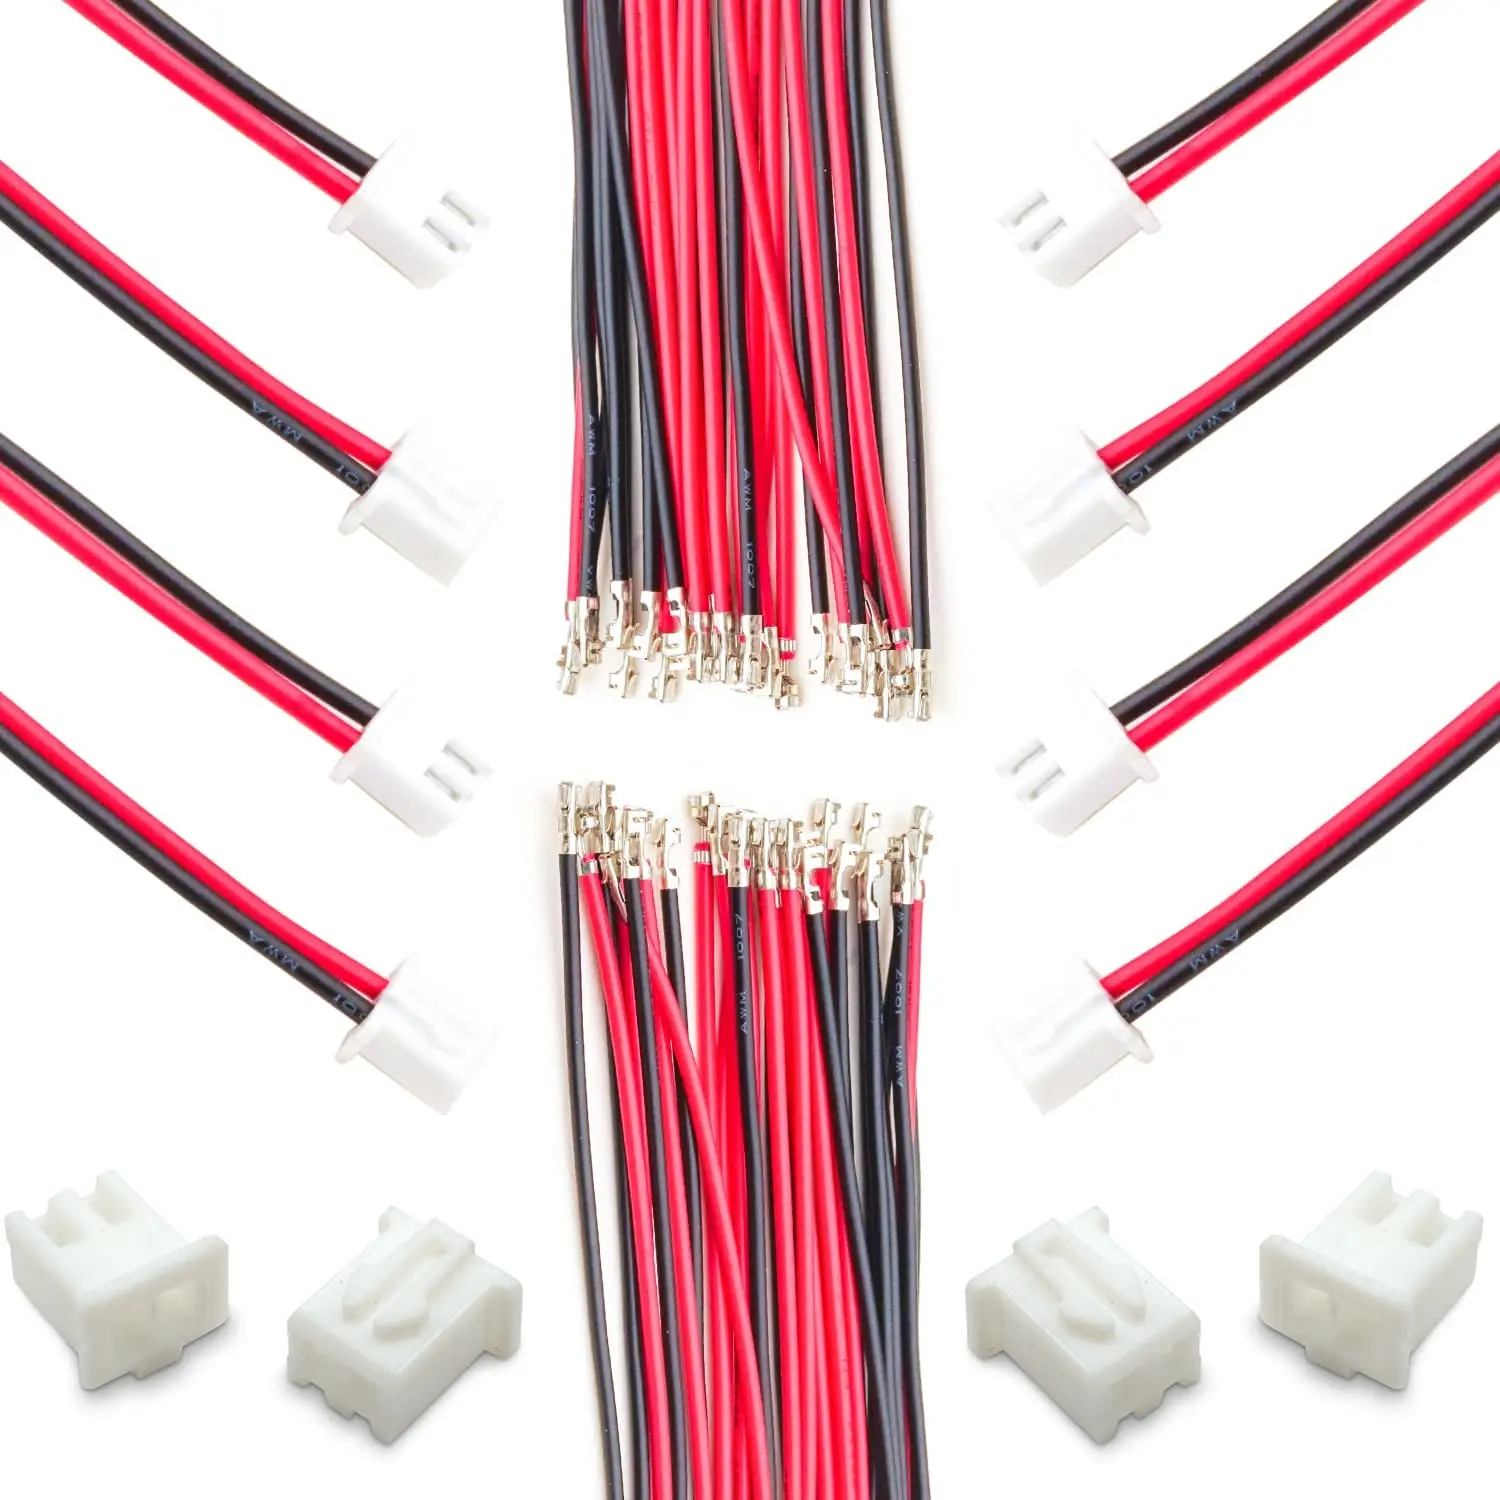
JST XH2.54 Connector KitThis is an image of the product.

Let’s go shopping!

Wireless Continuous Wave Transmitter | Project 7/10 | Maxitronix 10in1 | In The Lab With Jay Jay

This post is part of my video blog and you can find more information about this video on this show’s homepage which is here.

You can support this channel on Patreon: patreon.com/JohnElliotV

In this video I do the seventh Maxitronix 10in1 Electronic Project Lab project: Wireless Continuous Wave Transmitter.

While conducting this experiment I made some notes over here: Maxitronix/10in1/7.

I made a bunch of mistakes while building and testing this circuit, and a lot of the footage I took didn’t make it into the final video. In particular in between the construction part of the video at the beginning, and the testing part of the video at the end, I added a ceramic capacitor at the base of the transistor; I hadn’t understood the instructions to install this capacitor as it wasn’t wired in using spring terminals like all the other components.

Thanks very much for watching! And please remember to hit like and subscribe!


Following is a product I use picked at random from my collection which may appear in my videos. Clicking through on this to find and click on the green affiliate links before purchasing from eBay or AliExpress is a great way to support the channel at no cost to you. Thanks!

NOYAFA NF-521 Thermal ImagerThis is an image of the product.notes

Let’s go shopping!