
This post is part of my video blog and you can find more information about this video over here.
You can support this channel on Patreon: patreon.com/JohnElliotV
Silly Job Title: Wattage Warlock.
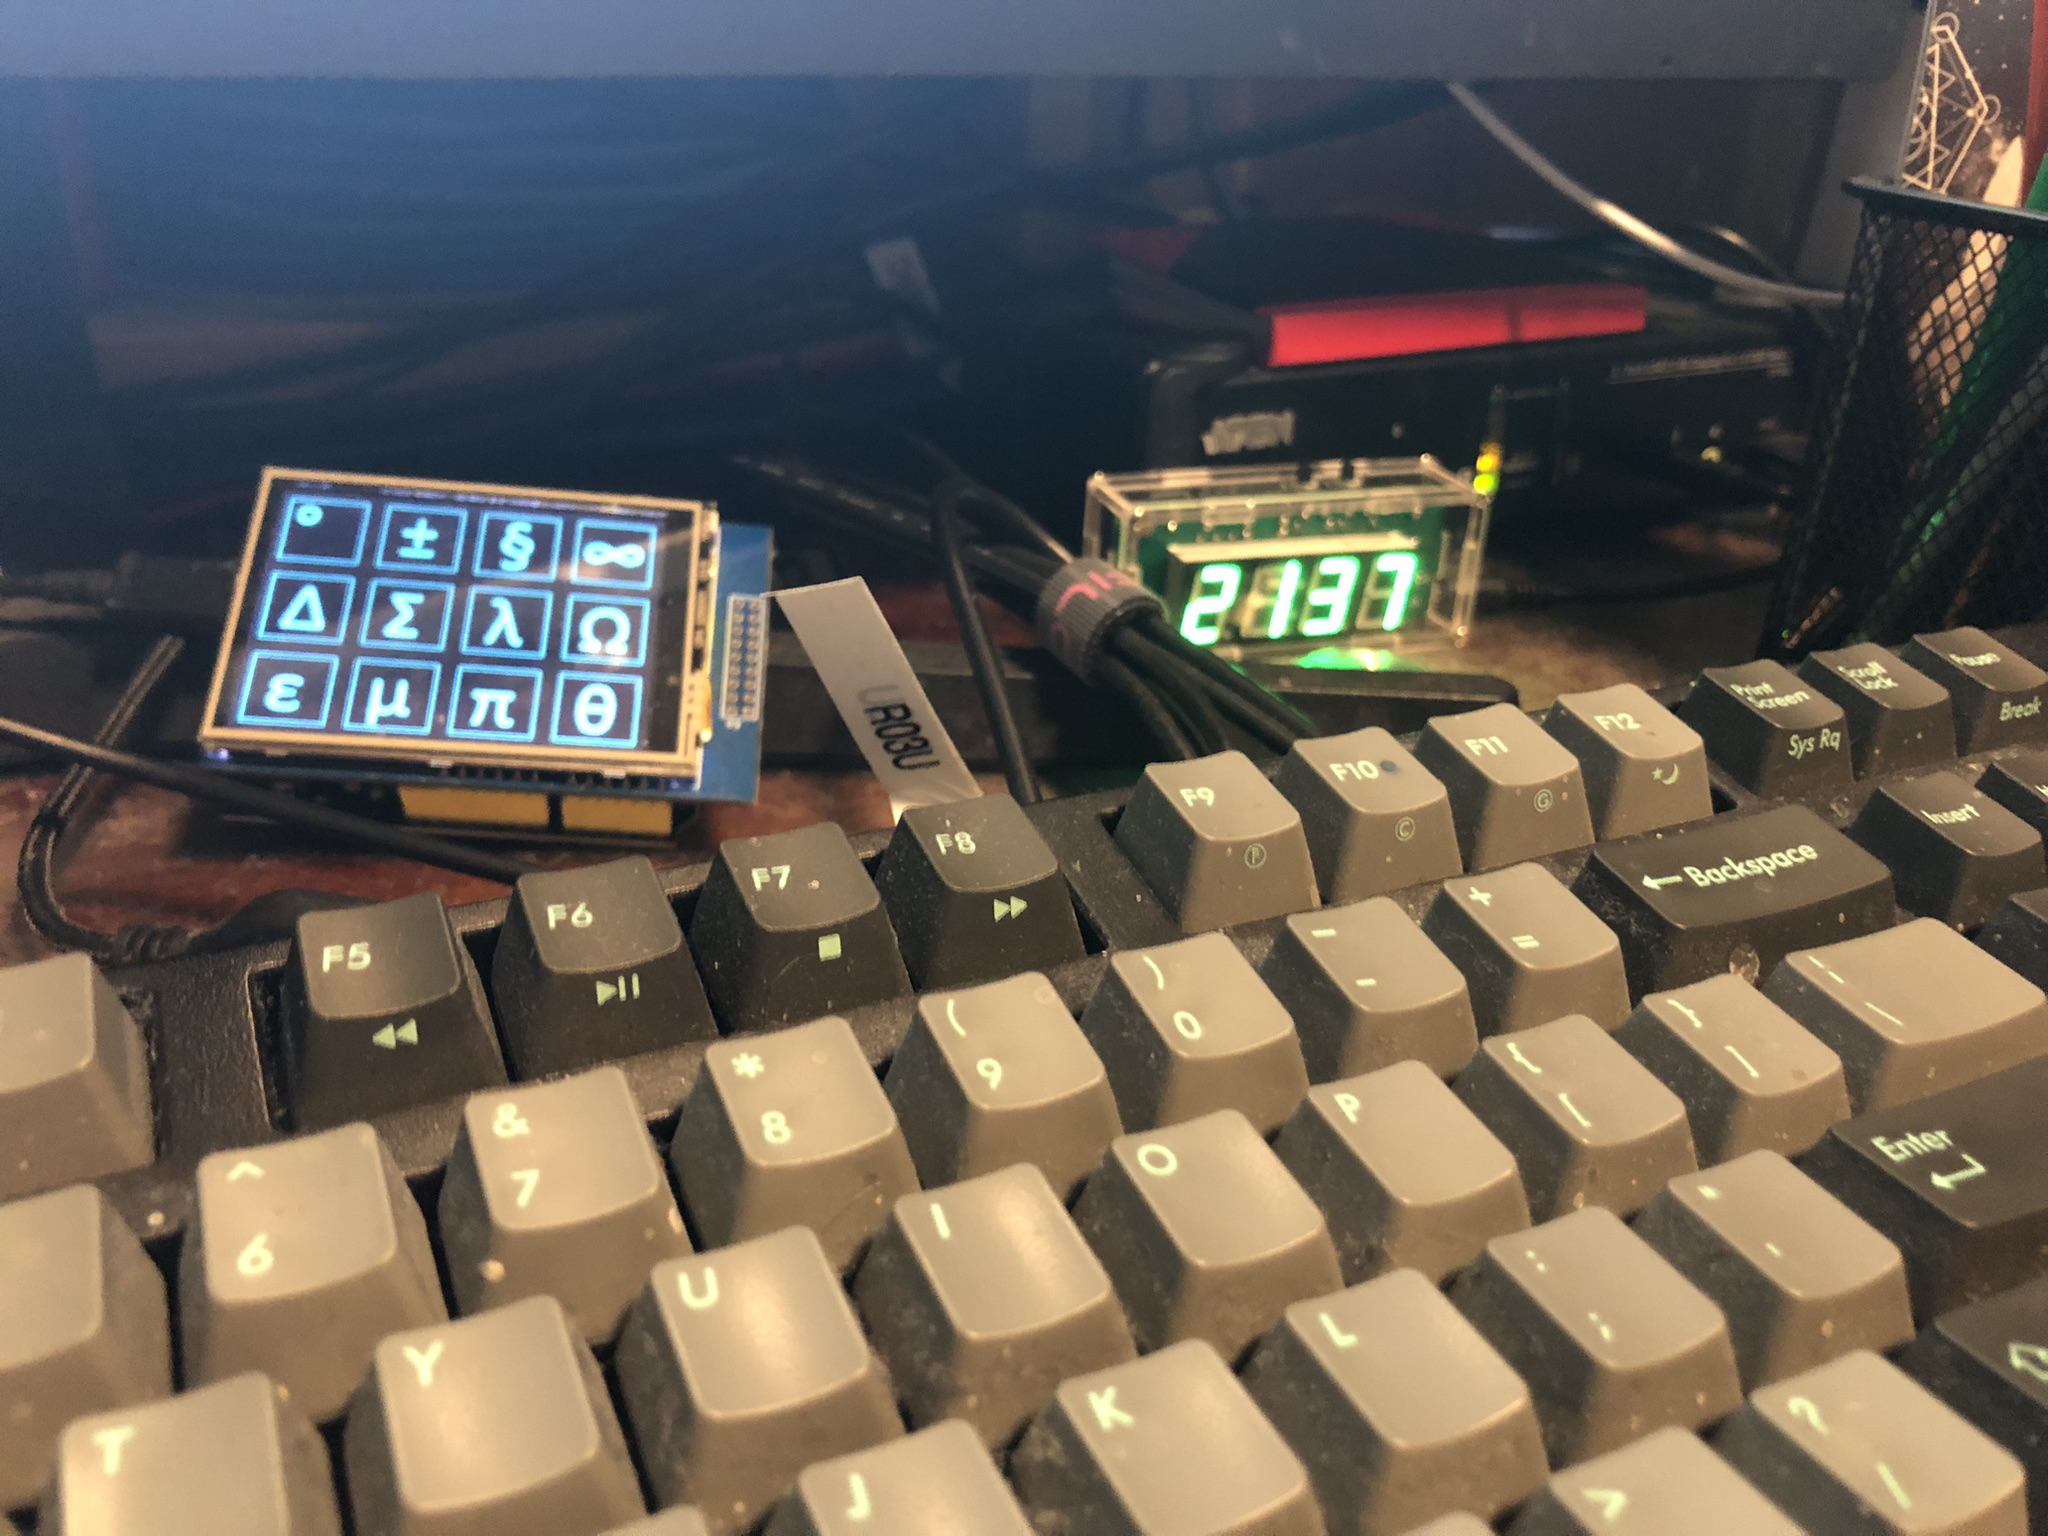
In this video we build the TJ-56-428 4-Digit Digital Clock just like we did last time.
You read that right. We made one of these before and I liked it so much that we are making one again! I get better at it this time round, I don’t make any of the mistakes I did last time.
In the introduction to this video I mention about my new Blu-ray player which I got so I could watch Colossus: The Forbin Project. Both my Blu-ray disc and my Blu-ray player are for Region B.
As I mention I have been writing for Hackaday! So that’s been keeping me busy.
The instructions for this clock are over here: TJ-56-428 4-Digit Digital DIY Clock (same as last time).
I mention about the new Learning the Art of Electronics project which we’re just about to get started with.
The microcontroller in this clock is the STC15W404AS. It comes in the kit pre-programmed and I’ve not been able to find the software anywhere. Bummer. If you know where to get the software please do let me know!
The temperature controlled resistor is a 10K NTC thermistor which seems to be used for the room temperature function (which I don’t use and didn’t calibrate).
The crystal oscillator is spec’ed as 32768 which is obviously a reference to the clock frequency. See Why do we use 32.768 kHz crystals in most circuits? We check the impedance of this device in the video using the Peak Atlas LCR45.
In the video I mention my mate Joe who helped me out last time I did this project. Thanks Joe!
We use the METCAL PS-900 Soldering Station to do our soldering.
We use the Fluke 17B+ Digital Multimeter to test the voltage on our USB power adapters.
We use the EEVblog BM2257 Digital Multimeter to check our resistors.
We use the Peak Electronic Design Atlas DCA75 Pro Semiconductor Analyzer to test the crystal (we don’t get a reading, which was expected).
We use the Peak Electronic Design Atlas LCR45 LCR Meter to test our crystal. It gives us an impedance reading at 200kHz with both real and imaginary components.
We use the Hakko CHP 3C-SA Precision Tweezers to hold our solder and poke about. At one point I drop a component lead offcut into the board and it shorted two resistors, so lucky I found it and pulled it out!
And that’s everything to know about this project!
Here’s a photo of the completed project installed next to the symbol keyboard on my desk:
Thanks very much for watching! And please remember to hit like and subscribe! :)
Following is a product I use picked at random from my collection which may appear in my videos. Clicking through on this to find and click on the green affiliate links before purchasing from eBay or AliExpress is a great way to support the channel at no cost to you. Thanks!
Yum Cha DT830B Digital Multimeter notes notes |
Let’s go shopping!