I have a new post on Hackaday: A Deep Dive Into Using PIO And DMA On The RP2350.
Category Archives: Design
Learning the Art of Electronics: 1L.3 Voltage divider | Learning Electronics In The Lab With Jay Jay
This post is part of my video blog and you can find more information about this video.
You can support this channel on Patreon: patreon.com/JohnElliotV
Silly Job Title: Note Taker. I am the Note Taker!
In this video we continue to work our way through Learning the Art of Electronics. In this video we continue with 1L Lab: DC Circuits and make a voltage divider.
We use the METCAL PS-900 Soldering Station for soldering.
We use the Riden RD6006 Bench Power Supply for 15V power.
We use the Fluke 17B+ Digital Multimeter to measure voltage and resistance.
We use the EEVblog BM2257 Digital Multimeter to measure voltage and current.
We use the Brother P-Touch D210 Label Maker to label our circuit.
We use the ElectroCookie PCB Prototype Solderable Breadboard to make our circuit on.
We use the Multicomp Pro MP701033 Resistor Decade Box for variable resistance.
We use the WilliamKlein Music Stand to hold our textbook.
We use the Scotch Titanium Scissors to cut, cut, cut.
We use the Carpenter Mechanical Pencil to make notes.
We use the Hakko CHP 3C-SA Precision Tweezers for tweezering.
We use the Plato Model 170 Wire Cutter to cut, cut, cut.
We use the Kaisi S-160 45x30cm Repair Mat as our workspace.
Thanks very much for watching! And please remember to hit like and subscribe! :)
Following is a product I use picked at random from my collection which may appear in my videos. Clicking through on this to find and click on the green affiliate links before purchasing from eBay or AliExpress is a great way to support the channel at no cost to you. Thanks!
MECHANIC Hard Brush |
Let’s go shopping!
Making Actually Useful Schematics In KiCad
I have a new post on Hackaday: Making Actually Useful Schematics In KiCad.
Learning the Art of Electronics: 1L.2.4.1 Measure Your DVM’s current output in diode test mode | In The Lab
This post is part of my video blog and you can find more information about this video.
You can support this channel on Patreon: patreon.com/JohnElliotV
Silly Job Title: Wattage Warlock. I am the Wattage Warlock!
In this video we continue to work our way through Learning the Art of Electronics. In this video we continue with 1L Lab: DC Circuits and measure our DVM’s current output in diode test mode.
We use the Fluke 17B+ Digital Multimeter for voltage and current measurements.
We use the EEVblog BM2257 Digital Multimeter for voltage and current measurements.
We use the Carpenter Mechanical Pencil to take notes.
We use the Kaisi S-160 45x30cm Repair Mat as our workspace.
Thanks very much for watching! And please remember to hit like and subscribe! :)
Following is a product I use picked at random from my collection which may appear in my videos. Clicking through on this to find and click on the green affiliate links before purchasing from eBay or AliExpress is a great way to support the channel at no cost to you. Thanks!
Yum Cha 9 in 1 Air Quality Meter |
Let’s go shopping!
Exploring The Performance Gains Of Four-Pin MOSFETs
I have a new post on Hackaday: Exploring The Performance Gains Of Four-Pin MOSFETs.
Module Monday #7: HW-028 Rain Drops Sensor Module | Learning Electronics In The Lab With Jay Jay
This post is part of my video blog and you can find more information about this video.
You can support this channel on Patreon: patreon.com/JohnElliotV
Silly Job Title: Bench Master. I am the Bench Master!
In this video we take a look at the HW-028 Rain Drops sensor module: Separate PCB Board Raindrop Module Sensor Rising Water Level Detection Module Raindrop Sensor Board. Project doco is here: HW-028.
We found some instructions and tutorials, including these:
- Arduino – Rain Sensor – Servo Motor
- Arduino Modules – Rain Sensor
- Rain drop Sensor Module
- How to use the Raindrop Sensor Module
Also we noted the use of the LM393 comparator on the module.
Thanks very much for watching! And please remember to hit like and subscribe! :)
Following is a product I use picked at random from my collection which may appear in my videos. Clicking through on this to find and click on the green affiliate links before purchasing from eBay or AliExpress is a great way to support the channel at no cost to you. Thanks!
Galacok 12 Pcs Magnetic Phillips Screwdriver Set |
Let’s go shopping!
Making A Machine To Sort One Million Pounds Of LEGO
I have a new post on Hackaday: Making A Machine To Sort One Million Pounds Of LEGO.
Old Book Teardown #18: Encyclopedia of Electronic Circuits Volume 5 (1994) | In The Lab
This post is part of my video blog and you can find more information about this video.
You can support this channel on Patreon: patreon.com/JohnElliotV
Silly Job Title: Switch Switcher. I am the Switch Switcher!
In this video we take a look inside Encyclopedia of Electronic Circuits Volume 5 by Rudolf F. Graf and William Sheets.
Some circuits of interest included:
| Page | Circuit |
|---|---|
| 150 | Bug Detector |
| 224 | IR Pulse Audio |
| 256 | Simple Lie Detector |
| 257 | Chapter 49: Light Comms |
| 326 | Voice Disguiser |
| 373 | Chapter 61: Moisture and Fluid Detectors |
| 554 | Speech Scrambler |
| 556 | Chapter 93: Sound Effects |
Thanks very much for watching! And please remember to hit like and subscribe! :)
Following is a product I use picked at random from my collection which may appear in my videos. Clicking through on this to find and click on the green affiliate links before purchasing from eBay or AliExpress is a great way to support the channel at no cost to you. Thanks!
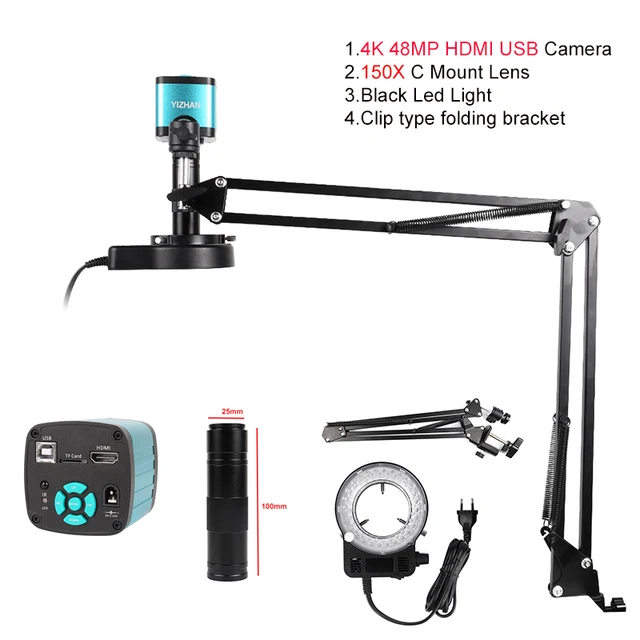
Yizhan Digital Microscope notes notes |
Let’s go shopping!
Learning the Art of Electronics: 1L.2.3.1 An experiment: Try your DVM’s resistance measurement | In The Lab
This post is part of my video blog and you can find more information about this video.
You can support this channel on Patreon: patreon.com/JohnElliotV
Silly Job Title: Surge Sage. I am the Surge Sage!
In this video we continue to work our way through Learning the Art of Electronics. In this video we continue with 1L Lab: DC Circuits and do an experiment: try your DVM’s resistance measurement.
Today we do some experiments to determine the voltage used by our DVM when it is in resistance-measuring mode.
We use the Fluke 17B+ Digital Multimeter to measure resistance and voltage.
We use the EEVblog BM2257 Digital Multimeter to measure resistance and voltage.
We use the Multicomp Pro MP701033 Resistor Decade Box as our variable resistor.
We use the Carpenter Mechanical Pencil to take notes.
We use the Kaisi S-160 45x30cm Repair Mat as our workspace.
Thanks very much for watching! And please remember to hit like and subscribe! :)
Following is a product I use picked at random from my collection which may appear in my videos. Clicking through on this to find and click on the green affiliate links before purchasing from eBay or AliExpress is a great way to support the channel at no cost to you. Thanks!
Yum Cha Magnetic Claw Pickup Tool notes notes |
Let’s go shopping!
Module Monday #6: GY-521 MPU-6050 Gyroscope/Accelerometer Sensor Module | In The Lab With Jay Jay
This post is part of my video blog and you can find more information about this video.
You can support this channel on Patreon: patreon.com/JohnElliotV
Silly Job Title: Electricity Guardian. I am the Electricity Guardian!
Today is Module Monday.
In this video we take a look at the 10/1pcs GY-521 MPU-6050 MPU6050 Module 3 Axis analog gyro sensors+ 3 Axis Accelerometer Module MPU6500 6Axis GY-6500.
The code for this Arduino sketch is here: 2025-11-10-GY-521-MPU-6050-Gyro.ino.
Thanks very much for watching! And please remember to hit like and subscribe! :)
Following is a product I use picked at random from my collection which may appear in my videos. Clicking through on this to find and click on the green affiliate links before purchasing from eBay or AliExpress is a great way to support the channel at no cost to you. Thanks!
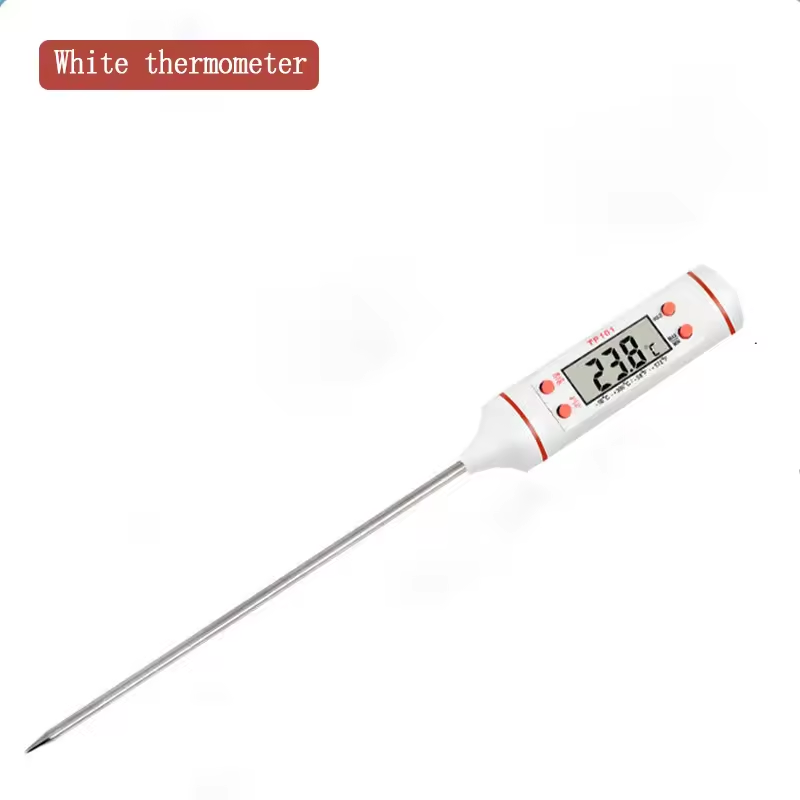
Yum Cha Baking Digital Thermometer |
Let’s go shopping!
