This post is part of my video blog and you can find more information about this video.
You can support this channel on Patreon: patreon.com/JohnElliotV
Silly Job Title: Circuit Sorcerer. I am the Circuit Sorcerer!
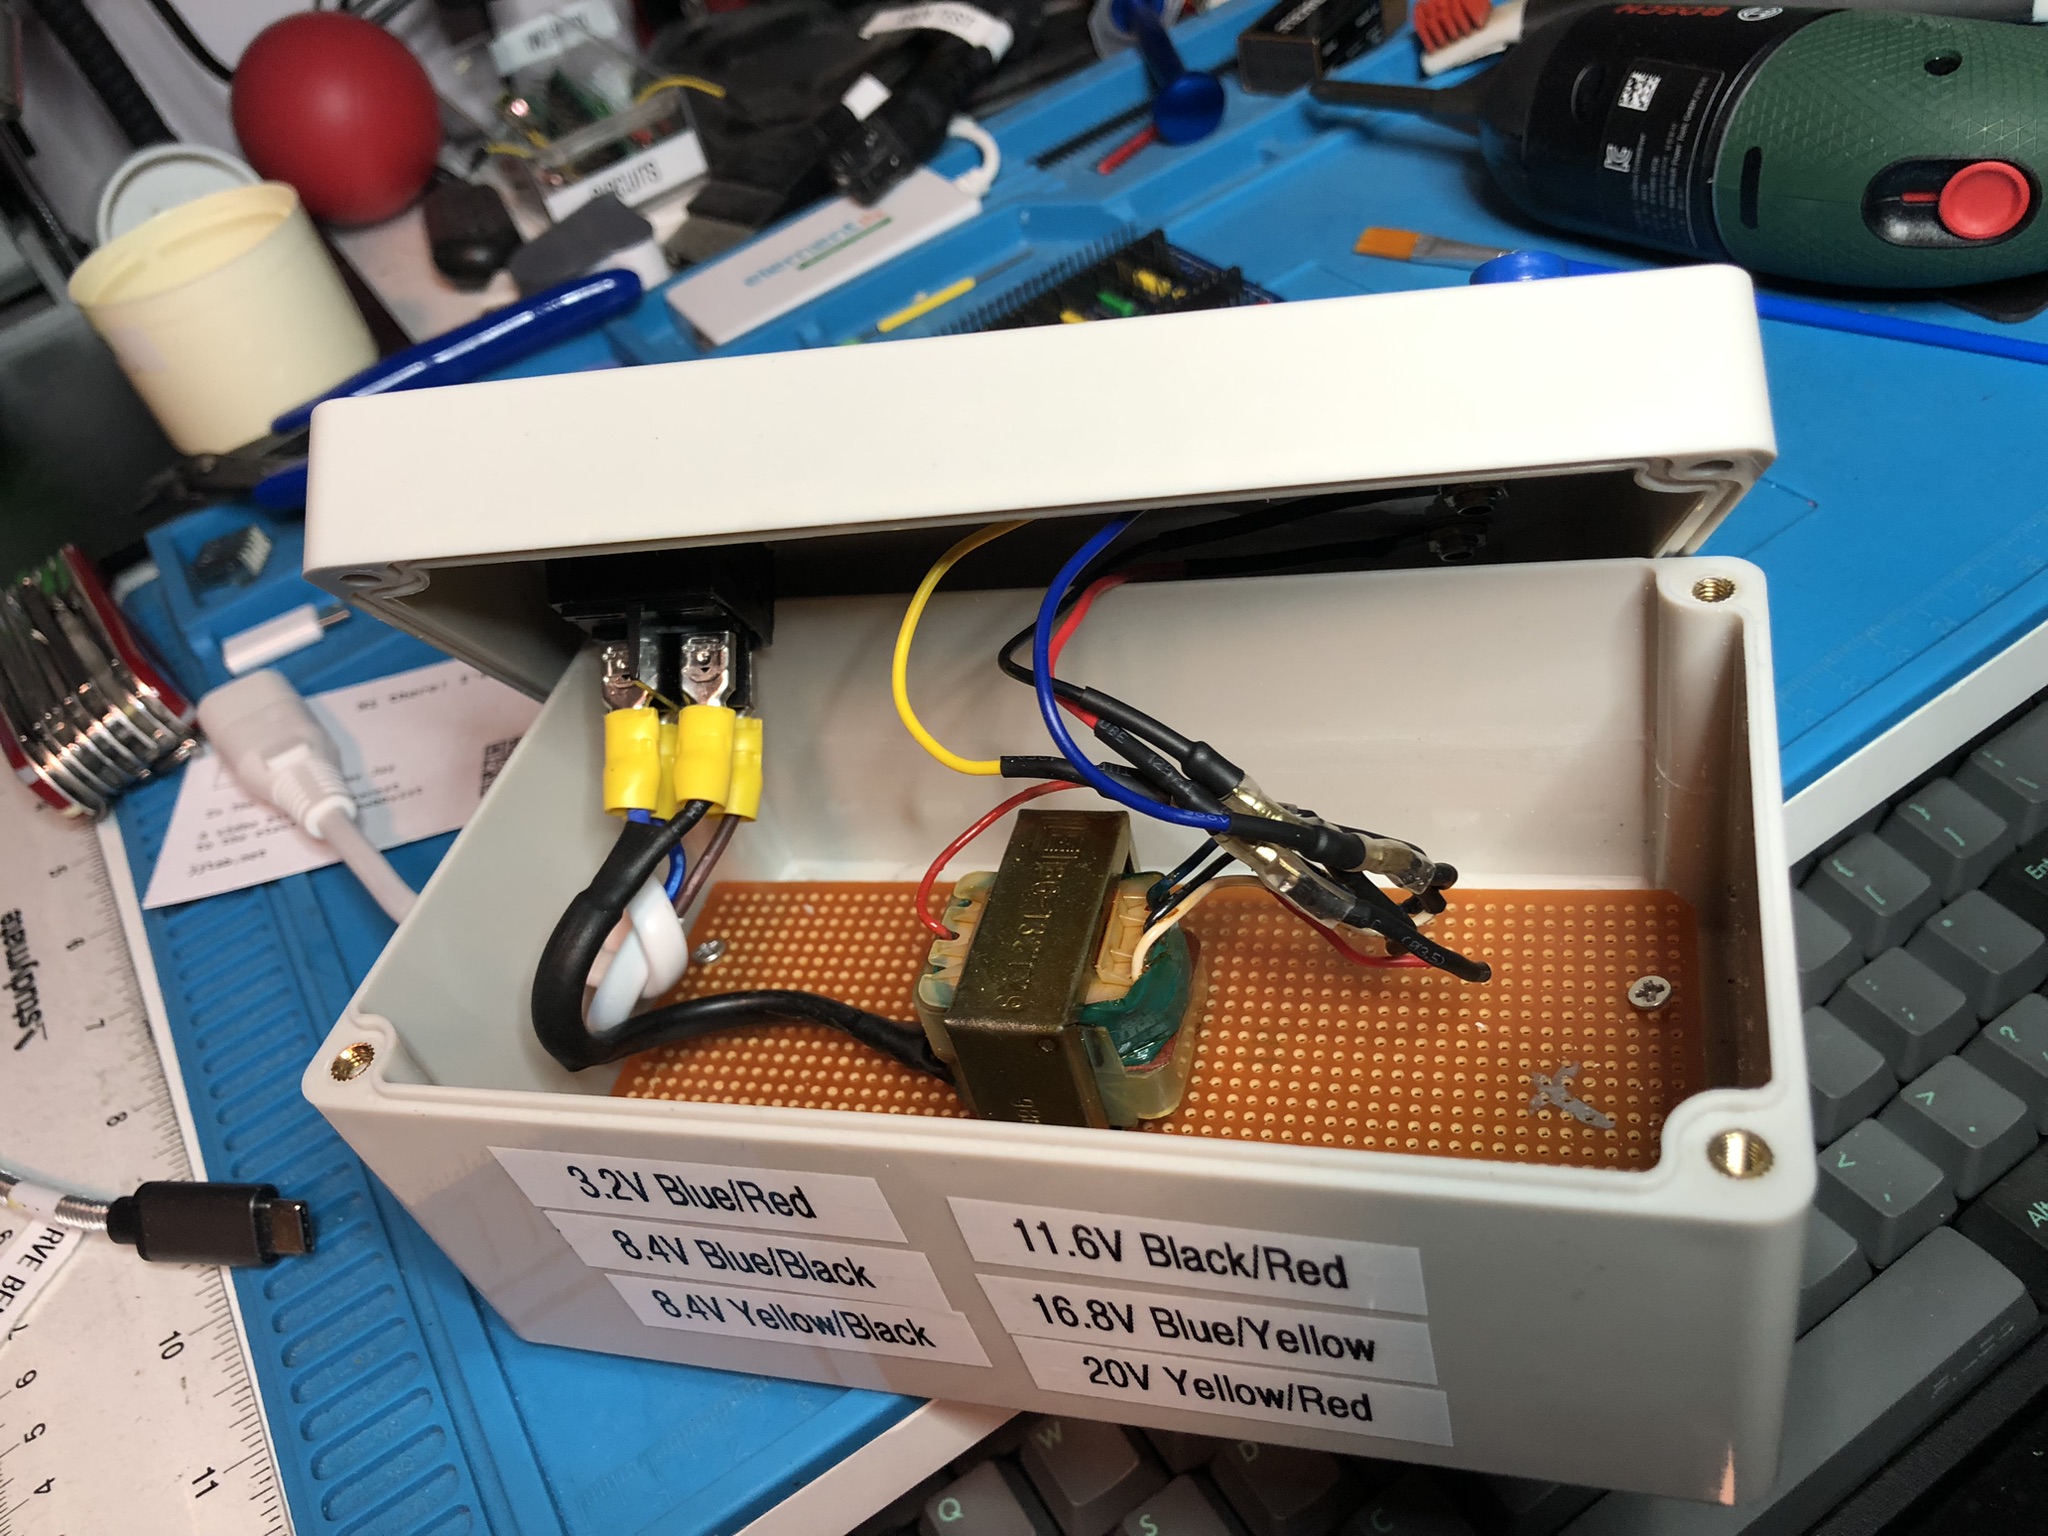
In this video we make a cable for connecting the TENMA power supply in the booth to a power outlet on the bench. We use 4mm banana plugs for the TENMA connection and output to a female DC barrel jack on the bench. The wire is scrap speaker wire I had hanging on my pegboard, it was plenty long enough. In fact I had to coil up the wire and zip tie it under the bench. Hopefully the coil doesn’t induce any currents!
We use the METCAL PS-900 Soldering Station for soldering.
We use the Horusdy Soldering Station with Hot Air Gun to shrink our heat shrink.
We use the MUIN Solder Fume Extractor for fume extraction.
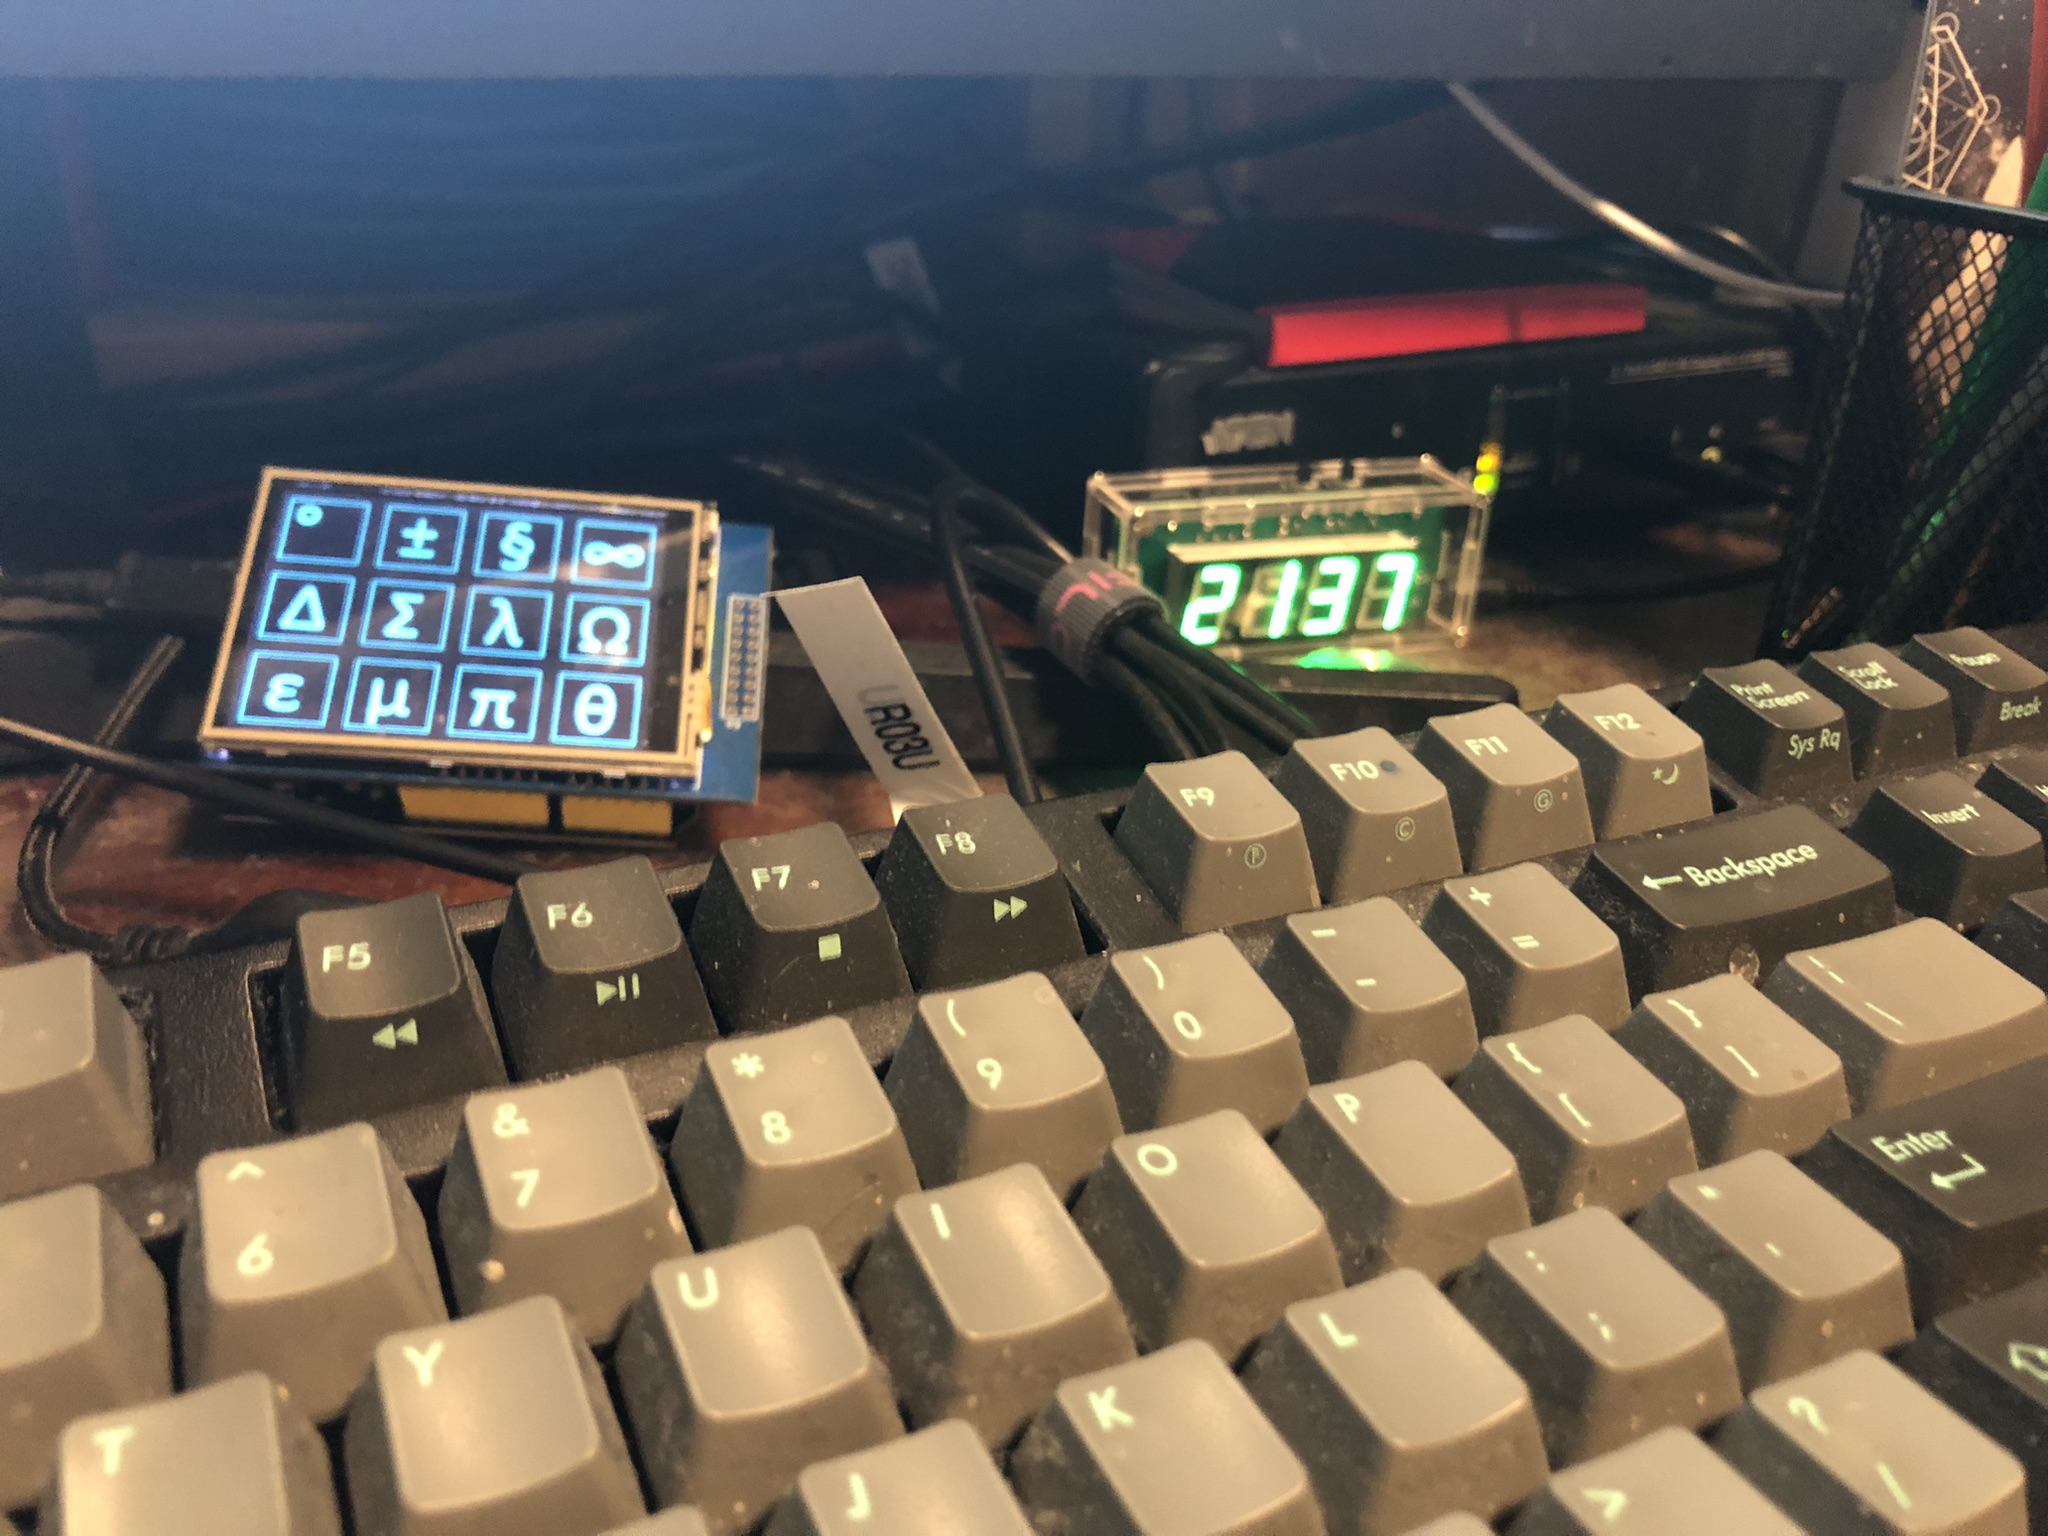
We use the Tenma 72-10505 Bench Power Supply to deliver power for testing.
We use the EEVblog BM2257 Digital Multimeter to test the cable with a voltage test.
We use the Brother P-Touch D210 Label Maker to label our new power cable.
We use the Bysameyee Head-Mounted Magnifier for illumination while under the bench installing the cable.
We use the Scotch Titanium Scissors for cutting the heat shrink.
We use the Plato Model 170 Wire Cutter for wire cutting.
We use the Kaisi S-160 45x30cm Repair Mat as our workspace.
Thanks very much for watching! And please remember to hit like and subscribe! :)
Following is a product I use picked at random from my collection which may appear in my videos. Clicking through on this to find and click on the green affiliate links before purchasing from eBay or AliExpress is a great way to support the channel at no cost to you. Thanks!
3ELIGHTING 14″-27″ With 2 Arms VESA Wall Mount |
Let’s go shopping!